DIY install guide
How to install Starlink at home, step by step
Seven plain steps from “will it work here?” to Wi-Fi in every room. What to do, in what order, what it takes, and when to call in a pro instead.
$100First Starlink? The pre-order checklist and our referral linkYes, most people can install Starlink themselves: scan the spot with the app, mount the dish high with open sky, run one cable inside, plug in the router and let it connect.
Starlink says all mounts are designed for self-install; ask a roofing or installation professional if unsure. A setup on the ground takes minutes. A wall or roof mount with the cable run inside is an afternoon for most first-timers (our estimate). Starlink’s own installers take about 90 minutes for a standard job, and they don’t do pole mounts.
The whole job on one picture
Every Starlink home install follows the same path, whatever your roof or yard looks like. The dish needs open sky; one cable carries data and power from the dish to the indoor equipment; the router makes the Wi-Fi.
What should you check before you start?
- Know which dish you’re getting. Starlink’s no-address US Residential list carried three home dishes when we checked it on Nov 3, 2026, at $349 each to buy or as a rental: Standard 4 X (ships with Router 3), plus Standard 4 and Starlink V5 (each ships with Router Mini). All of them come with a 15 m (49.2 ft) Starlink cable and a kickstand. Mounts for the roof, a wall or a pole are extra. What’s in the box and what to buy.
- Know you’re allowed. Starlink’s Terms make you responsible for building codes, zoning, HOA rules, lease terms and landlord approvals. An FCC rule limits what HOAs and landlords can ban on space you own or rent for yourself. Which rule applies to you.
- Know the spot works. Run the 2-minute fit check, then the app scan in step 1 below. Don’t drill anything until both look good.
How to install Starlink: the 7 steps
Times on each step are our estimates for a first-timer. Starlink publishes only the time for a professional install.
Step 1: Scan your sky with the Starlink app
Download the Starlink app. Starlink says it has a built-in tool to preview the install location and guide you to the spot with the fewest obstructions, and its install guides say to run it before mounting, so you know the spot sees open sky.
- Hold the phone where the dish will actually sit: at roof height for a roof mount (an upstairs window or the top of a ladder you’re steady on), not from the lawn.
- Scan two or three candidate spots. Screenshot each result so you can compare.
- Scanning in winter? Bare branches fill in by summer. Judge the treetops, not today’s leaves.
Step 2: Choose the spot
Starlink says many customers find a permanent mount high up (roof or pole) works best; a wall mount is fine if the dish sits above the wall with a clear view. From its install guidance:
- Do not place the dish beside a wall or other structure that blocks the sky.
- Do not install under a covered outdoor area.
- A roof, pole, or wall mount is fine when the dish sits above the obstruction and the field of view stays clear.
- Consider an elevated install (for example, on a pedestal, post, or rooftop) as the height improves the chances of clearing nearby obstructions.
A good spot also lets you reach the dish to brush off heavy snow, keeps the cable run short, and isn’t under a steep roof slope that dumps snow. Unsure how high you need to go to clear a tree? Use the sky angle calculator.
The usual spots on a house. Green = usually the clearest sky; amber = depends on what’s nearby. Compare the mounts for each in our mounting guide.1 Roof peak (ridgeline) · 2 Roof face · 3 Wall or eave · 4 Pole or mast · 5 Ground (kickstand) Step 3: Mount the dish
Use the mount made for that surface, and fix it into solid structure, not just siding or roof decking:
- Shingle roof: a pivot mount, screwed into rafters, with every hole sealed.
- Wall, eave or fascia: Starlink says to drill the wall mount’s holes into a structural beam, and to leave room around it because the dish may need to rotate when you align it.
- Pole or mast: Standard Pipe Adapter fits poles 31–63.5 mm (1.25–2.5 in) across; metal pipes only, not PVC or plastic; pipe not included.
- No drilling: Ridgeline Mount: no drilling, sits on a gable ridge with ballast; metal or shingle roofs under 45°; not for clay tile; wind rating up to 50 mph.
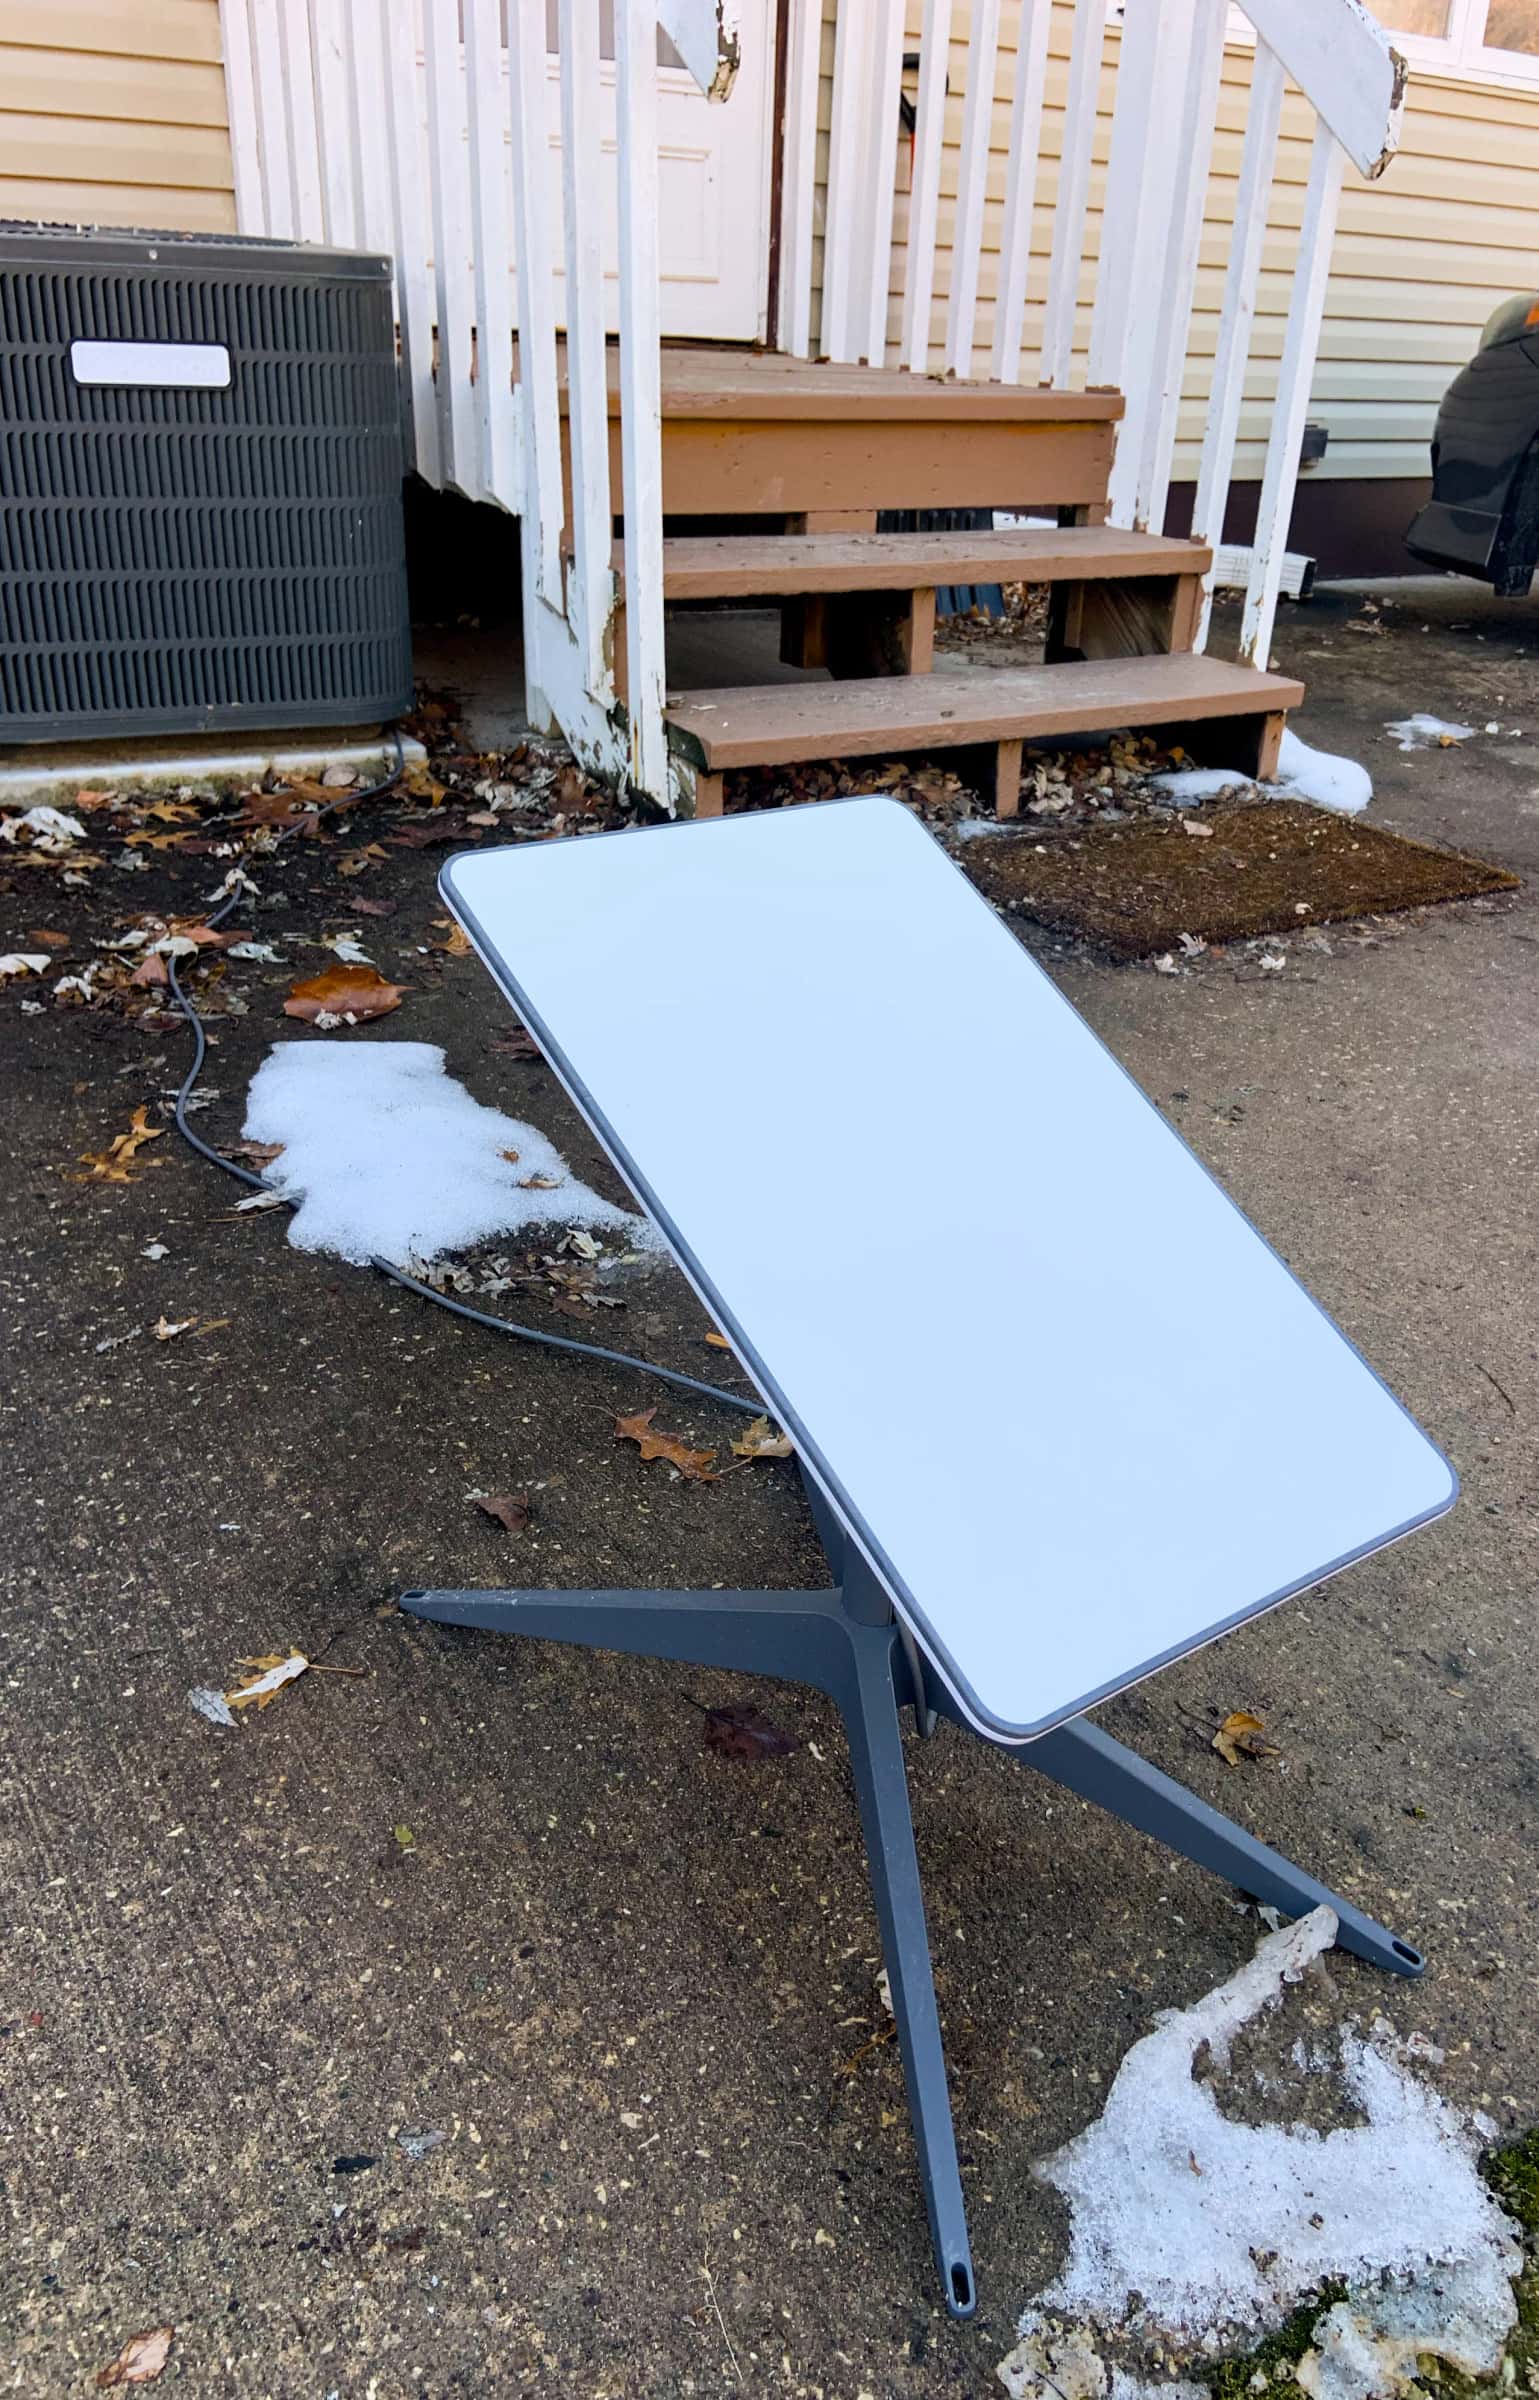
- Ground: the kit’s detachable kickstand can be used for quick setup or a permanent install.
Starlink’s Terms are blunt: if you can’t install safely, don’t, and get professional help. They also say a permanent roof mount carries risks you accept, including to your roof warranty, so ask your roofer before drilling a roof that’s still under warranty.
Step 4: Run the cable inside
Measure the route before you choose the spot: dish to roof edge, down the wall, through the wall and across the room to the router. The cable in the box is 15 m (49.2 ft).
- Clip the cable down the outside, then let it dip in a drip loop below the hole so rain drips off the bottom of the loop.
- Drill the hole so it slopes down toward the outside, and seal the gap outside. Starlink’s routing kits pass the cable through most walls; the masonry kit is for masonry, concrete or hard-coat stucco.
- Starlink says the cable is not rated to be buried or under water; keep it free of kinks, debris and door jambs. It also advises against cutting, splicing or joining cables to add length.
Brick, stucco, attic or basement entry: see getting the cable into your house.
Step 5: Place the router
Starlink’s placement tips, in short:
- Central location. Place the router in the part of the home where you most often use your phone, tablet, or computer.
- Flat surface. Place the router on a hard, flat surface, such as a table, countertop, shelf, or nightstand. A surface at least halfway up the room is better than the floor.
- Open space. Do not place the router in a cabinet, a media console, or a closet.
- Few barriers. The connection is best in the same room, or about one to two rooms away.
- Interference. Keep the router at least 20 feet away from microwaves, refrigerators, metal, concrete, brick, fluorescent lights, other Wi-Fi networks, and bad electrical connections.
Keep the router and power supply indoors: Starlink gives their indoor range as 32 °F to 86 °F, which rules out most attics and many garages in summer. Will the Wi-Fi reach every room?
Step 6: Plug in power
Seat the Starlink cable fully before exposing the dish to weather, to get its rated water resistance. Then:
- Mount the power supply where air can move around it. Starlink says it shuts off (dropping the connection) if it overheats.
- Plug into a wall outlet. Starlink lists a surge protector as an optional storm precaution.
- Running on solar or a generator? Starlink gives the Standard kits’ draw as average 75–100 W, idle 20 W (dish, router, power supply and cables, AC input).
Step 7: Go online and align
Starlink’s own setup comes down to three lines, in our words: put the dish where it sees open sky (part of the sky is often enough); plug it into power and check every connection is tight; give it a few minutes to reach the satellites. Then align it:
- Wait until your Starlink is online.
- Tap Alignment in the Starlink app.
- Follow the prompts on the screen.
The dishes are electronic phased arrays that track satellites without moving; once set up clear and aligned, you don’t adjust them again. Don’t leave it lying flat: Starlink says a misaligned or flat dish can pool rain and drop service. Over the first day, Starlink can detect most obstructions in less than a day, and the map keeps updating, so judge the obstruction map tomorrow, not in the first hour.
How long does each kind of install take?
| Install | Your time (our estimate) | Hardest part |
|---|---|---|
| Ground, on the kickstand | 15–30 minutes, plus the cable entry | Getting the cable inside without a door jamb pinching it |
| Wall, eave or fascia | 2–3 hours | Finding a structural beam to screw into |
| Shingle roof, pivot mount | 2–4 hours | Working safely on the roof; hitting rafters; sealing |
| No-drill ridge mount | 1–2 hours | Lifting the ballast up the roof |
| Pole or mast in the yard | A weekend (concrete needs time to set) | Digging, plumbing the pole, cable length |
| Starlink professional install | About 90 minutes (Starlink’s figure) | Scheduling; pole mounts not offered |
DIY or hire a pro?
Do it yourself if…
- the best spot is on the ground, a wall you can reach from a ladder, or a low-slope roof
- you’ve drilled through an outside wall before (or will follow our cable guide)
- you want a pole: Starlink’s installers can’t do pole mounts anyway
Get a pro if…
- the only clear spot is a steep, high or two-story roof
- the cable has to go through brick, stone or hard-coat stucco
- you’re not comfortable on a ladder. That’s a good reason, not a weak one
Starlink’s home page lists professional installation at no charge on some plans, and paid options on others; which one you see depends on your address. What a pro install includes · What each option costs.
Safety
Ladders, roofs, wires and lightning
- Ladders: set the base 1 ft out for every 4 ft of height, extend it 3 ft above the roof edge, and have someone hold it.
- Roofs: never on a wet, icy or windy day, and never alone. A fall from a one-story roof can kill.
- Power lines: keep ladders, poles and the dish at least 10 ft from overhead lines.
- Digging for a pole: call 811 a few days before you dig. It’s free and it’s the law in every state.
- Drilling walls: check for wires and pipes with a stud or electrical finder first.
- Storms: don’t work outside when you can hear thunder.
Which mistakes do people regret?
- Scanning from the lawn, mounting on the roof. The sky looks very different 20 ft up. Scan at mount height.
- Scanning in January. Leaf-on trees block far more. Plan for summer.
- Mounting under a steep roof edge in snow country. The first big slide buries the dish. Read Starlink in snow.
- No drip loop, hole sloping inward. Water follows the cable straight into the wall.
- Router where the cable happens to come in. A garage corner wastes half the Wi-Fi on the yard.
- Cutting or splicing the cable to make it fit. Starlink advises against it. Buy the longer cable instead.
Don’t order yet if…
- you haven’t yet run a sky scan in the Starlink app from the exact spot and height you’d mount at
- the only clear spot needs a tall pole, and neither you nor a local pro can put one up (Starlink’s installers don’t do pole mounts)
- your HOA, landlord or condo board hasn’t agreed where the dish can go, and you have no private outdoor space you control
- the house needs a connection for a few months or one visit, not year-round
Questions this page answers
Can I install Starlink myself?
Yes. Starlink says all of its mounts are designed for self-install, and suggests asking a roofing or installation professional if you’re unsure or uncomfortable. Ground and wall installs are well within reach for most people; steep or high roofs are where a pro earns the fee. Professional installation.
How long does Starlink installation take?
Starlink says a standard professional installation typically takes around 90 minutes. Doing it yourself, a ground setup takes minutes and a wall or roof mount with the cable run inside is usually an afternoon (our estimate for a first-timer, including the app scan).
Which way should the dish face?
You don’t pick a compass direction. Today’s home dishes are aimed by hand with the Starlink app’s alignment tool, which tells you how to tilt and turn it for your location. After that, the dishes are electronic phased arrays that track satellites without moving; once set up clear and aligned, you don’t adjust them again.
Does Starlink need to be grounded?
Starlink says its kit meets the U.S. National Electrical Code (NEC) grounding requirements, and that in lightning areas an external lightning protection system may reduce susceptibility. For a roof or pole install, ask a licensed electrician what your local code requires. Storms and lightning.
What we checked this page against
- Whether you need a mount (support article) · seen Nov 3, 2026
- Starlink installers (support article) · seen Nov 3, 2026
- Residential order list data, no address · seen Nov 3, 2026
- Third-party mounts (support article) · seen Nov 3, 2026
- Accessories overview (support article) · seen Nov 3, 2026
- Cable length and indoor routing (support article) · seen Nov 3, 2026
- US terms of service · seen Nov 3, 2026
- Beam switching around obstructions (Starlink update, Jul 30, 2025) · seen Nov 3, 2026
- Standard 4 X setup guide, PDF · seen Nov 3, 2026
- Checking a spot before you install (support article) · seen Nov 3, 2026
- Standard 4 X spec sheet, PDF · seen Nov 3, 2026
- Where to install (support article) · seen Nov 3, 2026
- Business install: choosing a location (support article) · seen Nov 3, 2026
- Standard wall mount install guide, PDF · seen Nov 3, 2026
- Starlink shop, public accessory prices · seen Nov 3, 2026
- Standard accessories guide, PDF · seen Nov 3, 2026
- Water resistance (support article) · seen Nov 3, 2026
- Improving Wi-Fi (support article) · seen Nov 3, 2026
- Standard 4 setup guide (support article) · seen Nov 3, 2026
- Snow, rain, wind, lightning and temperature (support article) · seen Nov 3, 2026
- Power supply placement and heat (support article) · seen Nov 3, 2026
- Weather and service quality (support article) · seen Nov 3, 2026
- Power draw (support article) · seen Nov 3, 2026
- General setup (support article) · seen Nov 3, 2026
- Aligning the dish (support article) · seen Nov 3, 2026
- Mini vs Standard 4 X (support article) · seen Nov 3, 2026
- Reading the obstruction map (support article) · seen Nov 3, 2026
- starlink.com front page, US, no address · seen Nov 3, 2026
- 811: call before you dig (Common Ground Alliance)
Each number on this page traces back to one of these entries; our fact rules explain how. If a reading has drifted, the corrections log shows how it gets fixed.