Where the dish goes
Starlink mounting options: which one fits your house?
Roof, wall, pole or yard: the right mount depends on how much sky each spot sees, what your roof is made of, and which Starlink dish you get. Here’s how to pick, in plain steps.
$100First Starlink? The pre-order checklist and our referral linkPut the dish at the easiest spot you can reach that still sees wide-open sky, then buy the mount made for that surface and your dish model.
If the yard is open, the kickstand in the box is enough. If trees or the house block the low sky, go up: a roof mount (drilled, or the no-drill Ridgeline), a wall bracket near the roofline, or a pole when trees rise above the roof. Starlink’s mounts are made for specific dishes (Standard 4 and 4 X, or V5), so confirm your model before buying.
Sky first, then the house
Starlink’s dish talks to satellites that move across the whole sky, so it needs a wide view, not a line to one point. Starlink’s advice is simple: if there’s no clear view from the ground, Starlink says to use an elevated spot such as a roof, pole or wall. It also says many customers find a permanent mount high up, on a roof or a pole, works best, and that a wall mount is fine when the dish sits above the wall with a clear view.
Starlink doesn’t publish a minimum height or a distance-from-trees rule for homes. What decides it is how high nearby trees, roofs and hills rise in the dish’s sky. The drawing below shows the same tree from five spots. Each step up lowers the treetop in the dish’s view. That’s why the ground can fail, the roof can be borderline, and a pole can clear.
Choose a mount in five steps
Step 1: Scan the easiest spot first
Open the Starlink app’s obstruction tool and scan from the yard or the spot you’d most like to use. Starlink’s own install guides say to use that tool to confirm a spot before mounting. How to scan.
Step 2: Go up only if the sky is blocked
Blocked? Scan again from higher: an upstairs window, the roof edge from a ladder, or on a pole you hold up. Starlink says to use a roof, pole or wall when the ground doesn’t see clear sky. The sky angle calculator tells you roughly how high.
Step 3: Match the mount to the surface
Shingle roof, metal roof, tile, a wall near the roofline, a pole or the ground each have their own mount. Use the table below.
Step 4: Confirm which dish you’ll get
Starlink’s mounts are made for specific dishes. Check the product name says Standard 4, Standard 4 X or V5 before you buy.
Step 5: Plan the cable and the rules
Measure the cable route to an indoor outlet, and if you have an HOA or a landlord, settle where the dish can go before anyone drills.
Which mount for which house
Start from the row that matches your house. Prices are what Starlink’s shop listed on Nov 3, 2026, shipping included; third-party parts vary by seller.
| Your situation | Mount to start with | Fits · Starlink price | Watch out for |
|---|---|---|---|
| Open yard, nothing tall nearby | Kickstand (in the box), or the X-Frame Base Ground setup | Any kit · X-Frame: Standard 4 / 4 X $75 | Snow drifts, mowers, pets, a cable across the lawn |
| Shingle roof sees open sky; drilling is OK | Pivot Mount · V5: Home Mount Roof install | Pivot: Standard 4 / 4 X · Home Mount: V5 $60 · $40 | Screw into rafters, seal every hole, ladder safety |
| Roof is fine but you want no holes | Ridgeline Mount (weighted, sits on the peak) No-drill options | Standard 4 / 4 X $250 | Gable ridge, slope under 45°, not clay tile, wind rating 50 mph |
| Metal roof | Seam clamp (standing seam), rib bracket (screw-down), or Ridgeline Metal roofs | Clamps are third-party · Ridgeline: Standard 4 / 4 X Varies | Never fasten in the flat pan; no dish sitting directly on metal |
| Gable wall near the roofline, small overhang | Wall Mount · V5: Home Mount on the fascia Wall & eave | Wall Mount: Standard 4 / 4 X · Home Mount: V5 $67 · $40 | Overhang up to 4 in for the Wall Mount; screw into framing |
| Trees taller than the roof | Pole or mast with the Pipe Adapter Pole & mast | Standard 4 / 4 X: 1.25–2.5 in metal pipe · V5: adapter in the box, 1.2–2.0 in $38 + pipe | Call 811, frost-depth footing, guying; Starlink’s installers don’t do poles |
| Flat or low-slope roof; renting; can’t drill | Ground, Ridgeline (if gabled), a ballast frame, or an existing metal post No-drill options | Ballast frames are third-party · V5 Home Mount also suits flat surfaces Varies | Wind, weight on the roof, landlord rules |
Clay or concrete tile? Starlink sells no tile mount and says the Ridgeline isn’t recommended for clay tile. A wall or pole mount, or a roofer who works on tile, is usually the safer path. Manufactured home? A pole beside the home or a wall bracket into framing avoids loading a thin roof.
Starlink’s own mounts and prices
Starlink sells six home mounts. Five are labeled for Standard 4 and 4 X; the Home Mount is for the V5. Starlink says its mounts can be bought on the Starlink Shop once your kit is ready to ship.
| Mount | What Starlink says it’s for | Fits | Price (Nov 3, 2026) |
|---|---|---|---|
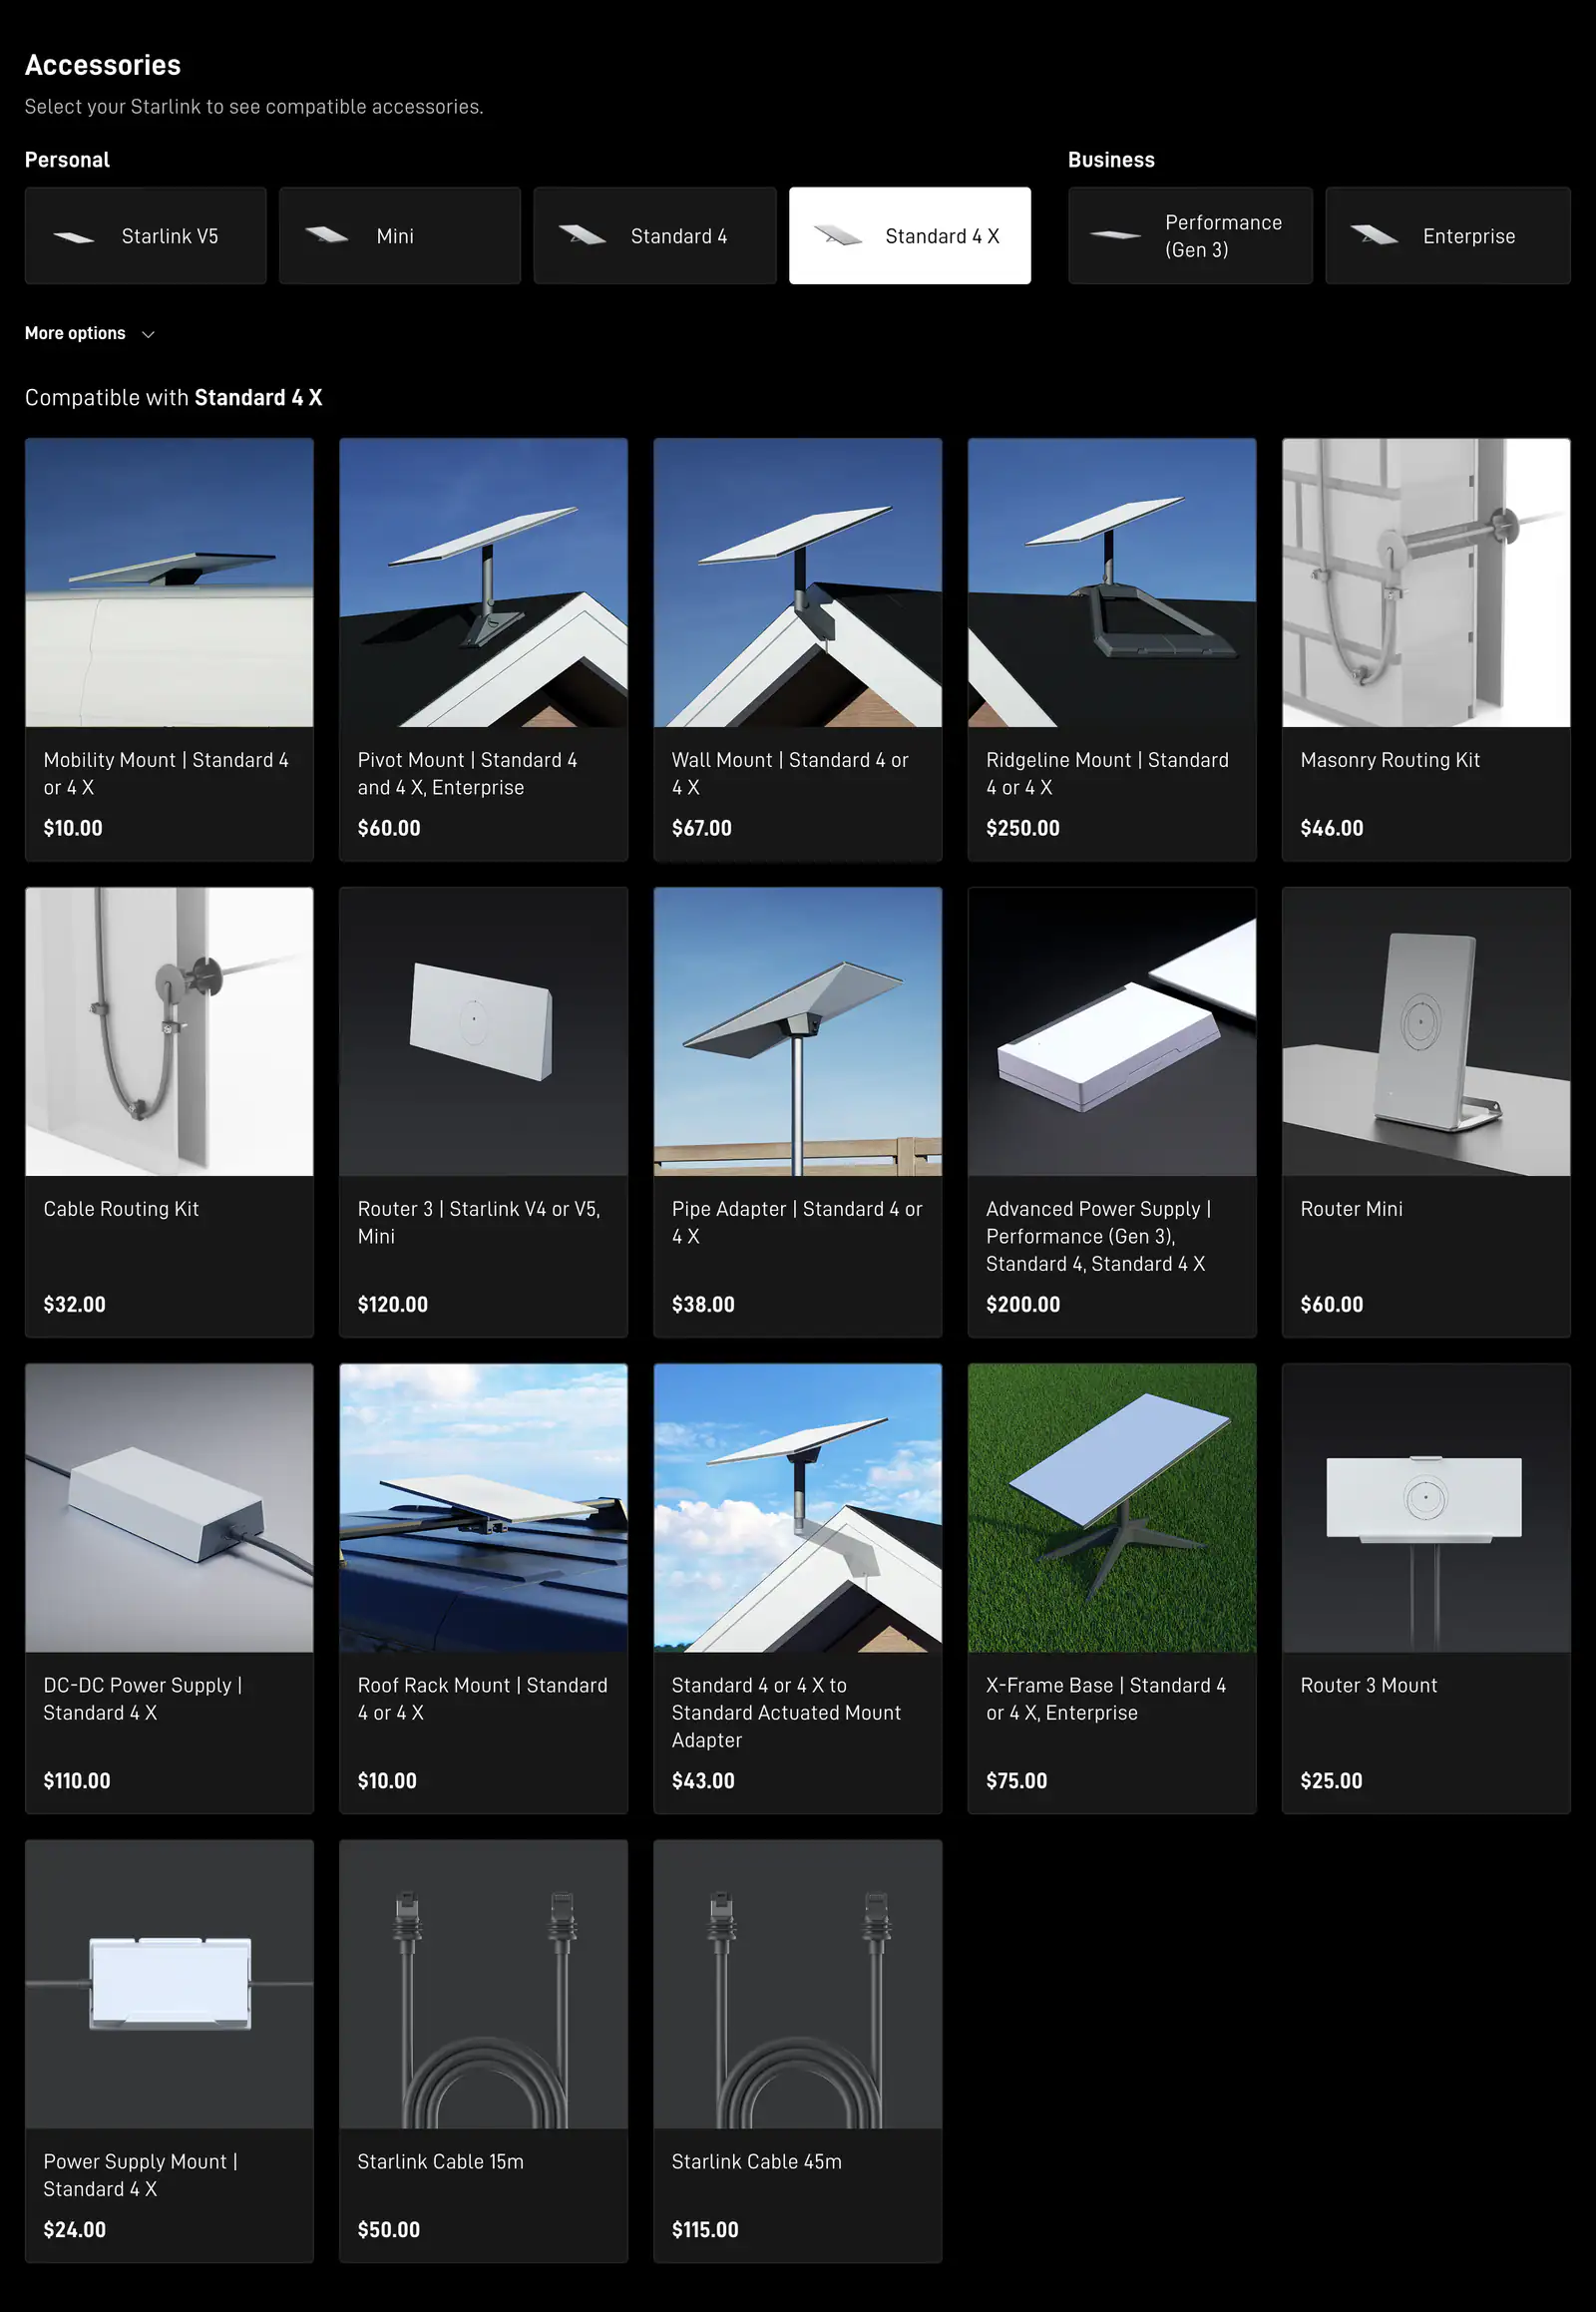
| Pivot Mount | Pivot Mount: ideal for slanted, shingled roofs; swivels to adjust | Standard 4 / 4 X, Enterprise | $60 |
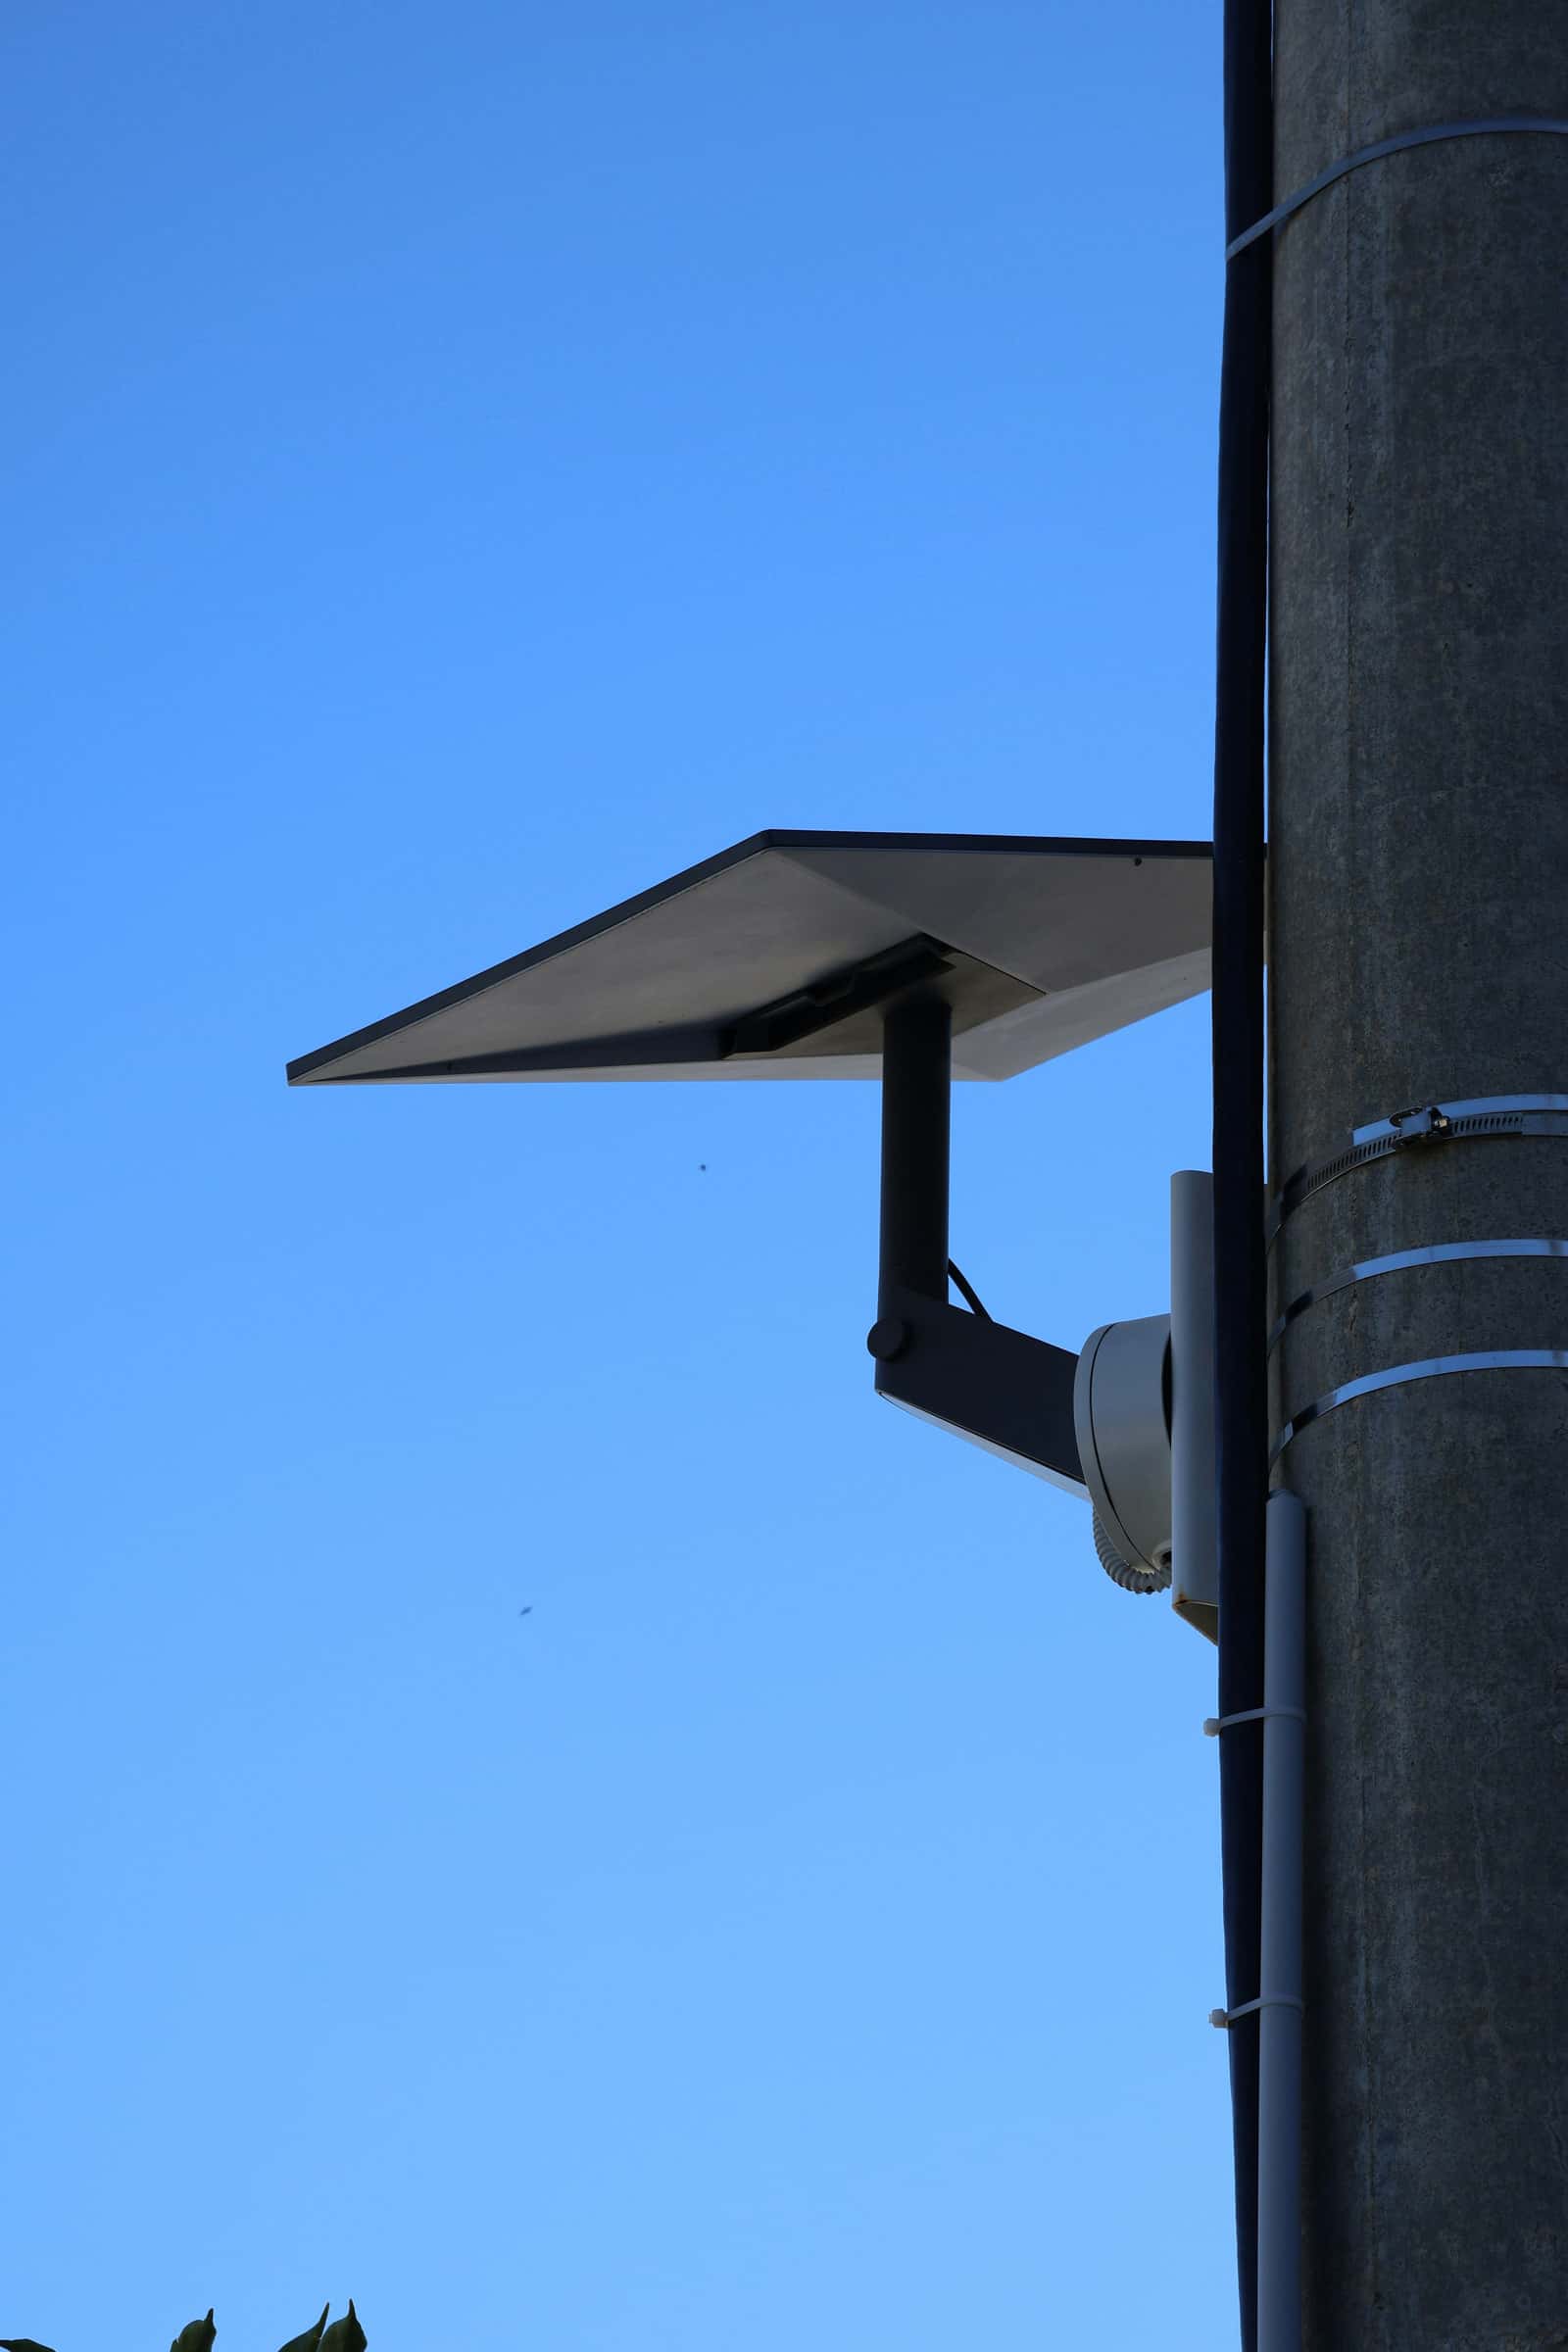
| Wall Mount | Wall Mount: for an exterior wall near the top of the gable or fascia; fits a 4-inch overhang at most | Standard 4 / 4 X | $67 |
| Ridgeline Mount | no drilling; sits on a gable ridge with ballast; metal or shingle under 45°; not clay tile | Standard 4 / 4 X | $250 |
| Pipe Adapter | clamps onto a 1.25–2.5 in metal pole (not PVC); pipe not included | Standard 4 / 4 X (V5 kit has its own) | $38 |
| X-Frame Base | X-Frame Base: for a ground-level install or quick setup | Standard 4 / 4 X, Enterprise | $75 |
| Home Mount | double-pivot; vertical, sloped or flat surfaces; fascia board or a sloped roof | Starlink V5 | $40 |
Check your dish model before you buy a mount
Starlink’s US home order list carried three dishes on Nov 3, 2026: Standard 4 X (Starlink also calls it “V4”), Standard 4 and Starlink V5. Starlink says the V5 is only in select areas for now, and you only see which kit you’ll get after entering your address on starlink.com.
- Standard 4 and 4 X share Starlink’s Standard mounts: Pivot, Wall, Ridgeline, Pipe Adapter and X-Frame. Starlink says those mounts fit only Standard and Enterprise dishes.
- V5 comes with a kickstand and its own pipe adapter (for 1.2–2.0 in pipe), and Starlink sells a separate Home Mount for it.
Wait for the kit before buying the mount
Order the mount once you know which dish is on its way. It saves returning a bracket that doesn’t fit.
Starlink’s mounts or third-party?
Starlink says you can use a third-party mount, but it can’t vouch for performance or fit. One rule matters more than the brand: don’t let metal wrap around the dish’s base, and don’t set the dish directly on metal. Starlink says both may interfere with GPS and aren’t supported. If you go third-party, check that:
- the listing names your dish (Standard 4, Standard 4 X or V5);
- it holds the dish by its mast or a pipe, not by clamping the dish body;
- the hardware is galvanized or stainless steel, and the maker states a wind rating;
- you can still rotate the dish to align it in the app.
For wind: Starlink rates the Standard 4 X dish as operational in winds of 60 mph+, the mounted V5 at 165 mph, and the Ridgeline Mount only up to 50 mph. A mount is only as strong as what it’s screwed into. And Starlink says the kit isn’t designed for hurricanes or tornadoes.
Spot by spot on a typical house
- Roof peak. Usually the most sky on the house. Reach it with a pivot mount near the ridge or the no-drill Ridgeline. Roof install.
- Roof face. Easier to reach, but the ridge and chimney sit above it on one side.
- Wall or eave. No roof work, but the roof rises behind the dish. Only near the top of a gable wall, or out on the fascia. Wall and eave mounts.
- Pole or mast. The only way above tall trees. Needs a footing below frost depth and a call to 811. Pole mounts.
- Ground. Easiest of all if the yard is open. Mind snow, mowers and pets.
- Balcony or deck. Works when it faces open sky with nothing overhead.
What rules a spot out
- Something overhead. Starlink says don’t install under a covered outdoor area, or beside a wall or structure that blocks the sky.
- Snow that buries it. Starlink recommends a spot where the dish is unlikely to get buried. Below a roof edge that sheds snow is a bad bet.
- Metal underneath. A dish resting on a metal roof or trailer deck can lose GPS (Starlink’s alert wording).
- No safe way up. Starlink’s terms say if you can’t install safely, don’t, and get professional help.
- A “best direction” rule. Starlink doesn’t say one compass direction matters more for today’s dishes, so don’t rule out a spot for facing the “wrong” way. Scan it.
Do it yourself or hire it out?
Starlink says all its mounts are designed for self-install, and to ask a roofing or installation professional if you’re unsure. Where Starlink offers professional installation, its list of standard placements is the roof, wall, fascia, gutter or another elevated spot with standard mounts, with a basic sealed penetration. Pole mounts aren’t included and its installers can’t do them, so a pole is a DIY or local-contractor job. Professional installation.
Don’t order yet if…
- every spot you can reach, including the roof edge, still scans with big blocked areas in the Starlink app
- the only spot that clears needs a tall pole you can’t safely set, guy or get approved
- you have a clay tile roof and no wall, pole or ground spot that scans clear
- your HOA or landlord hasn’t agreed where the dish goes and you have no private outdoor space
Questions this page answers
Where is the best place to put a Starlink dish?
Where it sees the widest open sky that you can reach safely. Starlink says many customers find a roof or pole mount works best, and that a wall mount is fine when the dish sits above the wall with a clear view. Don’t put it beside a wall or under a porch roof.
Is Starlink better on the roof or on the ground?
Neither is better by itself. If the ground spot scans clear in the app, the ground is easier, cheaper and safer. If trees, fences or the house block the low sky, a roof or pole lifts the dish above them. Ground setups.
Can I use a third-party Starlink mount?
Yes. Starlink says you can, but it can’t vouch for the performance or fit of non-Starlink hardware. Avoid metal mounts that wrap around the dish’s base, and don’t set the dish directly on metal: Starlink says both may interfere with GPS and aren’t supported.
Will a Standard 4 X mount fit the Starlink V5?
Don’t assume it. Starlink says its Standard mounts fit Standard and Enterprise dishes, and sells a separate Home Mount for the V5. The V5 kit already includes its own pipe adapter. Check the dish name on the product page before you buy.
Can I buy Starlink mounts at a hardware store?
Starlink sells its own mounts on the Starlink Shop. Stores and online sellers carry third-party mounts; check that the listing names your dish. For bolts, grommets and similar parts, Starlink itself suggests a local hardware store.
What we checked this page against
- Standard 4 X spec sheet, PDF · seen Nov 3, 2026
- Business install: choosing a location (support article) · seen Nov 3, 2026
- Aligning the dish (support article) · seen Nov 3, 2026
- Where to install (support article) · seen Nov 3, 2026
- Standard 4 X setup guide (support article) · seen Nov 3, 2026
- Standard 4 X setup guide, PDF · seen Nov 3, 2026
- Accessories overview (support article) · seen Nov 3, 2026
- Third-party mounts (support article) · seen Nov 3, 2026
- Whether you need a mount (support article) · seen Nov 3, 2026
- Residential order list data, no address · seen Nov 3, 2026
- V4 vs V5 dishes (support article) · seen Nov 3, 2026
- App alert list (support article) · seen Nov 3, 2026
- Items missing from the shop (support article) · seen Nov 3, 2026
- Starlink shop, public accessory prices · seen Nov 3, 2026
- Standard accessories guide, PDF · seen Nov 3, 2026
- V5 setup guide (support article) · seen Nov 3, 2026
- V5 spec sheet with Router Mini, PDF · seen Nov 3, 2026
- Snow, rain, wind, lightning and temperature (support article) · seen Nov 3, 2026
- Snow and ice performance (support article) · seen Nov 3, 2026
- Starlink installers (support article) · seen Nov 3, 2026
- US terms of service · seen Nov 3, 2026
Each number on this page traces back to one of these entries; our fact rules explain how. If a reading has drifted, the corrections log shows how it gets fixed.