Wall & eave
Starlink wall, eave and chimney mounts
A wall mount keeps you off the roof and out of the shingles. It works when the dish ends up above the roofline. Here’s how to tell, and how to fix it to your wall.
$100First Starlink? The pre-order checklist and our referral linkYes, if the dish sits above the roofline with open sky: Starlink’s Wall Mount is made for the top of a gable wall or the fascia, with an overhang of 4 inches at most.
Under a deep eave, the bracket’s mast hits the roof edge. Use a fascia mount out past the gutter, the gable end, the roof or a pole instead. Starlink says not to put the dish beside a wall that blocks the sky.
When a wall mount works, and when it doesn’t
Starlink’s placement advice is short: a wall mount is fine when the dish sits above the wall and its field of view stays clear, and the dish shouldn’t go beside a wall or under a cover that blocks the sky. In practice the mast has to lift the dish past the roof edge, so the roof behind it sits lower than the dish.
- Good: the top of a gable-end wall, a two-story wall beside a one-story roof, a wall facing an open field.
- Borderline: an eave wall with a shallow overhang on a low-slope roof. Scan it.
- No: halfway down a wall, under a porch roof, or on a wall facing a tree line close by.
Starlink doesn’t name one compass direction that matters more for today’s home dishes. Choose the wall where the dish clears the roof and that scans clearest.
Wall, fascia or chimney: your options
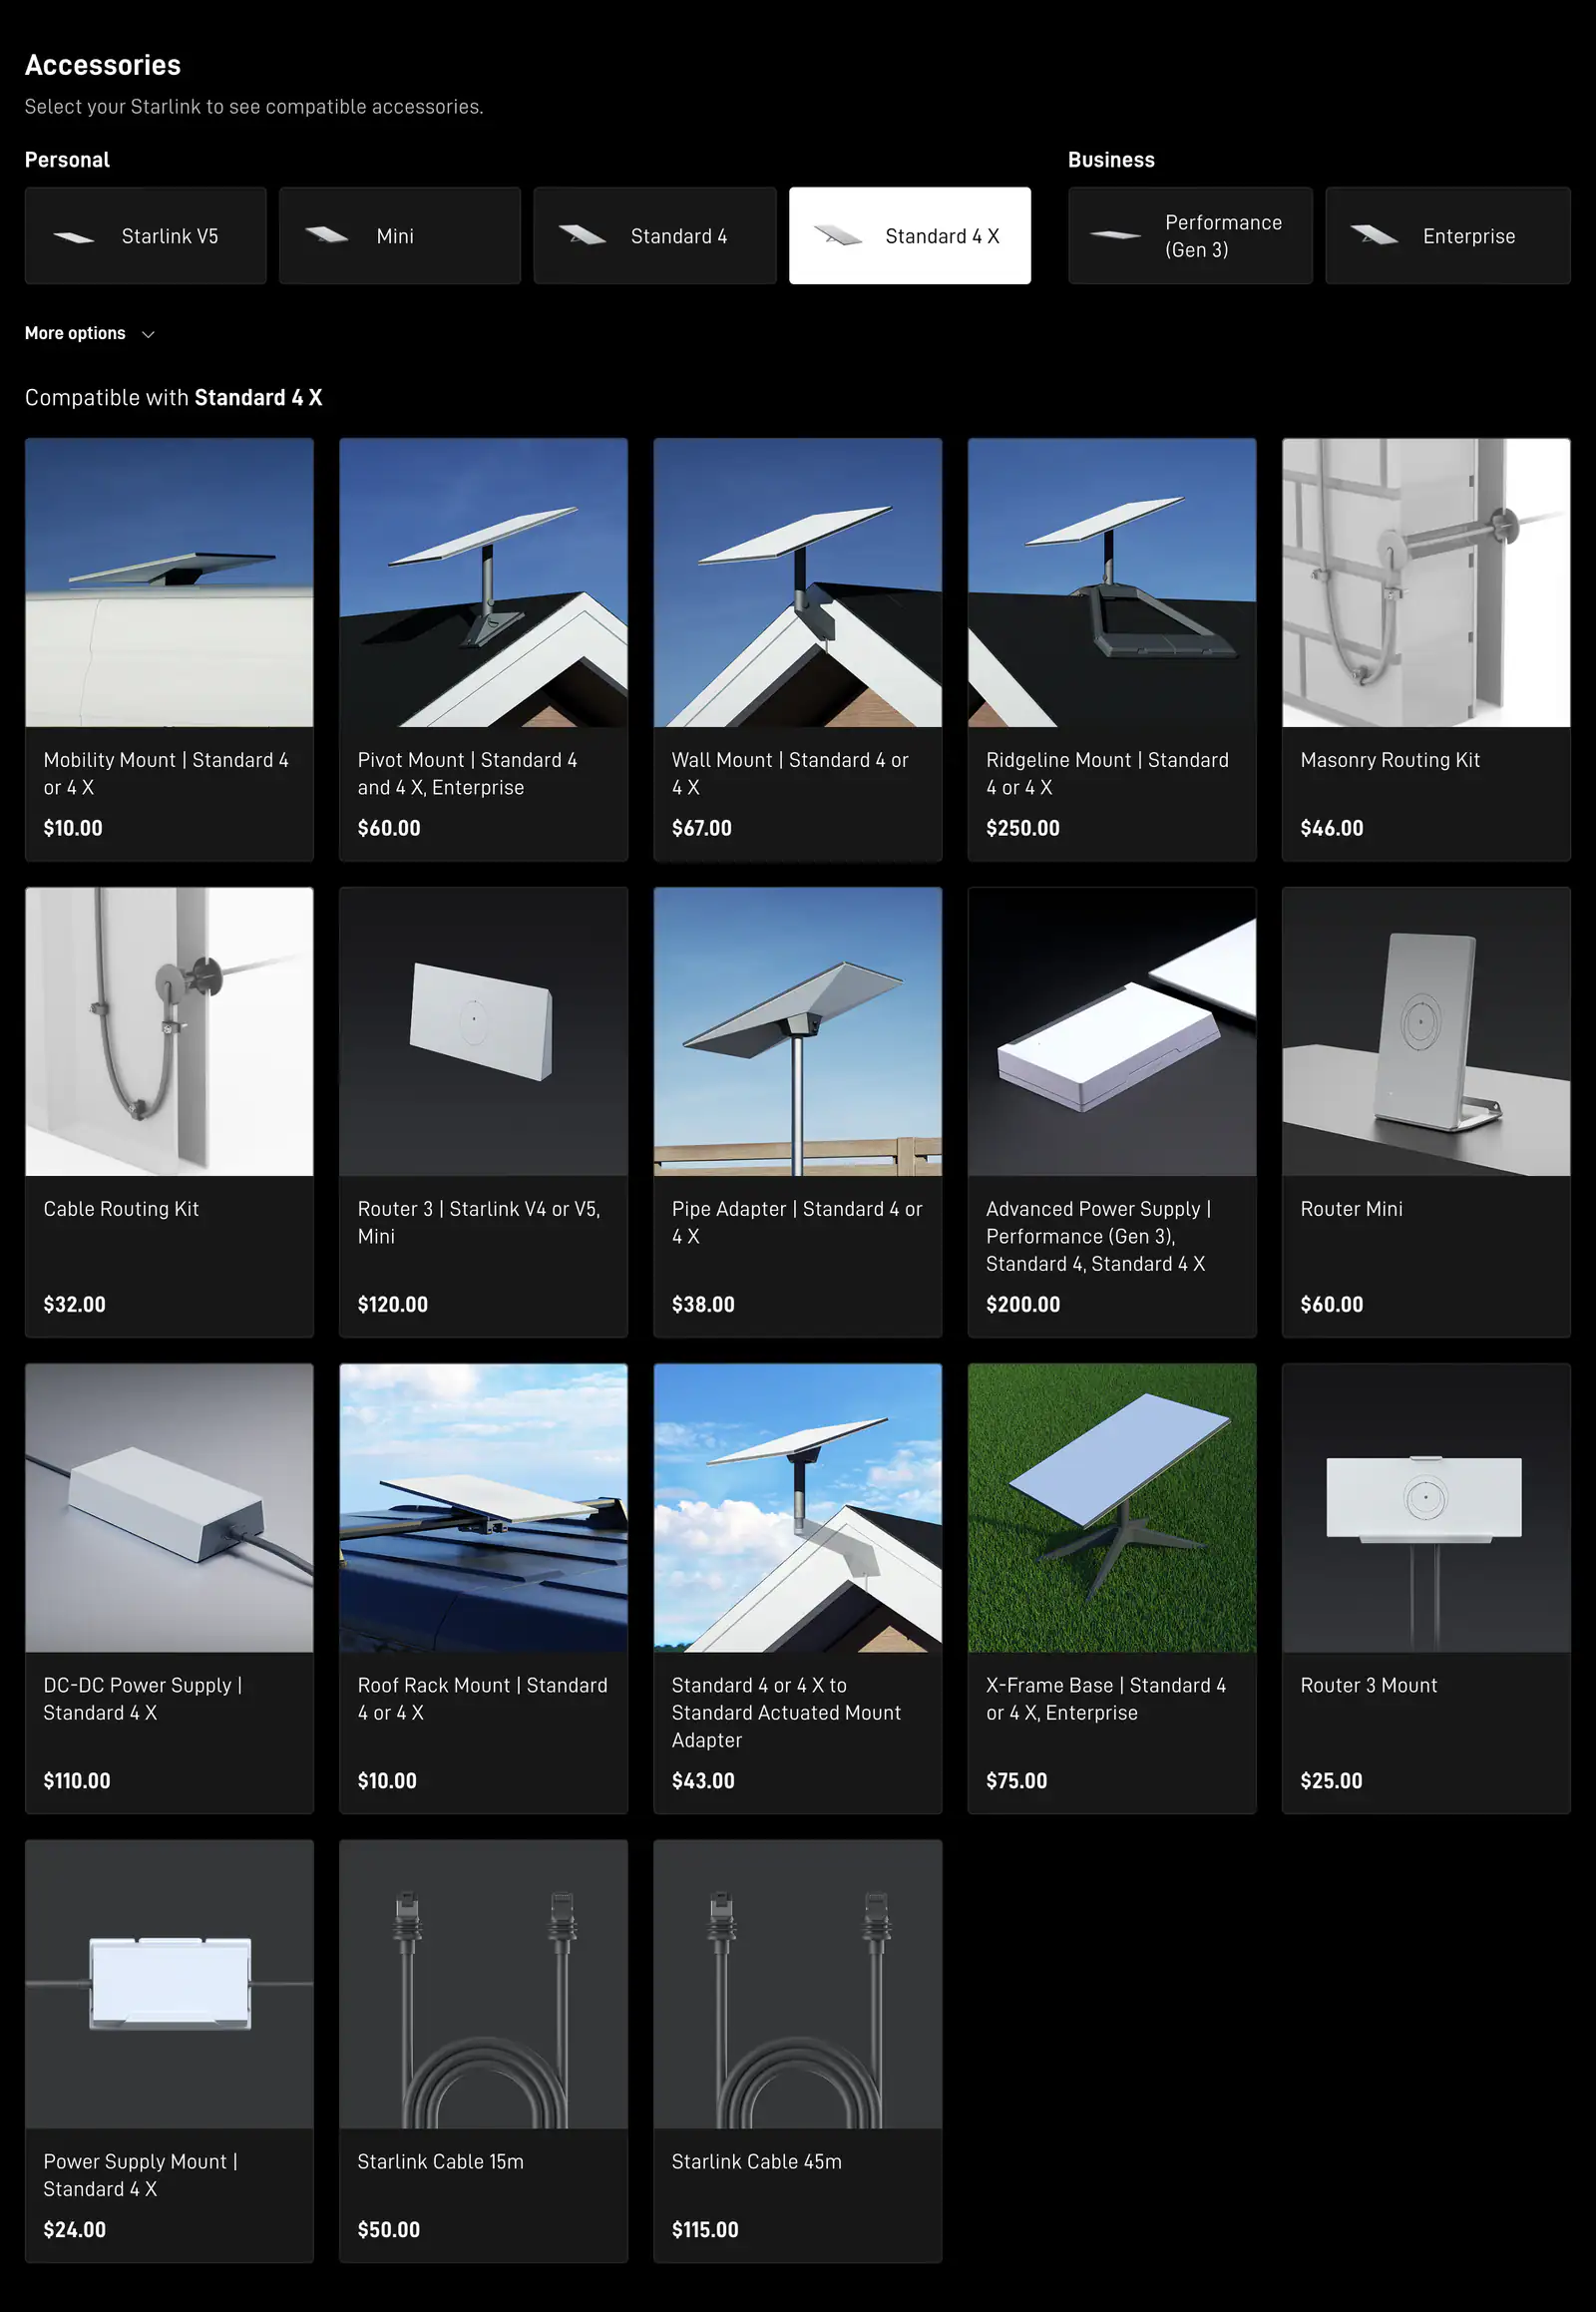
Prices are what Starlink’s shop listed on Nov 3, 2026, shipping included. Starlink says its Standard mounts don’t fit other kits.
| Mount | Fits | Where it goes | Price |
|---|---|---|---|
| Starlink Wall Mount | Standard 4 / 4 X | Exterior wall near the top of the gable or fascia; overhang up to 4 in | $67 |
| Starlink Home Mount | V5 | Vertical, sloped or flat surfaces; Starlink names the fascia board near the roofline | $40 |
| Third-party eave or fascia mount | Check the listing | Fascia board, reaching out past the gutter | Varies |
| Third-party chimney strap mount | Check the listing | Around a solid masonry chimney | Varies |
Starlink says you can use third-party mounts but can’t vouch for their performance or fit, and that metal wrapping around the dish’s base, or setting the dish directly on metal, may interfere with GPS and isn’t supported. Pick one that holds the dish by its mast.
How to install a Starlink wall mount: 8 steps
Starlink’s tool list for the Wall Mount: drill, stud/electrical finder, socket wrench, level, 1/4-inch (6 mm) bit, 9/16-inch socket, pencil. Add an extension ladder and a helper.
Step 1: Scan from the height the dish will sit
Climb the ladder until your phone is where the dish would be, above the roof edge, and run a sky scan in the Starlink app. Starlink’s Wall Mount guide says to use that tool to choose the spot. Scanning from the ground tells you nothing about this spot.
Step 2: Measure the overhang
Measure how far the roof edge sticks out past the wall where the bracket would go. Starlink says its Wall Mount accommodates a 4 in overhang at most. More than that, and the mast runs into the eave: use the fascia or the gable end instead.
Step 3: Find solid framing behind the siding
Starlink’s Wall Mount guide says to put the holes directly over a structural beam. Use a stud finder (the kind that also flags live wires) to find a stud, the top plate or a gable framing member, and mark its center.
Step 4: Check the dish has room to turn
Hold the bracket in place and make sure nothing will stop the dish from rotating: Starlink says it may need to turn to align. Check that the gutter, a light or the roof edge isn’t in the way.
Step 5: Drill pilot holes and seal them
Drill the pilot holes the bracket’s guide calls for. Fill each hole with exterior sealant before you drive the screws, so water can’t follow the threads into the wall.
Step 6: Fasten the bracket and fit the mast
Drive the screws until the bracket is tight against the wall. Fit the mast and check it with a level on two sides.
Step 7: Attach the dish and align it in the app
Connect the cable, attach the dish, power up and use the Starlink app’s alignment tool. Today’s Standard and V5 dishes are aimed by hand. Tighten everything once it says you’re aligned.
Step 8: Route the cable down the wall and inside
Clip the cable along a corner or down-spout line, leave a drip loop below the entry hole, and seal the hole. Cable through siding, brick or stucco.
Siding, brick, stucco and log walls
Whatever the wall is made of, the bracket has to reach the framing (or solid masonry) behind it. This is general building practice, not a Starlink instruction.
- Vinyl siding. Vinyl moves with heat and cold. Use a mounting block (sold for lights and vents) so the bracket sits flat and the siding can still slide, and screw through it into a stud.
- Wood or fiber-cement siding. Screw straight through into a stud, the top plate or the rim board. Seal every hole.
- Brick. Use a hammer drill, a masonry bit and outdoor masonry anchors set in the brick itself, not the mortar joint. Keep the anchors away from the brick’s edges.
- Stucco. Find the framing behind it (a stud finder works through most stucco), drill carefully to avoid cracking, and seal. For the cable, Starlink says its standard Cable Routing Kit isn’t recommended for masonry, concrete or hard-coat stucco, and sells a Masonry Routing Kit for $46.
- Log walls. Solid wood holds screws well; seal the holes, and leave the cable some slack for the logs settling.
Need a different bolt or anchor than the one in the box? Starlink itself suggests a local hardware store.
Eaves, gutters and chimneys
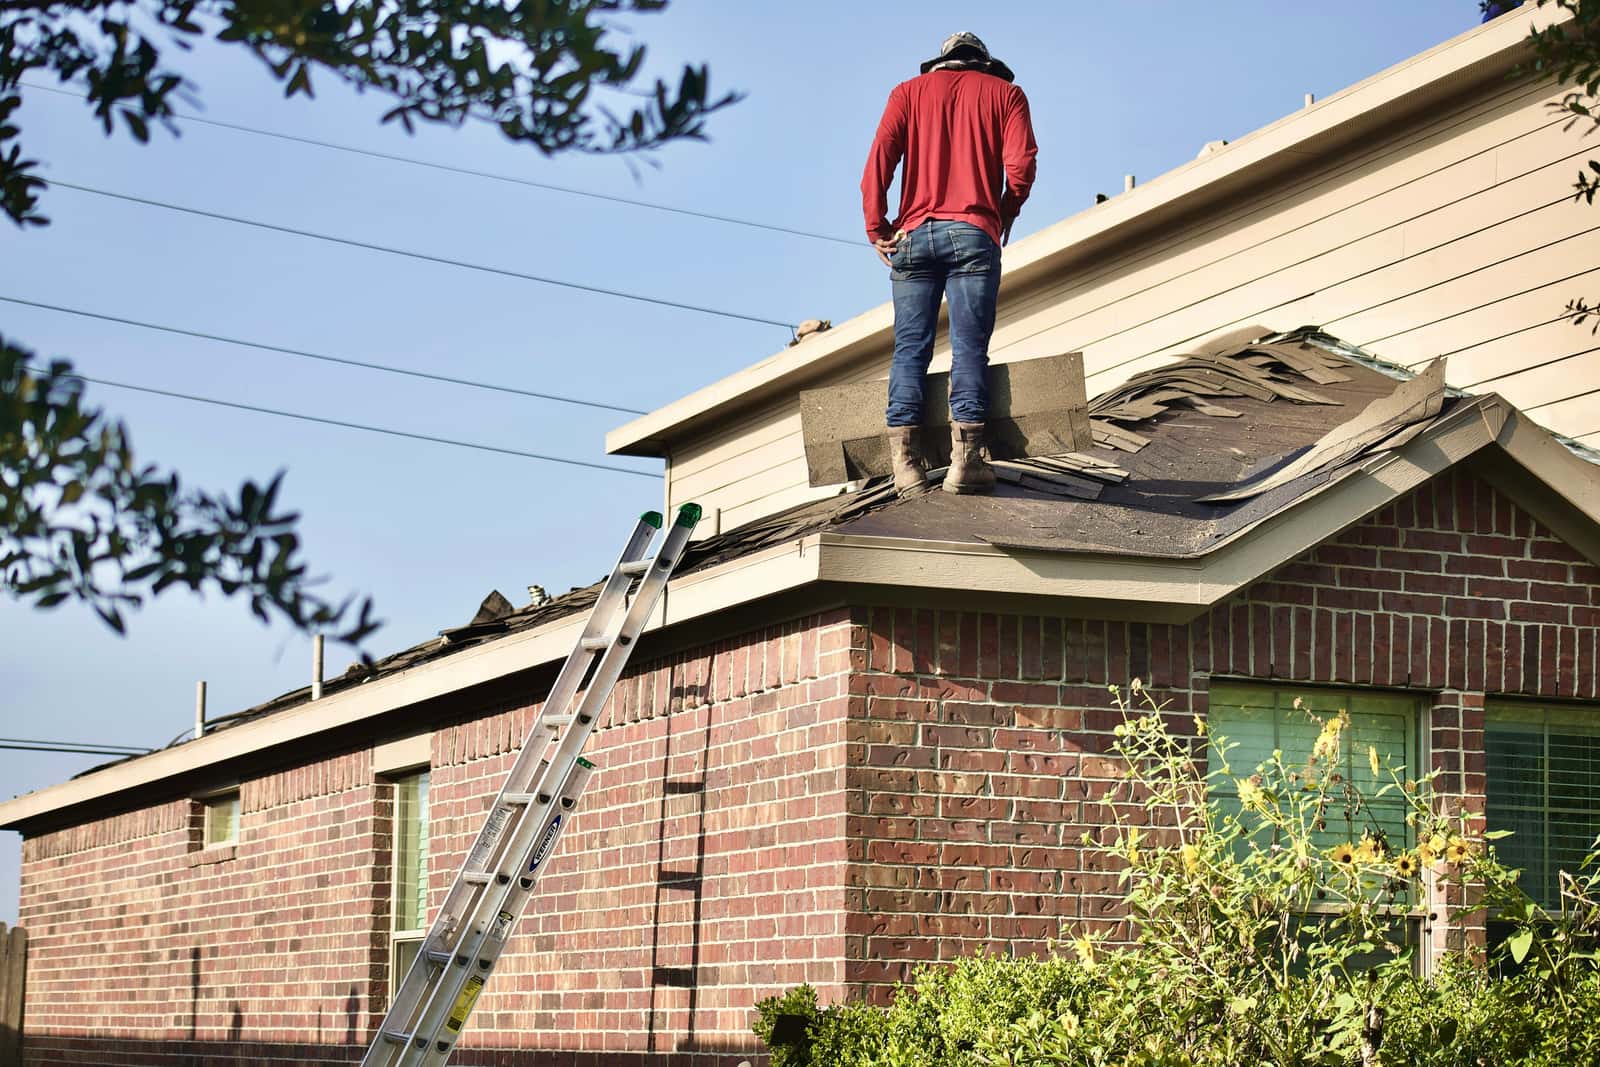
Fascia. The fascia board is nailed to the ends of the rafters, so a bracket screwed through it into a rafter end is strong. Starlink names the fascia board near the roofline as a typical spot for its V5 Home Mount, and its installers list fascia and gutter placements.
Gutters. A gutter is thin metal on hangers. Don’t hang a mast from the gutter itself; fasten through to the fascia and rafter behind it, or take the gutter section off and mount to the fascia.
Chimneys. A strap mount around a masonry chimney needs no holes and sits high. Check the mortar and the crown first (a chimney that sheds bits of brick isn’t a mount), never strap to a metal flue pipe, and keep the dish out of the smoke if you burn wood. Starlink doesn’t sell a chimney mount.
Safety on a wall install
Before you climb
- Look up: the overhead service line from the utility pole usually lands on a wall or the roof edge. Keep the ladder, mast and dish at least 10 ft from it.
- Set the ladder 1 ft out for every 4 ft of height, on firm ground, with a helper at the foot.
- Use a stud finder that flags wiring, and never drill near the electric meter or an outdoor outlet box.
Starlink says all its mounts are designed for self-install, and to ask a professional if you’re unsure. Its terms add: if you can’t install safely, don’t.
Don’t order yet if…
- the wall spot only clears the roof with a bracket longer than you can fix to framing
- every wall scans worse than the roof or the yard, so a wall mount gains nothing
- you rent or have an HOA and haven’t confirmed you may fix anything to an exterior wall
- you don’t yet know whether you’ll get a Standard 4 / 4 X or a V5, so you can’t pick the bracket
Questions this page answers
Can I mount Starlink on the side of my house?
Yes, if the dish ends up above the roofline with open sky. Starlink says a wall mount is fine when the dish sits above the wall and its view stays clear, and its Wall Mount is designed for an exterior wall near the top of the gable or fascia. A dish beside the wall, below the roof edge, loses half its sky.
What overhang can the Starlink Wall Mount handle?
Starlink says its Wall Mount accommodates a 4 in overhang at most. Deeper eaves need a fascia mount, a spot on the gable end, the roof, or a pole.
Which wall is best for a Starlink wall mount?
The one where the dish clears the roof behind it and scans clearest in the app. Starlink doesn’t name a compass direction that matters more for today’s home dishes, so don’t rule out a wall for facing the “wrong” way. Gable-end walls are often easiest because the roof edge there sticks out least.
Can I mount Starlink on a chimney?
Starlink doesn’t sell a chimney mount, but third-party strap mounts exist. Use one only on a solid masonry chimney in good repair, never on a metal flue pipe, and keep the dish out of the smoke if you burn wood. Starlink says it can’t vouch for non-Starlink hardware.
Can I mount Starlink on a gutter?
Not on the gutter alone: gutters aren’t built to hold a mast in the wind. Starlink’s installers do list gutter and fascia placements, which in practice means fastening through to the fascia board and the rafter ends behind it.
Does Starlink sell a wall mount extension arm?
Not for home dishes on its Standard 4 X shop list (screenshot on this page). Third-party extension arms exist; check that the listing names your dish, that it holds the dish by its mast, and that it’s screwed into framing.
Can I mount Starlink on brick or stucco?
Yes. On brick, use masonry anchors in the brick itself rather than the mortar joint. On stucco, find the framing behind it and seal every hole. For the cable, Starlink sells a separate routing kit for masonry, concrete and hard-coat stucco.
What we checked this page against
- Where to install (support article) · seen Nov 3, 2026
- Business install: choosing a location (support article) · seen Nov 3, 2026
- Standard 4 X setup guide, PDF · seen Nov 3, 2026
- Starlink shop, public accessory prices · seen Nov 3, 2026
- Standard wall mount install guide, PDF · seen Nov 3, 2026
- Whether you need a mount (support article) · seen Nov 3, 2026
- Third-party mounts (support article) · seen Nov 3, 2026
- App alert list (support article) · seen Nov 3, 2026
- Items missing from the shop (support article) · seen Nov 3, 2026
- Starlink installers (support article) · seen Nov 3, 2026
- Aligning the dish (support article) · seen Nov 3, 2026
- US terms of service · seen Nov 3, 2026
Each number on this page traces back to one of these entries; our fact rules explain how. If a reading has drifted, the corrections log shows how it gets fixed.