No holes
How to install Starlink without drilling
Worried about leaks, a roof warranty or a landlord? You can get Starlink up without drilling into the roof or walls. Here are the six ways, and the limits of each.
$100First Starlink? The pre-order checklist and our referral linkYes. If the yard scans clear, the kickstand on the ground needs no holes; to go higher, use Starlink’s weighted Ridgeline Mount on a gable roof, a ballast frame on a flat roof, or a clamp on an existing metal post or railing.
The trade-off is wind: a mount held by weight or a clamp is only as steady as its setup. Starlink rates the Ridgeline up to 50 mph, so tether it.
The 6 no-drill options
Prices are what Starlink’s shop listed on Nov 3, 2026, shipping included; third-party prices vary.
1 · Kickstand on the ground
No holesLowRenter-friendly
Comes in the box. Starlink says it can be a permanent install. Works when the yard scans clear.
2 · X-Frame Base
No holesLow$75
Starlink’s ground or quick-setup base for Standard 4 and 4 X. A wider footprint than the kickstand.
3 · Ridgeline Mount
No holesHigh$250
Starlink’s weighted mount for the ridge of a gable roof, metal or shingle, under 45°. Wind rating up to 50 mph.
4 · Ballast frame on a flat roof
No holesHighThird-party
A weighted, non-penetrating frame on a protection pad. The usual answer for membrane and low-slope roofs.
5 · Clamp to a post, rail or pole
No holesMediumRenter-friendly
The pipe adapter clamps onto metal pipe: 1.25–2.5 in for Standard 4 / 4 X, 1.2–2.0 in with the V5’s included adapter. A clamp-on pipe on a deck railing or an existing metal post works.
6 · Chimney strap
No roof holesHighThird-party
Straps around a solid masonry chimney. Never on a metal flue pipe.
Starlink says third-party mounts are allowed but it can’t vouch for their fit or performance, and that metal wrapping the dish’s base, or a dish set directly on metal, may interfere with GPS.
Starlink’s Ridgeline Mount: what it is and where it fits
The Ridgeline is Starlink’s only no-drill roof mount. It straddles the peak of a gable roof and is held down by ballast in trays on both slopes. Starlink lists it for Standard 4 and 4 X dishes.
Most US roofs are measured in “pitch”: inches of rise per 12 inches of run. Starlink states the limit in degrees, so here’s the conversion (our arithmetic):
| Roof pitch | 4/12 | 6/12 | 8/12 | 10/12 | 12/12 | 14/12 |
|---|---|---|---|---|---|---|
| Degrees | 18.4° | 26.6° | 33.7° | 39.8° | 45° | 49.4° |
| Under 45°? | Yes | Yes | Yes | Yes | No | No |
A phone level app laid on the roof surface (or on a straight board resting on it) reads the angle directly.
How to set up the Ridgeline Mount: 8 steps
Step 1: Scan from the ridge
From the gable-end ladder, hold your phone at ridge height and run a sky scan in the Starlink app. Starlink’s install guides say to confirm the spot with that tool before you mount anything.
Step 2: Check the roof against Starlink’s limits
Starlink says the Ridgeline sits on the top ridge of a gable roof, works with metal and shingle roofs under 45°, and isn’t recommended for clay tile. A hip roof’s short ridge is a poor fit. Use the pitch table below.
Step 3: Look at where the frame will rest
Check the ridge cap and the shingles under both ballast trays: no cracked caps, loose shingles or soft spots. Starlink doesn’t publish whether the frame may sit over a ridge vent, so if you have one, check the frame’s footprint against it before you buy.
Step 4: Haul the ballast up in small loads
Starlink lists the ballast package at 55.8 lb and the mount package at 12.8 lb. Don’t climb a ladder with that in one hand: keep three points of contact and pull the loads up in a bucket on a rope, with a helper below.
Step 5: Set the frame over the peak and load both trays evenly
Center the frame on the ridge with a tray on each slope, then split the ballast evenly between them. An unbalanced frame creeps toward the heavy side.
Step 6: Fit the mast and dish, then align in the app
Check the mast with a level, attach the dish, connect the cable and use the Starlink app’s alignment tool. Tighten everything once it says you’re aligned.
Step 7: Tether it and route the cable
Tie a steel tether from the mast to something structural, such as a screw eye in the gable-end framing (our rule of thumb; it means one small hole, but it’s cheap insurance). Clip the cable along the ridge and down the gable edge.
Step 8: Check it after the first big wind
Look from the ground with binoculars: the frame still centered, the trays flat, the ballast in place, the mast plumb.
The ridge is the most dangerous place on the roof
It’s the highest point, and the ballast is heavy. Work with a helper, wear a harness tied to an anchor, keep 10 ft from power lines, and stay off a wet, frosty or windy roof. Starlink’s terms say if you can’t install safely, don’t.
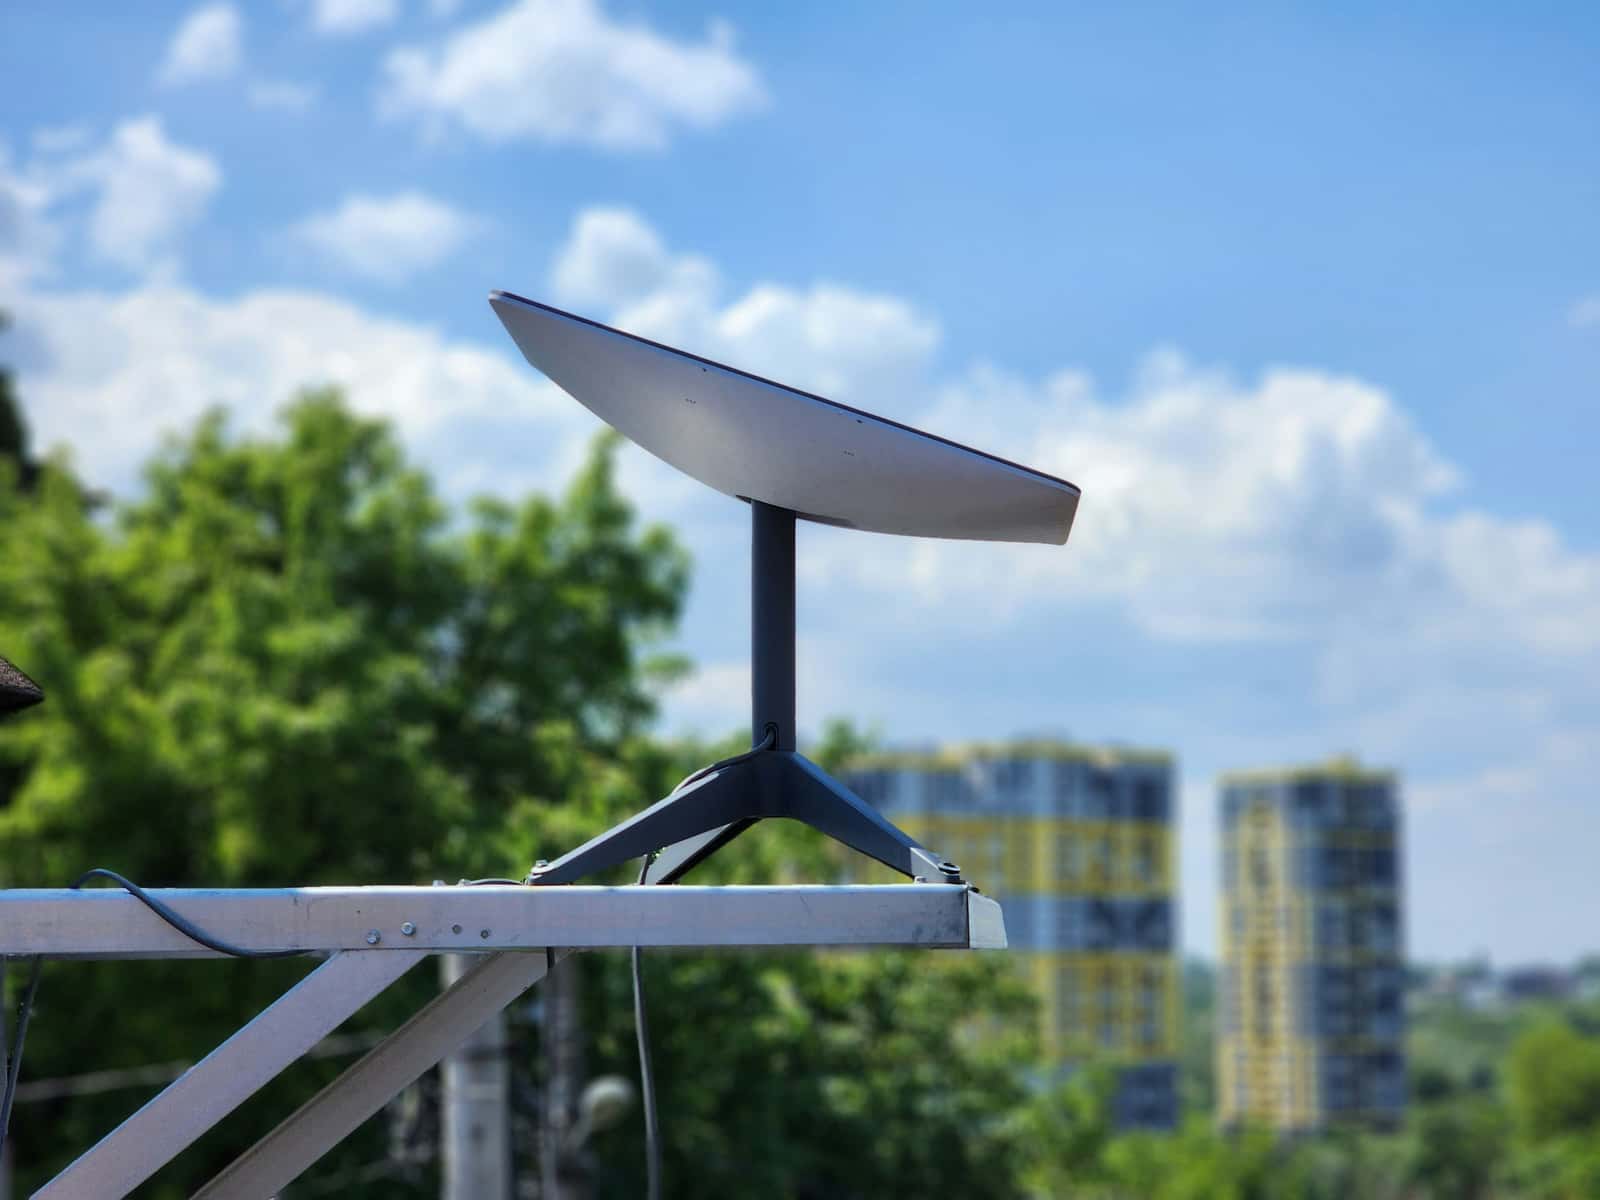
Flat and low-slope roofs: ballast frames
Many homes in the Southwest, row houses and additions have flat or nearly flat roofs covered in a membrane. Every screw through that membrane is a future leak, and Starlink’s terms name penetration of the membrane as a risk you accept with a permanent roof mount.

- Use a non-penetrating frame sold for satellite dishes, with ballast blocks and a rubber protection pad under it that suits your membrane.
- Size the ballast from the frame maker’s wind chart for your mast height. More mast means more weight.
- Keep it off seams, drains and soft spots, and back from the roof edge.
- Ask about the roof. A small frame is usually fine, but on an older roof, a roofer can tell you whether it carries the extra weight.
Starlink’s V5 Home Mount is also made for flat surfaces, but it screws down. Roof install guide.
Renters and balconies
No-drill is the renter’s friend. The FCC’s 1998 order says renters may install covered antennas where they rent outside space, such as balconies, balcony railings, patios, yards and gardens. That’s general information, not legal advice, and it doesn’t cover the roof or exterior walls of the building. Read Starlink for renters and apartments and condos before you buy anything.
- Yard or patio: the kickstand or X-Frame Base on pavers.
- Balcony: a weighted stand, or a railing clamp holding a short metal pipe for the pipe adapter. The balcony above you blocks part of the sky, so scan first.
Wind: the price of no holes
A screwed-down mount is held by the house. A no-drill mount is held by weight or friction. Starlink rates the Standard 4 X dish as working in winds of 60 mph+ and the mounted V5 at 165 mph, but rates the Ridgeline Mount only up to 50 mph. Starlink says the kit isn’t designed for hurricanes or tornadoes, and that if hurricane-force winds are coming and it’s safe, you should bring the dish and cables indoors.
In tornado alley, on the Gulf and Atlantic coasts, or on an exposed ridge in the Mountain West, a no-drill roof mount needs a tether, and a ground or pole spot may simply be the better choice.
Tile roofs
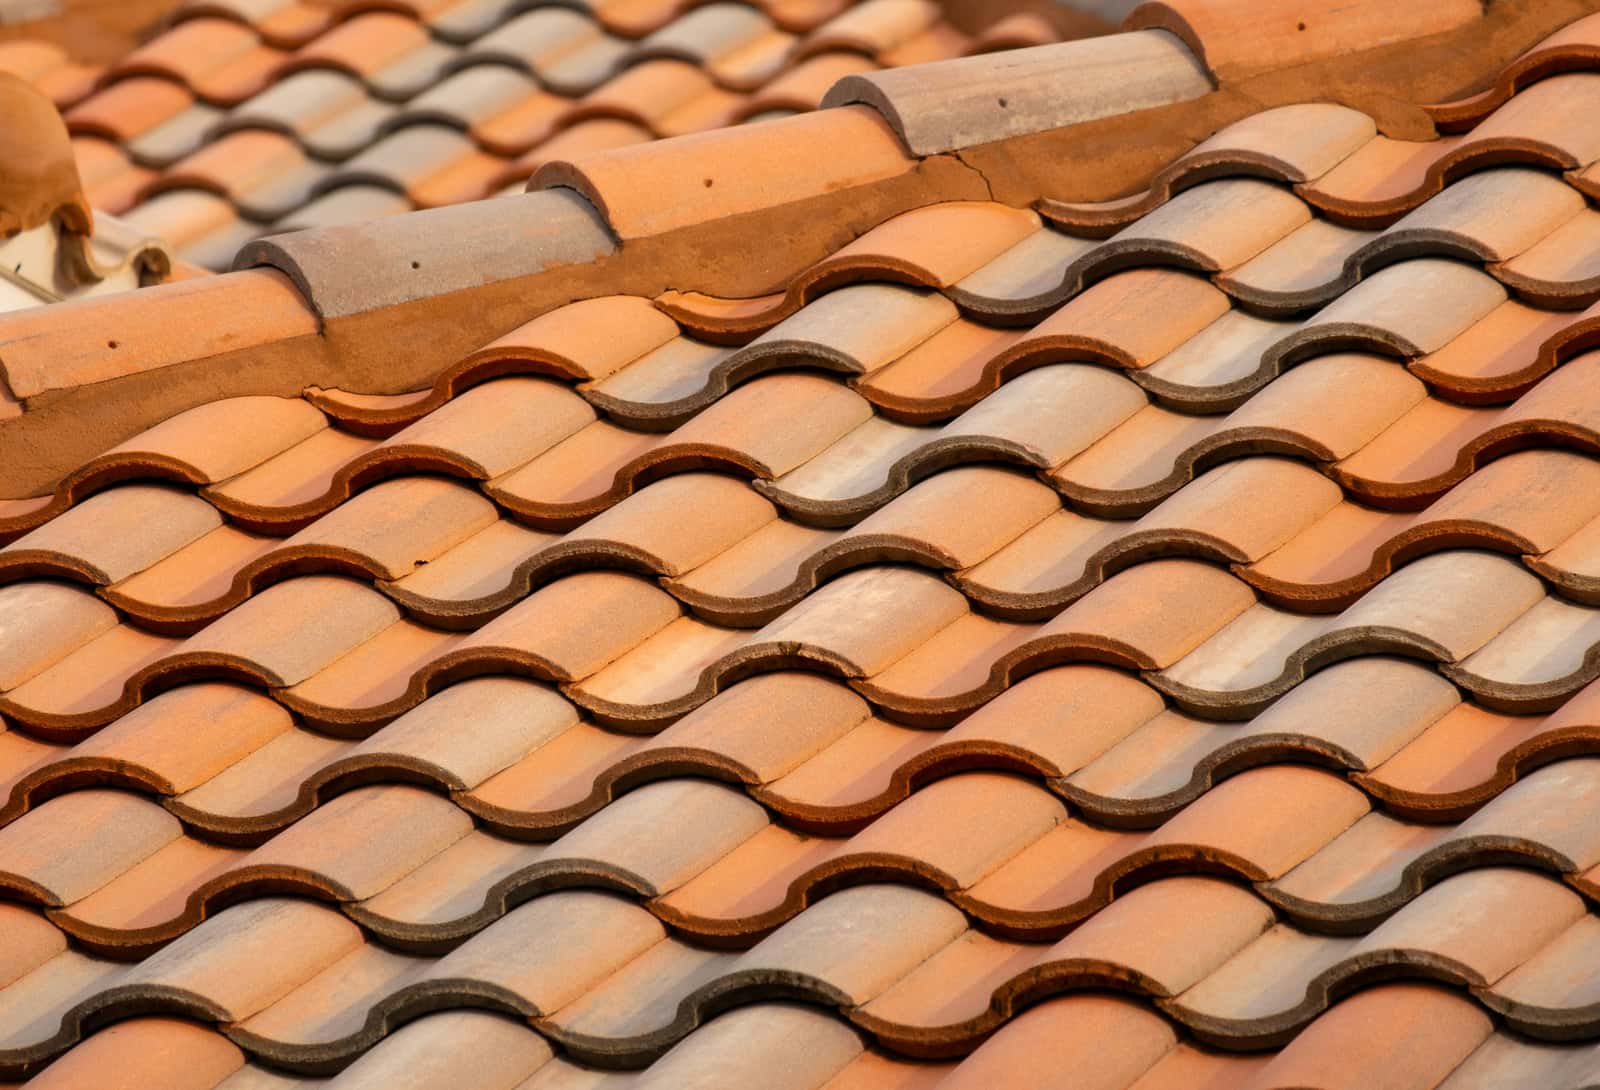
Starlink says the Ridgeline isn’t recommended for clay tile, and tiles crack when you walk on them. On a tile roof, the no-drill answers are the ground, a pole, a balcony or a chimney strap.
Don’t order yet if…
- your roof is clay tile, steeper than the Ridgeline’s limit, or a hip roof, and no ground or pole spot scans clear
- you’re in hurricane country and have no way to tether a weighted mount or take the dish down
- you rent and the only clear spot is the building’s roof or an outside wall you don’t control
Questions this page answers
Can you install Starlink without drilling holes?
Yes. If the yard scans clear, the kickstand in the box needs no holes. To get higher, use Starlink’s weighted Ridgeline Mount on a gable roof, a ballast frame on a flat roof, a clamp onto an existing metal post or railing, or a chimney strap. The cable still has to get inside: a window or door pass-through avoids a hole there too.
How much weight does the Starlink Ridgeline Mount need?
Starlink lists the shipping weight of the Ridgeline’s ballast package at 55.8 lb, and the mount package at 12.8 lb. It doesn’t publish a separate figure for how much weight the mount must carry, so use the ballast it ships with and follow its guide.
Will a no-drill mount blow off in a storm?
It can if it isn’t set up right. Starlink rates the Ridgeline Mount up to 50 mph, lower than the Standard 4 X dish’s 60 mph+, and says the kit isn’t designed for hurricanes or tornadoes. Tether it, and bring the dish inside if hurricane-force winds are coming and it’s safe.
Does the Ridgeline Mount fit the Starlink V5?
Starlink lists the Ridgeline for Standard 4 and 4 X, and says its Standard mounts aren’t compatible with other kits. Don’t count on it for a V5; check the product page for your dish.
Can I use the Ridgeline Mount on a tile roof?
Starlink says it’s not recommended for clay tile roofs. On tile, a ground, wall or pole spot, or a tile roofer, is the safer choice.
Can renters install Starlink without drilling?
Often, yes: on the ground in a yard you rent, or on a balcony or patio with a weighted stand or a railing clamp. The FCC’s 1998 order says renters may install covered antennas where they rent outside space, such as balconies, patios and yards. General information, not legal advice. Renters’ guide.
Will a ballast mount damage my flat roof?
It shouldn’t if it sits on a protection pad made for your roof membrane and the roof can carry the weight. Starlink’s terms name penetration of the roof membrane as a risk you accept with a permanent roof mount, which is why a non-penetrating frame is the usual choice.
What we checked this page against
- Standard 4 X setup guide, PDF · seen Nov 3, 2026
- Whether you need a mount (support article) · seen Nov 3, 2026
- Starlink shop, public accessory prices · seen Nov 3, 2026
- Standard accessories guide, PDF · seen Nov 3, 2026
- V5 setup guide (support article) · seen Nov 3, 2026
- Third-party mounts (support article) · seen Nov 3, 2026
- App alert list (support article) · seen Nov 3, 2026
- Standard 4 X spec sheet, PDF · seen Nov 3, 2026
- V5 spec sheet with Router Mini, PDF · seen Nov 3, 2026
- Snow, rain, wind, lightning and temperature (support article) · seen Nov 3, 2026
- Weather and service quality (support article) · seen Nov 3, 2026
- Aligning the dish (support article) · seen Nov 3, 2026
- US terms of service · seen Nov 3, 2026
- FCC 98-273: OTARD extended to renters (1998) · seen Nov 3, 2026
Each number on this page traces back to one of these entries; our fact rules explain how. If a reading has drifted, the corrections log shows how it gets fixed.