Metal roof
Starlink on a metal roof: standing seam, screw-down and corrugated
Metal roofs are common across rural America, and they’re one of the best roofs for a dish if you fasten to the right part of the panel. Here’s how for each type.
$100First Starlink? The pre-order checklist and our referral linkOn standing seam, clamp onto the raised seams with no holes; on screw-down or corrugated panels, fasten through the high rib into the purlin with sealing washers; or skip fasteners with Starlink’s weighted Ridgeline Mount.
Never fasten in the flat part of the panel where water runs, and don’t set the dish directly on the metal: Starlink says that may interfere with GPS. Magnets aren’t a home mount.
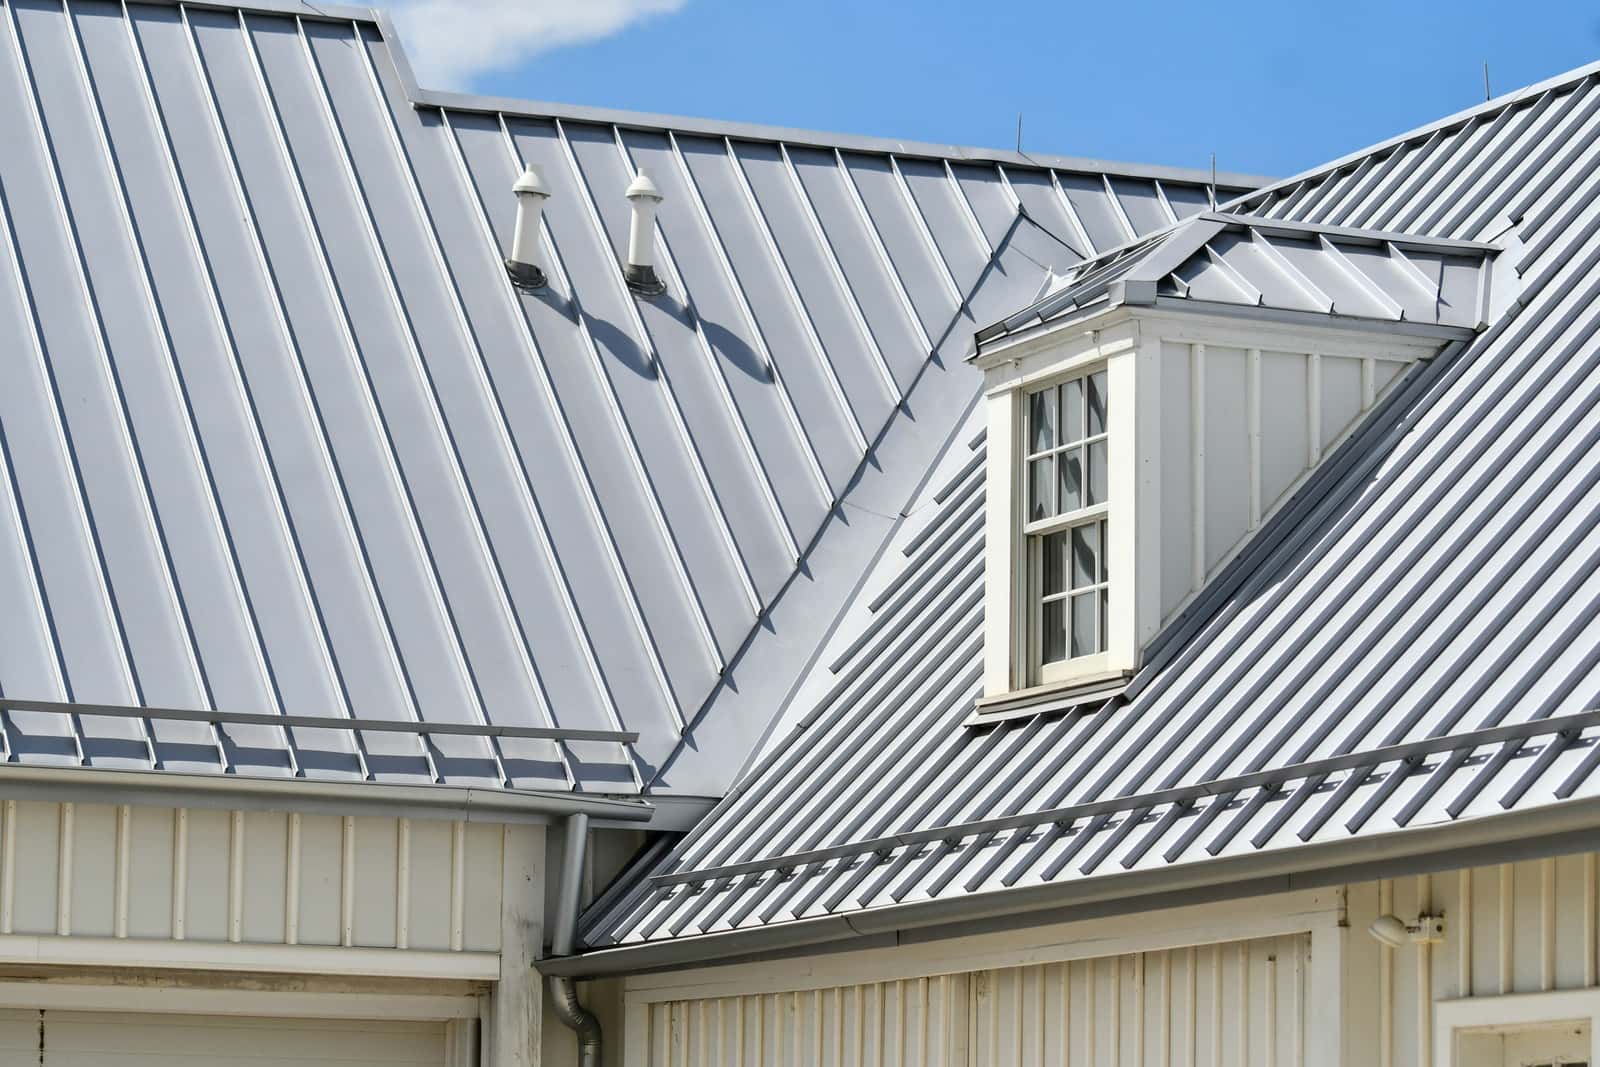
Which metal roof do you have?
Look at the roof from the ground, or at a photo zoomed in. Three types cover most US homes, barns and shops:
- Standing seam. Smooth flat panels with tall, narrow raised seams running up the roof, and no screw heads showing. Common on newer homes.
- Screw-down (exposed fastener). Panels with wide trapezoid ribs and rows of screws with rubber washers across the roof. Common on farmhouses, shops and post-frame buildings.
- Corrugated. Rounded waves, usually on barns and older sheds. Often thinner metal.
Which Starlink mount for which metal roof
| Roof | Best option | Holes? | Watch out for |
|---|---|---|---|
| Standing seam | Third-party seam clamps + plate + short mast, with the pipe adapter | None | Clamp must match your seam profile |
| Screw-down ribs | Bracket made for exposed-fastener metal, into the purlin through the rib top | Sealed, in the rib | Find the purlin; sealing washers; never the flat |
| Corrugated | Same as screw-down, through the crests; or a pole beside the building | Sealed, on crests | Thin, old panels may not hold |
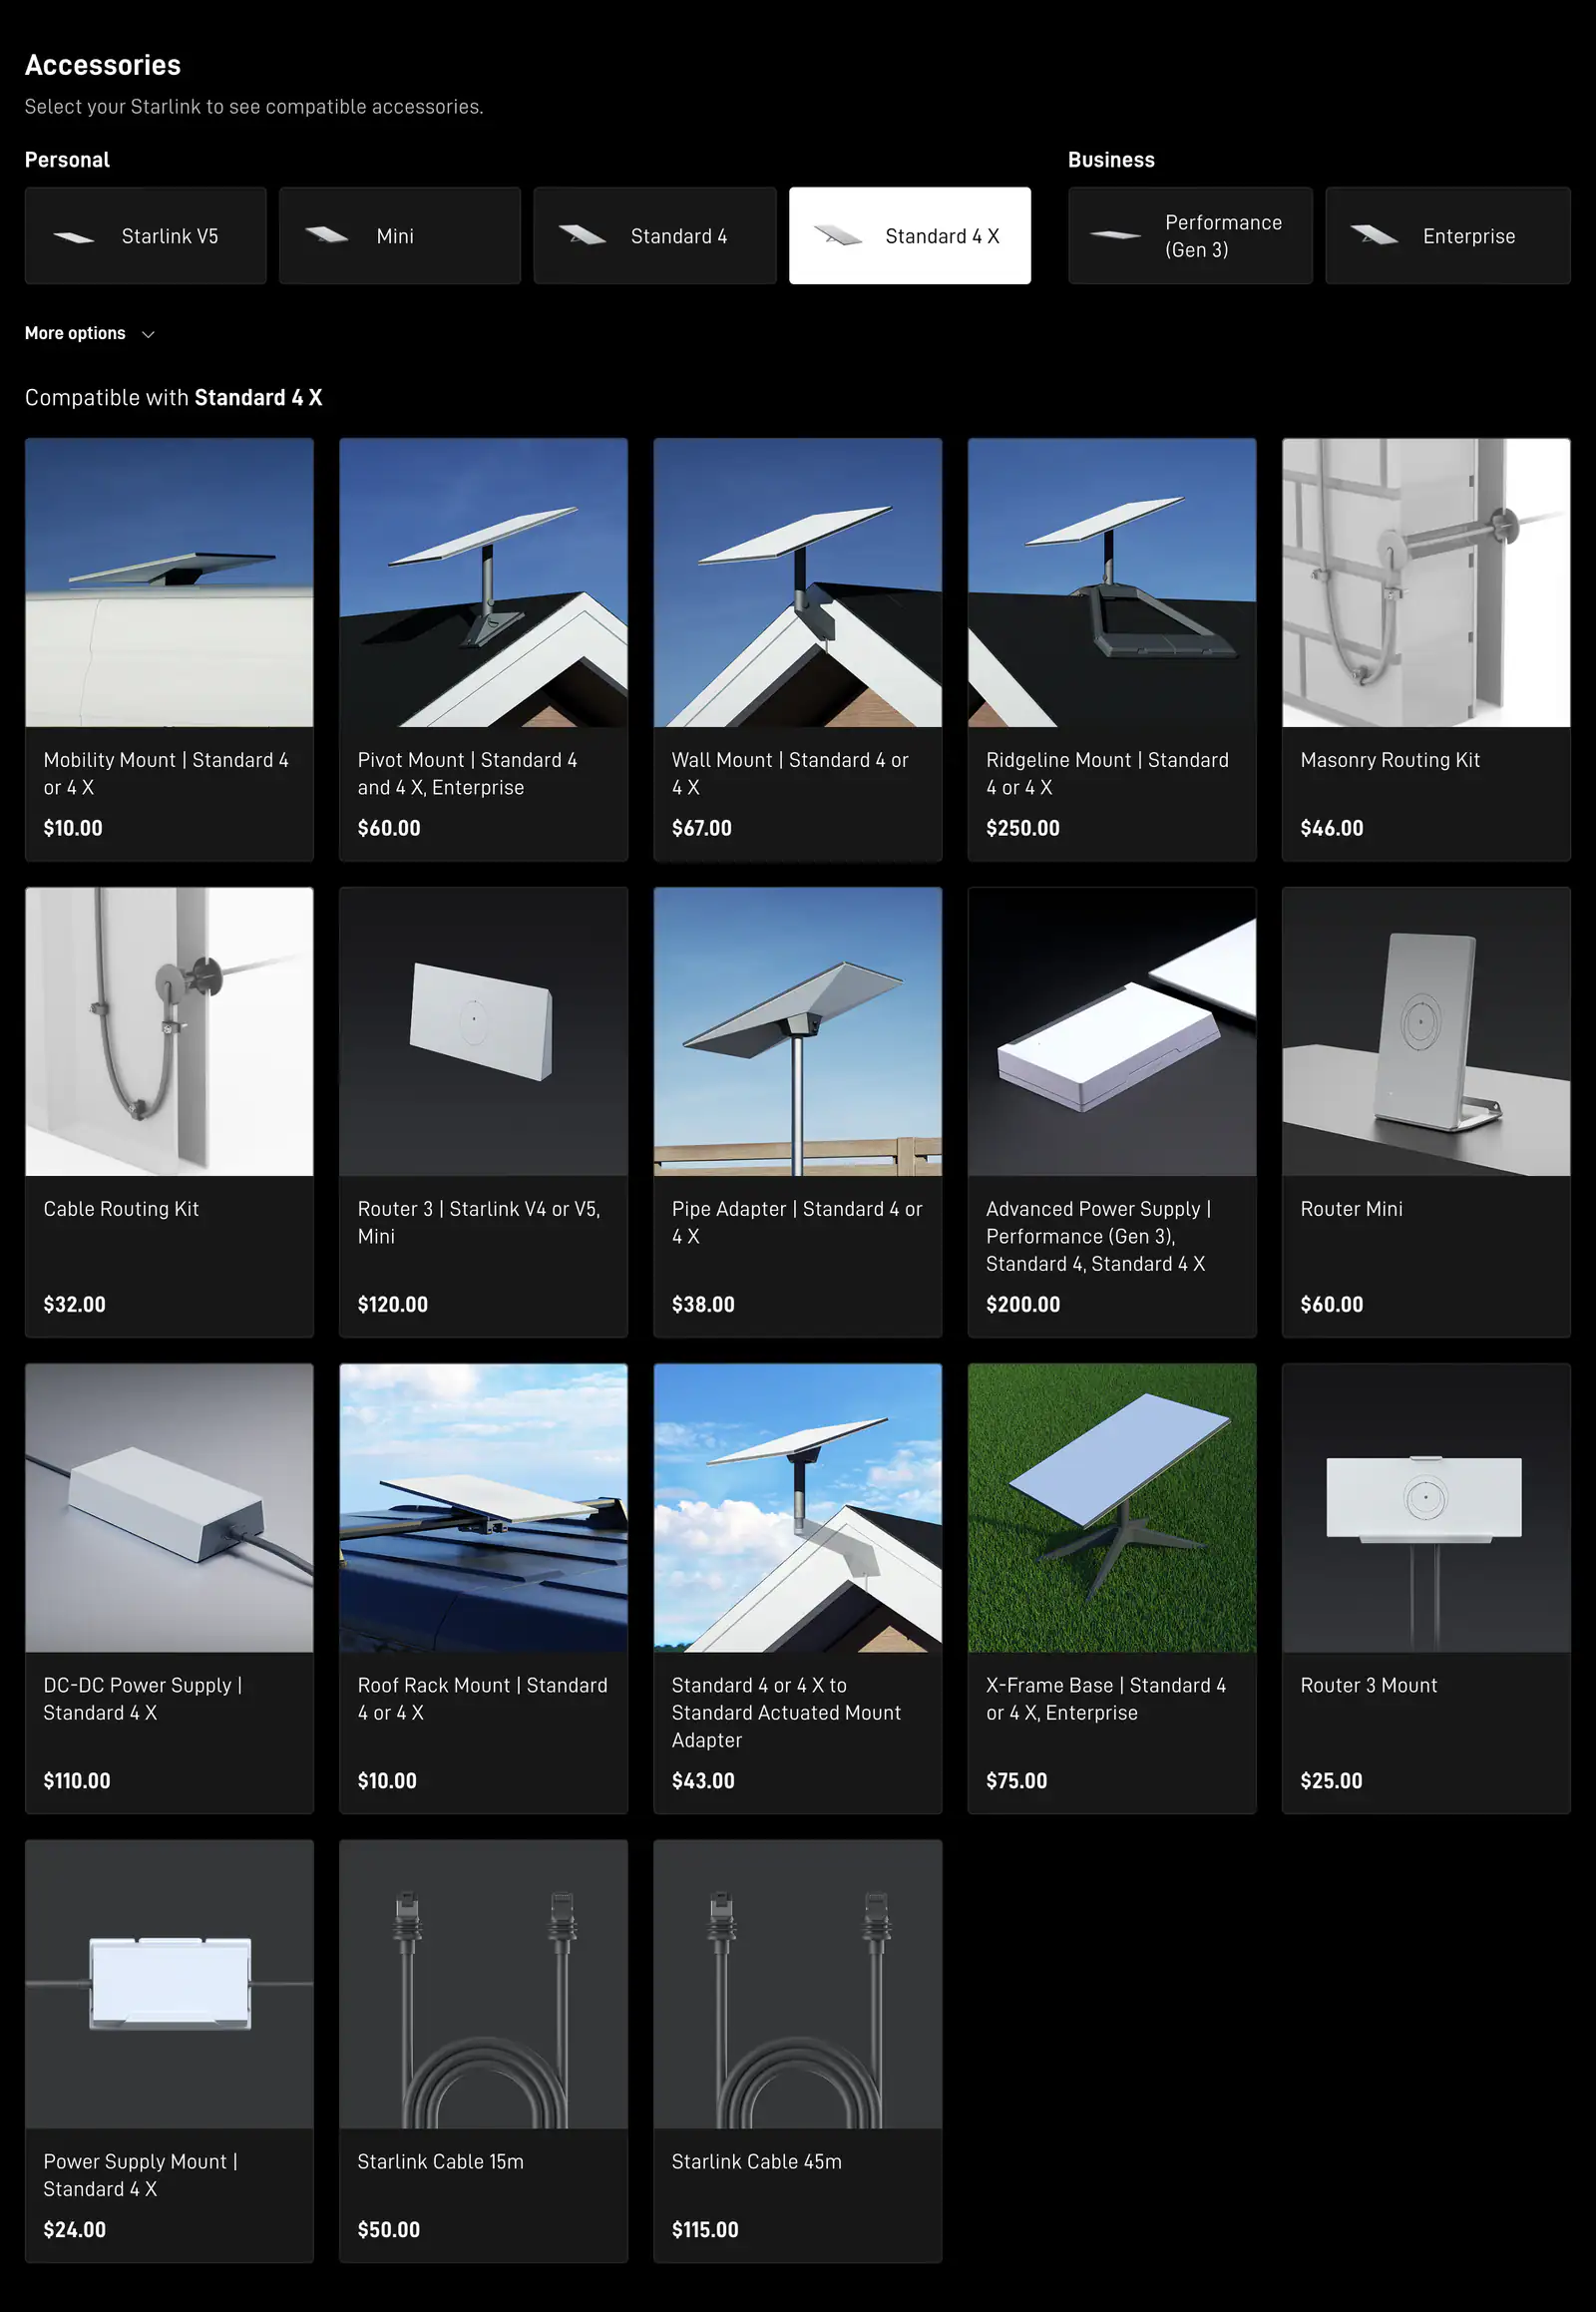
| Any metal gable roof | Starlink Ridgeline Mount (Standard 4 / 4 X), $250 | None | Slope under 45°, wind rating up to 50 mph |
Ridgeline price as Starlink’s shop listed it on Nov 3, 2026, shipping included. Starlink describes its Pivot Mount as ideal for slanted, shingled roofs and doesn’t list it for metal. Its V5 Home Mount works on sloped surfaces, but it’s screwed down, so the rib rules below apply.
How to mount Starlink on standing seam: 8 steps
Step 1: Scan from near the ridge
From a ladder at the gable end, or tied off on the roof, hold your phone where the dish would sit and run a sky scan in the Starlink app. Starlink’s install guides say to confirm the spot with that tool before mounting. How to scan.
Step 2: Identify your seam profile
Measure the seam’s height and width, note its shape (a folded “mechanical lock” seam, a snap-lock seam, a T-shape) and look for the panel maker’s name in your house paperwork. Clamp makers publish which profiles each clamp fits.
Step 3: Buy a matching clamp kit and a short mast
Get non-penetrating seam clamps made for your profile, with a mounting plate that holds a short metal mast. The Starlink Pipe Adapter for Standard 4 and 4 X clamps onto 1.25–2.5 in metal pipe; the V5 box includes its own adapter for 1.2–2.0 in pipe.
Step 4: Clamp across two seams near the ridge
Place the plate so it spans two seams, a little below the ridge, where the least snow can slide into it. Never drill into the seam or the flat pan.
Step 5: Tighten the set screws to the clamp maker’s torque
Use a torque wrench and the number in the clamp’s instructions. Too loose slips; too tight can crack the paint on the seam.
Step 6: Fit the mast plumb and attach the dish
Bolt the mast to the plate, check it with a level on two sides, fit the pipe adapter and the dish. Seat the Starlink cable fully before it’s exposed to weather: Starlink says that gives the connection its rated water resistance.
Step 7: Align in the app, then lock it
Today’s Standard and V5 dishes are aimed by hand with the Starlink app’s alignment tool. Tighten every adjustment once it says you’re aligned.
Step 8: Run the cable down a seam with clip-on clips
Seam-clip cable holders snap onto the seam with no screws. Leave a drip loop where the cable leaves the roof. Getting the cable inside.
Screw-down and corrugated panels: fasten high, seal tight
On these roofs water runs in the low flats, so every fastener goes through the top of a rib or crest, where water doesn’t sit. This is general metal-roofing practice; Starlink doesn’t publish metal-roof instructions.
- Find the purlins. The existing rows of screws mark them. Your bracket’s screws must land in those lines, not just the thin panel.
- Use a bracket made for exposed-fastener roofs. It sits on the ribs and has a butyl or rubber pad underneath.
- Use sealing-washer screws (metal-roofing screws with a bonded rubber washer), long enough to bite well into the purlin.
- Snug, don’t crush. The washer should just bulge at the edges. Over-tightened washers split and leak.
- Seal the edges of the pad with a sealant made for metal roofs, and check it after the first season.
On thin or rusty corrugated metal, a pole beside the building is often the better plan. Pole mounts.
Metal, GPS and magnets
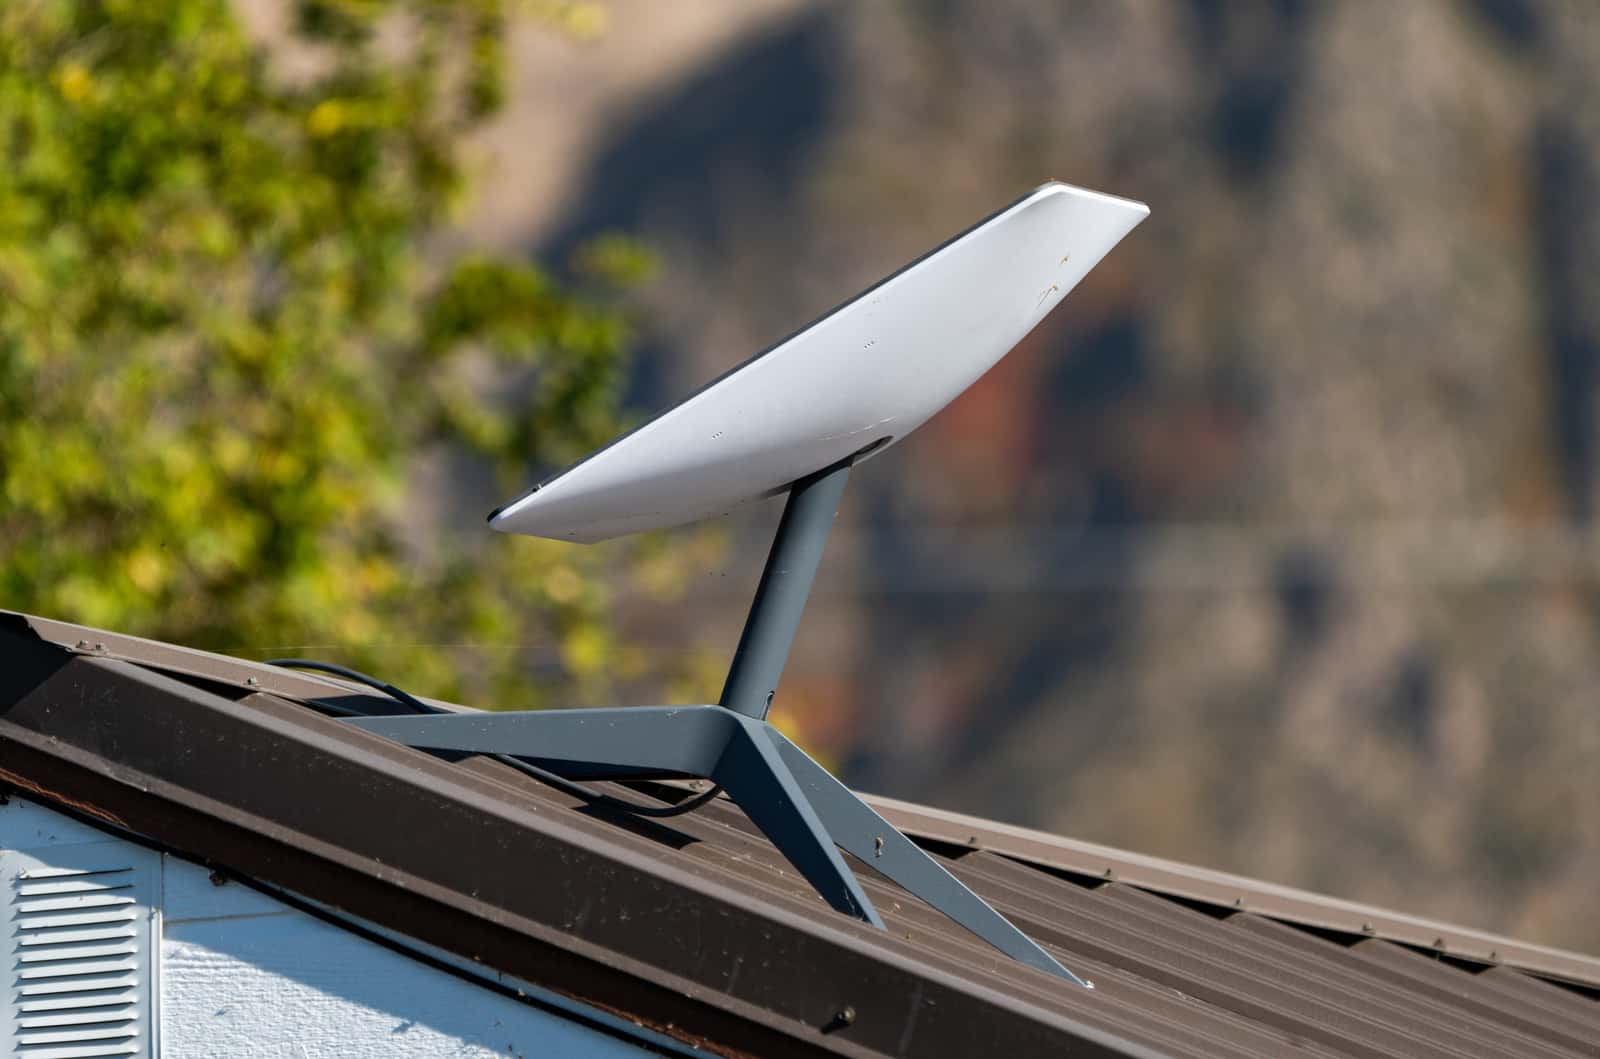
Starlink says two things about metal: third-party metal mounts that wrap around the dish’s base, and placing the dish directly on metal, may interfere with GPS and aren’t supported. On a metal roof that means the dish goes up on its mast, never flat on the panels on its kickstand.
Magnets. Starlink’s shop list for the Standard 4 X has no magnet mount. Magnetic mounts are sold for vehicles. On a house we’d skip them: many metal roofs are aluminum, which magnets don’t grip; a dish on a mast is a lever in the wind; and a sliding magnet scratches the coating and starts rust.
Snow slides and safety on metal
Metal roofs shed snow in sheets. Starlink says to install where snow buildup won’t block the dish’s view and where it’s unlikely to get buried. On metal, put the mount close to the ridge so little snow sits above it, and never in the path of a valley.
Metal roofs are slippery
- Stay off when there’s dew, frost, rain or a film of pollen. Morning dew alone can make a metal roof unwalkable.
- Wear soft rubber soles and a harness tied to a proper anchor. Step on the screw lines, where the purlins are, to avoid denting panels.
- Steep pitch or two stories up: hire a metal roofer. Starlink’s terms say if you can’t install safely, don’t.
Roof warranty: Starlink’s terms say a permanent roof mount carries risks you accept, including to any roof warranty. Ask your panel maker or roofer, in writing, before any hole goes through a panel. Seam clamps exist so you don’t have to.
Don’t order yet if…
- you can’t find a seam clamp that matches your seam profile, and the roof is under a no-penetration warranty
- the panels are thin or rusty and there’s no other spot that scans clear
- the only clear spot is on a steep metal roof and no one can install it safely
Questions this page answers
Can you mount Starlink on a metal roof?
Yes. Standing-seam roofs take clamps that grip the seam with no holes, screw-down panels take a bracket fastened through the raised rib into the purlin, and Starlink’s weighted Ridgeline Mount works on metal gable roofs within its slope limit.
Does a metal roof block or weaken Starlink?
Not if the dish is above it with open sky. The problem is placing the dish directly on metal: Starlink says that may interfere with GPS and isn’t supported. Keep the dish up on its mast. Indoors under a metal roof, it won’t work.
Can I use a magnetic mount on my metal roof?
We wouldn’t. Starlink’s Standard 4 X shop list has no magnet mount, many metal roofs are aluminum (which magnets don’t stick to), and a mast on a magnet is a lever in the wind. It can also scratch the coating and start rust.
Will a Starlink mount void my metal roof warranty?
A hole through the panel might; a seam clamp usually doesn’t, but check your panel maker’s terms in writing. Starlink’s terms say a permanent roof mount carries risks you accept, including to your roof warranty.
Can I use the Starlink Pivot Mount on a metal roof?
Starlink describes the Pivot Mount as ideal for slanted, shingled roofs and doesn’t list it for metal. On screw-down panels, a bracket made for exposed-fastener metal roofs seals better.
Does the Ridgeline Mount work on a metal roof?
Yes. Starlink says it works with metal and shingle roofs with slopes under 45°, on the top ridge of a gable roof. Its wind rating is up to 50 mph. Ridgeline details.
What we checked this page against
- Standard 4 X setup guide, PDF · seen Nov 3, 2026
- Starlink shop, public accessory prices · seen Nov 3, 2026
- Standard accessories guide, PDF · seen Nov 3, 2026
- V5 setup guide (support article) · seen Nov 3, 2026
- Third-party mounts (support article) · seen Nov 3, 2026
- App alert list (support article) · seen Nov 3, 2026
- Water resistance (support article) · seen Nov 3, 2026
- Aligning the dish (support article) · seen Nov 3, 2026
- Snow, rain, wind, lightning and temperature (support article) · seen Nov 3, 2026
- Snow and ice performance (support article) · seen Nov 3, 2026
- US terms of service · seen Nov 3, 2026
Each number on this page traces back to one of these entries; our fact rules explain how. If a reading has drifted, the corrections log shows how it gets fixed.