Cable routing
How to get the Starlink cable into your house
The dish is the easy part. Getting one cable from the roof into the living room, without leaks, drafts or a crushed connector, is where most DIY installs slow down. Here is how to do it once and do it right.
$100First Starlink? The pre-order checklist and our referral linkMeasure first, then drill one hole that slopes down to the outside, let the cable dip in a drip loop below it, push it through and seal the outside.
The cable in the box is 15 m (49.2 ft). That covers most one-story roof installs but often not a two-story house with a central router, or a pole out in the yard. Starlink sells a 45 m (147 ft) cable for those. Through brick, block or hard stucco you need a masonry bit. Through a window or a closed door is not a permanent route.
Is the Starlink cable long enough?
Usually, for a one-story house. Not always for anything else. Starlink says the Standard 4 X, V5 and Standard 4 kits all come with a 15 m (49.2 ft) cable. People measure the straight line from the dish to the router and forget three things: the run along the roof to the edge, the drip loop, and the trip across the room to a central router spot instead of the corner where the cable happens to come in.
| Example | Legs | Total | Cable |
|---|---|---|---|
| Ranch house, dish on the roof | roof to the edge 10 ft + down the wall 9 ft + drip loop and wall 3 ft + inside to the router 18 ft | ≈ 40 ft | 15 m box cable fits |
| Two-story, dish near the peak | roof to the edge 14 ft + down the wall 20 ft + drip loop and wall 3 ft + inside to a central router 24 ft | ≈ 61 ft | needs the 45 m cable |
| Pole 60 ft from the house | down the pole 10 ft + pole to the house 60 ft + drip loop and wall 3 ft + inside to the router 15 ft | ≈ 88 ft | needs the 45 m cable |
If yours comes out longer than the box cable, you have two real choices: move the dish or the router closer, or buy Starlink’s longer cable ($115; Starlink Shop prices include shipping). A spare 15 m cable is $50. What you shouldn’t do:
- Don’t cut, splice or join cables. Starlink advises against cutting, splicing or joining cables to add length, and against third-party cables, because it can’t promise the service will work well. A third-party cable isn’t covered by the warranty.
- Don’t add couplers or wall jacks in the line. Starlink’s Specifications document says to connect the dish directly, without jumper cables, receptacles or other devices that extend the link.
- Don’t buy a third-party cable. Starlink says to use only official Starlink cables; third-party equipment isn’t covered by the warranty.
What a good cable entry looks like
Water follows a cable. If the cable runs straight down the wall and into a level hole, rain runs along it and into your wall cavity. Two simple habits stop that:
- A drip loop: the cable dips below the hole, then rises into it. Water runs to the bottom of the loop and drips off.
- A hole that slopes down to the outside: drill from inside, aiming slightly downward, so anything that gets in runs back out.
Starlink says to seat the Starlink cable fully before exposing the dish to weather, to get its rated water resistance. A half-pushed connector is the most common hidden leak point on any install.
How to run the cable inside: 8 steps
Times are our estimates for a first-timer working on a wood-frame or sided wall.
Step 1: Measure the whole run
Walk the route with a tape: dish to the roof edge, down the wall, through the wall, then across the room to where the router will sit. Add 2–3 ft for the drip loop and some slack at each end. Compare the total with the 15 m (49.2 ft) box cable before you mount anything.
Step 2: Choose where the cable comes in
A good entry point is low enough to reach safely from a ladder, near a power outlet, and on the way to the middle of the house. Starlink’s placement tips put the router in a central spot, on a raised flat surface, in the open. So plan the cable to reach there, not just the nearest wall. (Even on a professional install, Starlink’s list says “the router is connected and powered at the entry point”, so tell the installer if you want it somewhere else.) Where the router should go.
Indoors, keep the router and power supply in living space: Starlink gives their indoor range as 32 °F to 86 °F, which rules out most attics and many garages.
Step 3: Check inside the wall
Scan the spot from inside with a stud or electrical finder (Starlink lists one in its wall-mount tools). Outlets and switches often have wires running straight up or down from them, so stay well to one side. Check outside too: hose bibs, dryer vents and gas lines all hide behind siding.
Step 4: Drill one hole that slopes down to the outside
Drill from inside, aiming slightly downward toward the outside. Starlink’s own Cable Routing Kit comes with a 3/4-inch spade bit, which tells you the hole size it is designed around (our reading). Starlink doesn’t publish the connector’s exact size, so hold the connector against the bit before you drill. Use a long bit or extension so you go through siding, sheathing and drywall in one straight line.
Step 5: Feed the cable through
Feed the router end of the cable in from outside. Push, don’t yank. If it sticks, widen the hole slightly rather than forcing the connector. Leave the dish end outside, where it belongs.
Step 6: Make a drip loop
Outside, let the cable hang a few inches below the hole before it rises in. That U-shape is the drip loop. Clip the cable on both sides of the loop so it keeps its shape in wind.
Step 7: Seal and finish the hole
Fill the gap around the cable on the outside with exterior-grade sealant, then fit a grommet or wall plate inside for a clean finish and to keep drafts and insects out. Starlink’s Cable Routing Kit includes a 3/4-inch spade bit, drill bit, routing tool, sealant, grommets and clips. For grommets and similar parts, Starlink suggests a local hardware store.
Step 8: Clip the cable down
Clip the cable along the roof edge and down the wall every few feet. Snug, not crushed. Starlink says to keep the cable free of kinks, debris and door jambs, so route it away from anything that opens, rubs or gets walked on. Indoors, run it along baseboards or through a closet to the router.
Siding, brick, stucco, log, metal: what changes
Starlink sells two routing kits. Starlink’s routing kits pass the cable through most walls; the masonry kit is for masonry, concrete or hard-coat stucco.
| Your wall | Starlink kit | What to watch |
|---|---|---|
| Vinyl, wood or fiber-cement siding | Cable Routing Kit, $32 | Drill through a flat face of the siding, not a lap joint. Seal outside. |
| Brick or block | Masonry Routing Kit, $46 | Drill a mortar joint if you can: easier to drill and to patch later. Hammer-drill setting. |
| Hard-coat stucco | Masonry Routing Kit, $46 | Seal well: water behind stucco does damage you can’t see. Many people hire this one out. |
| Foam-backed (synthetic) stucco | Starlink doesn’t say which kit | Any hole must be sealed carefully or water gets behind the foam. Ask a stucco contractor. |
| Log home | Cable Routing Kit (long bit) | Logs are thick: use a long bit, keep the downward slope, seal both faces. |
| Metal siding or a manufactured home | Cable Routing Kit | Deburr the hole so sharp metal can’t cut the cable. Manufactured homes. |
Starlink’s shop listing says US orders of the Cable Routing Kit ship in 4–6 weeks, so order it early or buy the parts locally. Renting? Drilling usually needs your landlord’s OK; see Starlink for renters.
Window, attic, basement or the old cable-TV hole?
Through a window or door
Not for good
A closed window or door pinches the cable, and Starlink names door jambs as something to keep the cable clear of. Flat “window pass-through” cables are jumpers, which Starlink’s Specifications say not to use. Fine for a weekend test, not for a permanent install.
Basement or crawl space
Often the neatest
Drill through the rim joist just above the foundation (same downward slope and drip loop), then come up through the floor under the router spot. No visible cable in the room.
Through the attic
Harder
Enter at a gable end or soffit, cross the attic and drop down an inside wall. Neat, but fishing a cable down an insulated wall takes patience. Don’t leave the router or power supply up there: attics run far hotter than Starlink’s indoor range.
The old cable-TV or satellite hole
Check the size
Reusing a hole saves drilling, but old coax holes are often smaller than the 3/4-inch hole Starlink’s kit makes. Widen it with the slope in mind, and re-seal it properly.
Burying the cable or running it to a pole
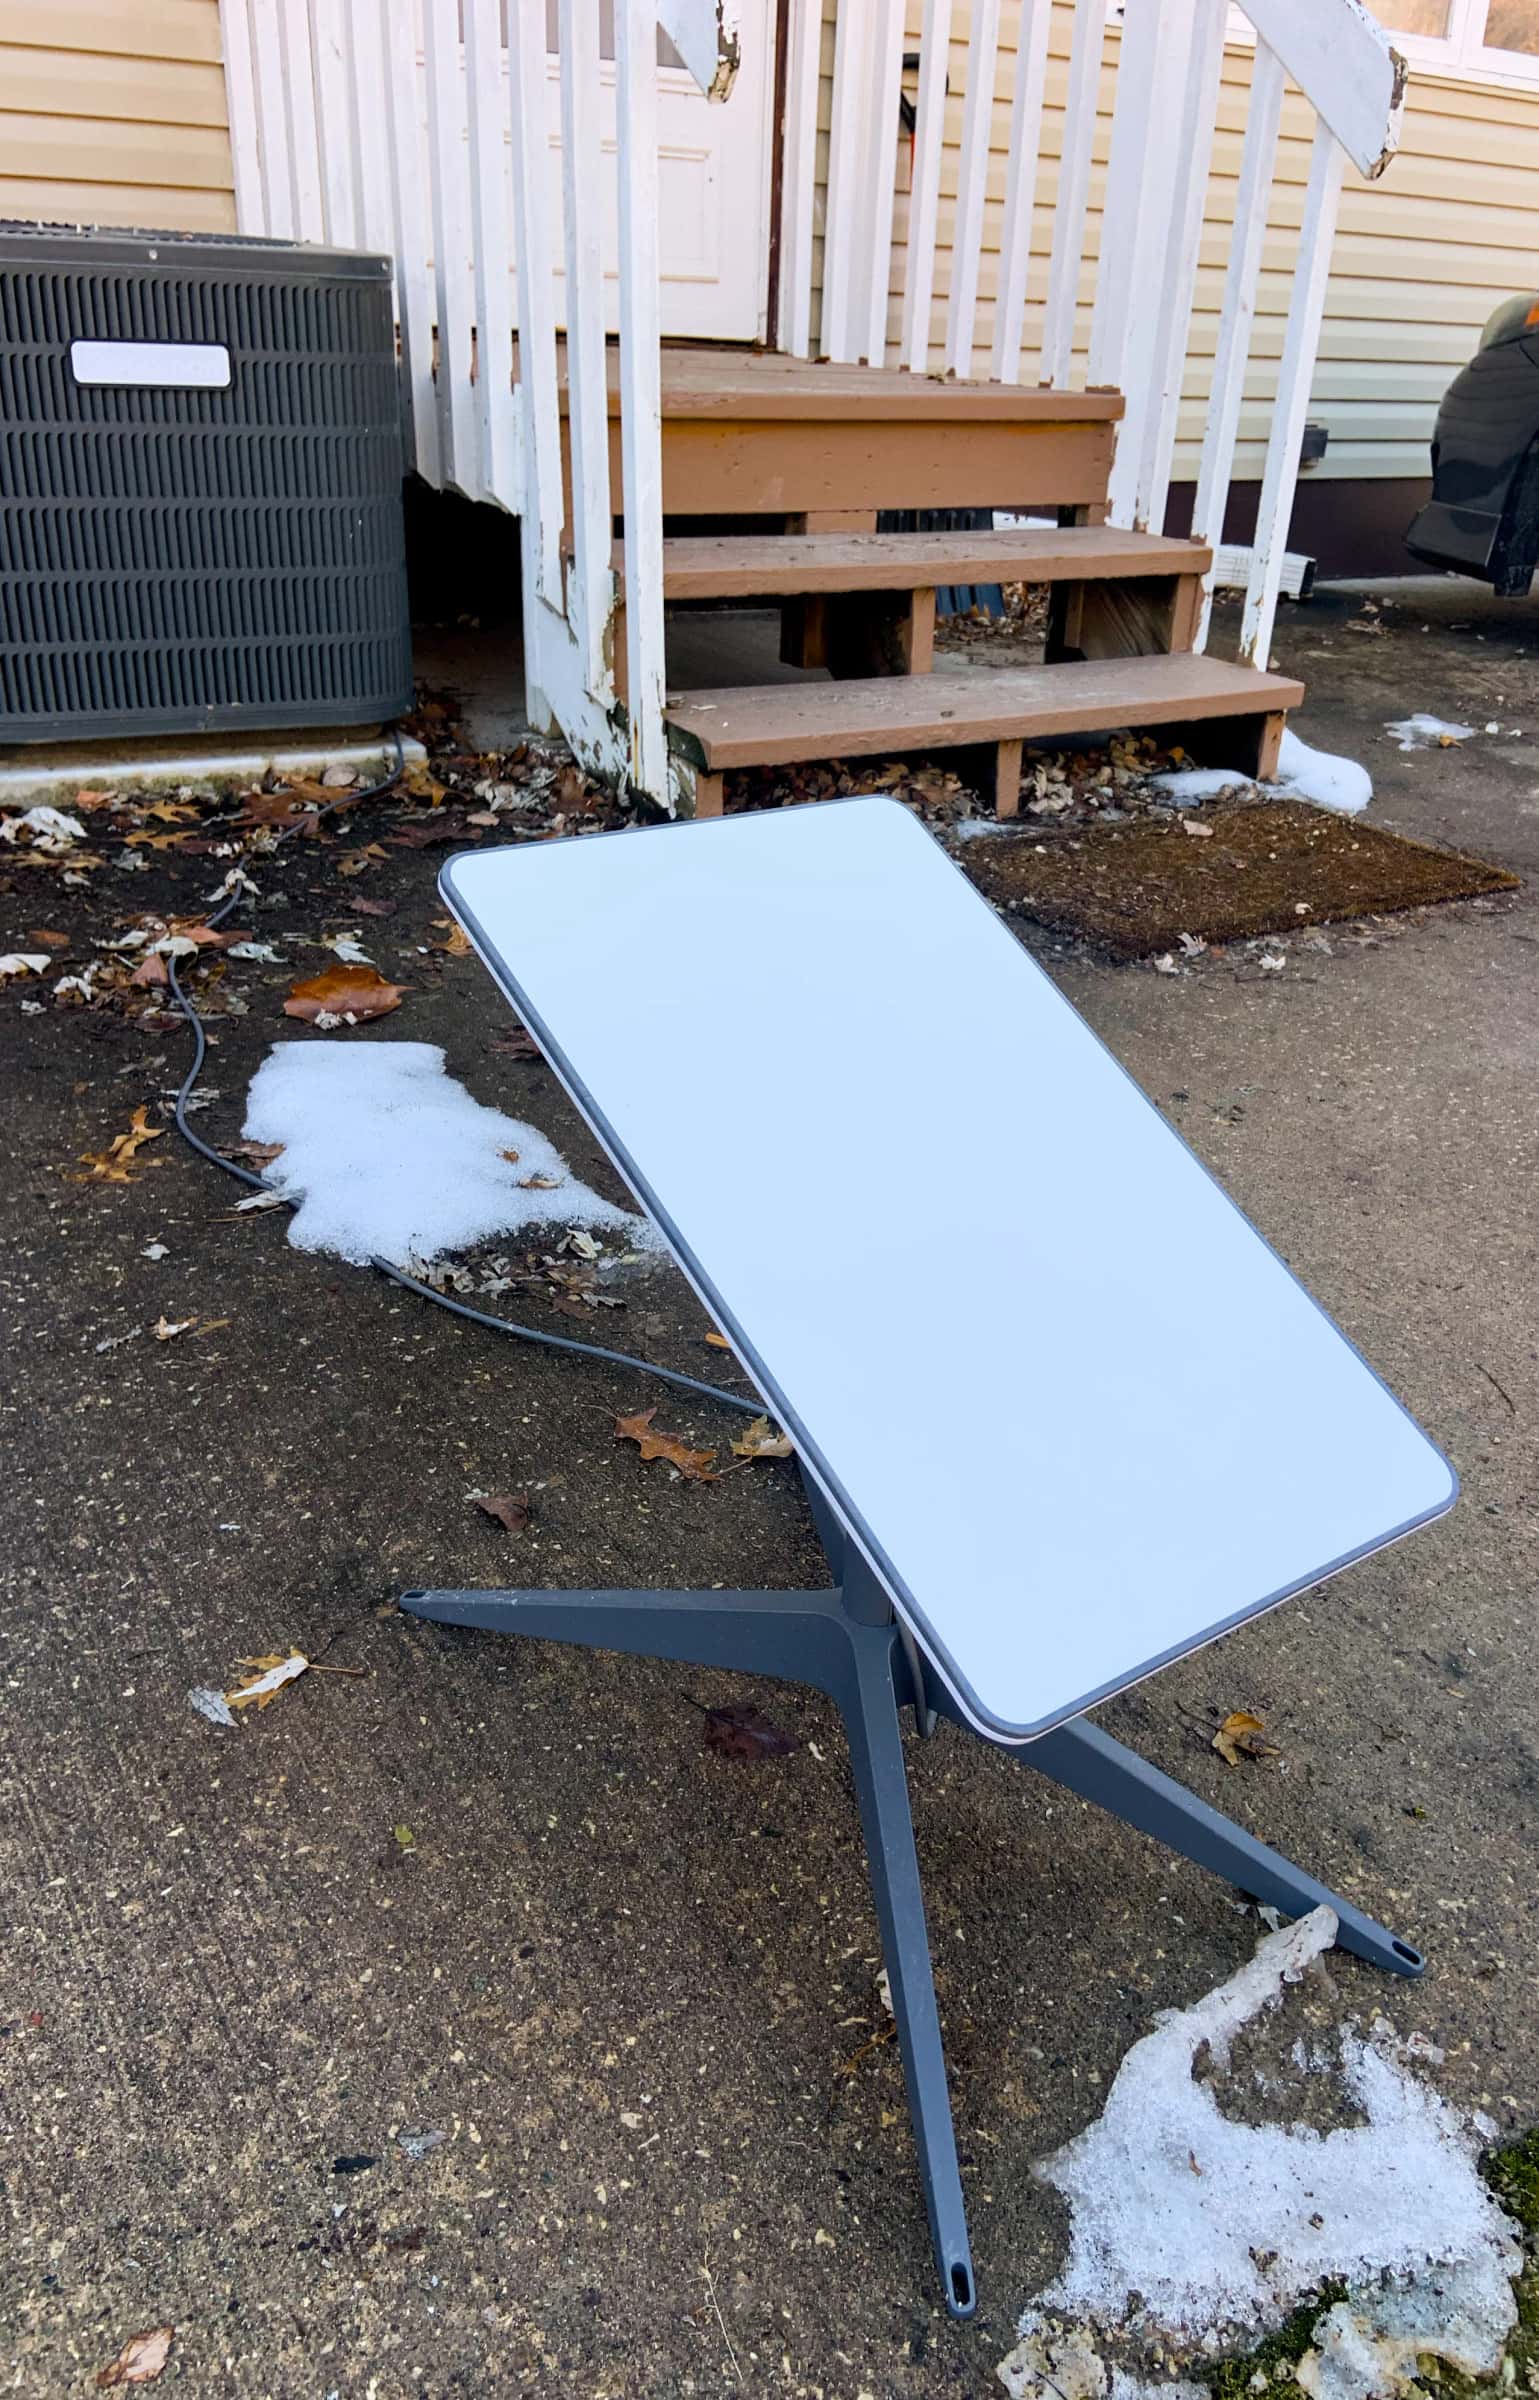
Starlink is plain about this: the Starlink cable is not rated to be buried or under water; keep it free of kinks, debris and door jambs. Starlink doesn’t publish guidance on running it through buried conduit. If the only clear sky is a pole out in the yard, plan the cable before you dig the footing: our pole guide covers the options, and the sky angle calculator tells you whether a taller mount closer to the house would clear the trees instead.
Safety
Before you drill or dig
- Wires and pipes: scan the wall from both sides first. Shut off the circuit if you’re drilling near an outlet.
- Ladders: set the base 1 ft out for every 4 ft of height and have someone hold it. Don’t stretch sideways to reach the hole.
- Digging a trench or a pole footing: call 811 a few business days before you dig. It’s free and required in every state.
- Your house, your repairs: Starlink’s Terms say it won’t pay for or restore property alterations your install needs.
Not comfortable drilling through brick, stucco or a second-story wall? That is exactly what a professional install covers.
Questions this page answers
How long is the Starlink cable?
Starlink says the Standard 4 X, V5 and Standard 4 kits each include a 15 m (49.2 ft) cable. The longer option Starlink sells is 45 m (147 ft), $115 on the Starlink Shop. Measure the whole route, inside and out, before you choose the dish spot.
How big a hole do I need for the Starlink cable?
Starlink’s own Cable Routing Kit comes with a 3/4-inch spade bit, so that is the hole Starlink plans for through a normal wall (our reading of the kit list). Starlink doesn’t publish the connector’s exact size, so hold the connector against the bit before you drill.
Can I run the Starlink cable through a window or door?
Not for good. Starlink says to keep the cable free of kinks, debris and door jambs, so a closed window or door is a short-term fix only. Flat “window pass-through” cables are jumpers, and Starlink’s Specifications say to connect the dish directly, without jumper cables, receptacles or other devices that extend the link.
Can the Starlink cable be buried?
Starlink says the cable is not rated to be buried or under water. Starlink doesn’t publish guidance on running it through buried conduit. If the best spot is a pole far from the house, read our pole guide or ask a local installer before you dig.
Can I cut or extend the Starlink cable?
Starlink advises against cutting, splicing or joining cables to add length, because it can’t promise the service will work well; third-party cables aren’t covered by the warranty. If the box cable is too short, buy Starlink’s 45 m cable instead.
Which way should the hole slope?
Down toward the outside, so any water that gets in runs back out. Add a drip loop below the hole so rain drips off the bottom of the loop instead of following the cable in. This is our rule of thumb and standard practice for any outdoor cable.
What we checked this page against
- Cable length and indoor routing (support article) · seen Nov 3, 2026
- Starlink shop, public accessory prices · seen Nov 3, 2026
- US specifications, DOC-DF-1915-15313-48 · seen Nov 3, 2026
- Intermittent connection troubleshooting (support article) · seen Nov 3, 2026
- Water resistance (support article) · seen Nov 3, 2026
- Items missing from the shop (support article) · seen Nov 3, 2026
- Improving Wi-Fi (support article) · seen Nov 3, 2026
- Snow, rain, wind, lightning and temperature (support article) · seen Nov 3, 2026
- Starlink installers (support article) · seen Nov 3, 2026
- US terms of service · seen Nov 3, 2026
- 811: call before you dig (Common Ground Alliance)
Each number on this page traces back to one of these entries; our fact rules explain how. If a reading has drifted, the corrections log shows how it gets fixed.