Roof install
How to install Starlink on your roof
A roof gets the dish above fences, sheds and low trees. Done right, it’s a few screws into a rafter that never leak. Here’s how, step by step, with the safety rules that matter.
$100First Starlink? The pre-order checklist and our referral linkScan the spot in the Starlink app first, then screw the mount into a rafter (not just the roof deck), fill every hole with sealant, and only go up if you can work safely.
On a shingle roof, Starlink’s own mount is the Pivot Mount for Standard 4 and 4 X dishes, or the Home Mount for the V5. Metal roof, tile, or no holes wanted? Jump to other roofs.
Is the roof the right spot?
Only if the ground doesn’t see enough sky. Starlink’s setup guide says to use an elevated spot such as a roof, pole or wall when there’s no clear view from the ground, and its placement article says many customers find a roof or pole mount works best. The roof wins over a wall when the house itself blocks part of the sky. It loses to a pole when trees rise well above the roofline.
Starlink doesn’t say one compass direction matters more for today’s home dishes, so don’t pick a roof face for facing “north” or “south”. Pick the face that scans clearest, then the spot on it you can reach safely.
Which roof mount for your roof and dish
Starlink’s mounts are made for specific dishes, and Starlink says its Standard mounts don’t fit other kits. Prices are what Starlink’s shop listed on Nov 3, 2026, shipping included.
| Roof | Mount to use | Notes |
|---|---|---|
| Asphalt shingle | Pivot Mount, $60 (Standard 4 / 4 X) · Home Mount, $40 (V5) | Starlink calls the Pivot Mount ideal for slanted, shingled roofs. The V5 Home Mount works on sloped, vertical or flat surfaces. |
| Metal | Seam clamp, rib bracket or the Ridgeline Mount | Different fastening rules. Metal roof guide. |
| Gable roof, no holes wanted | Ridgeline Mount (Standard 4 / 4 X) | Weighted; metal or shingle, slope under 45°. No-drill options. |
| Clay or concrete tile | No Starlink tile mount | Starlink says the Ridgeline isn’t recommended for clay tile. Use a wall or pole, or a tile roofer. |
| Flat or low-slope | Ballast frame, or the V5 Home Mount | Membrane roofs need care. See below. |
Weight isn’t the problem: Starlink lists the Standard 4 X dish at 6.4 lb and the V5 dish at 2.4 lb. Wind is. Starlink rates the Standard 4 X as working in winds of 60 mph+ and says the kit isn’t designed for hurricanes or tornadoes. A mount is only as strong as the wood it’s screwed into.
Tools and parts
Starlink publishes a tool list for its Wall Mount: drill, stud/electrical finder, socket wrench, level, 1/4-inch (6 mm) bit, 9/16-inch socket, pencil. Plan on the same set for a roof mount, plus:
- an extension ladder that reaches at least 3 ft past the roof edge;
- a full-body harness, rope and roof anchor (fall-protection kits are sold at home-improvement stores);
- roofing sealant labeled for asphalt shingles, and a caulk gun;
- outdoor cable clips, a chalk line and a tape measure;
- your phone with the Starlink app.
For extra bolts or grommets, Starlink itself suggests a local hardware store. Full parts list by spot.
How to install a Starlink roof mount: 10 steps
Step 1: Scan the exact spot from roof height
From an upstairs window on that side (feet on the floor), or a ladder a helper holds, run a sky scan in the Starlink app. Starlink’s install guides say to use that tool to confirm the spot before you mount anything. On a ladder, keep one hand on it and never twist around: scan the sky you face, then climb down and move the ladder. How to run the scan.
Step 2: Pick a dry, calm day and set the ladder right
Dry shingles, little wind, no lightning. Set an extension ladder on firm, level ground with its feet out 1 ft for every 4 ft of height, and let it stick up at least 3 ft past the roof edge so you have something to hold. Keep the ladder and anything you carry at least 10 ft from overhead power lines, including the service line to your house.
Step 3: Tie off before you walk the roof
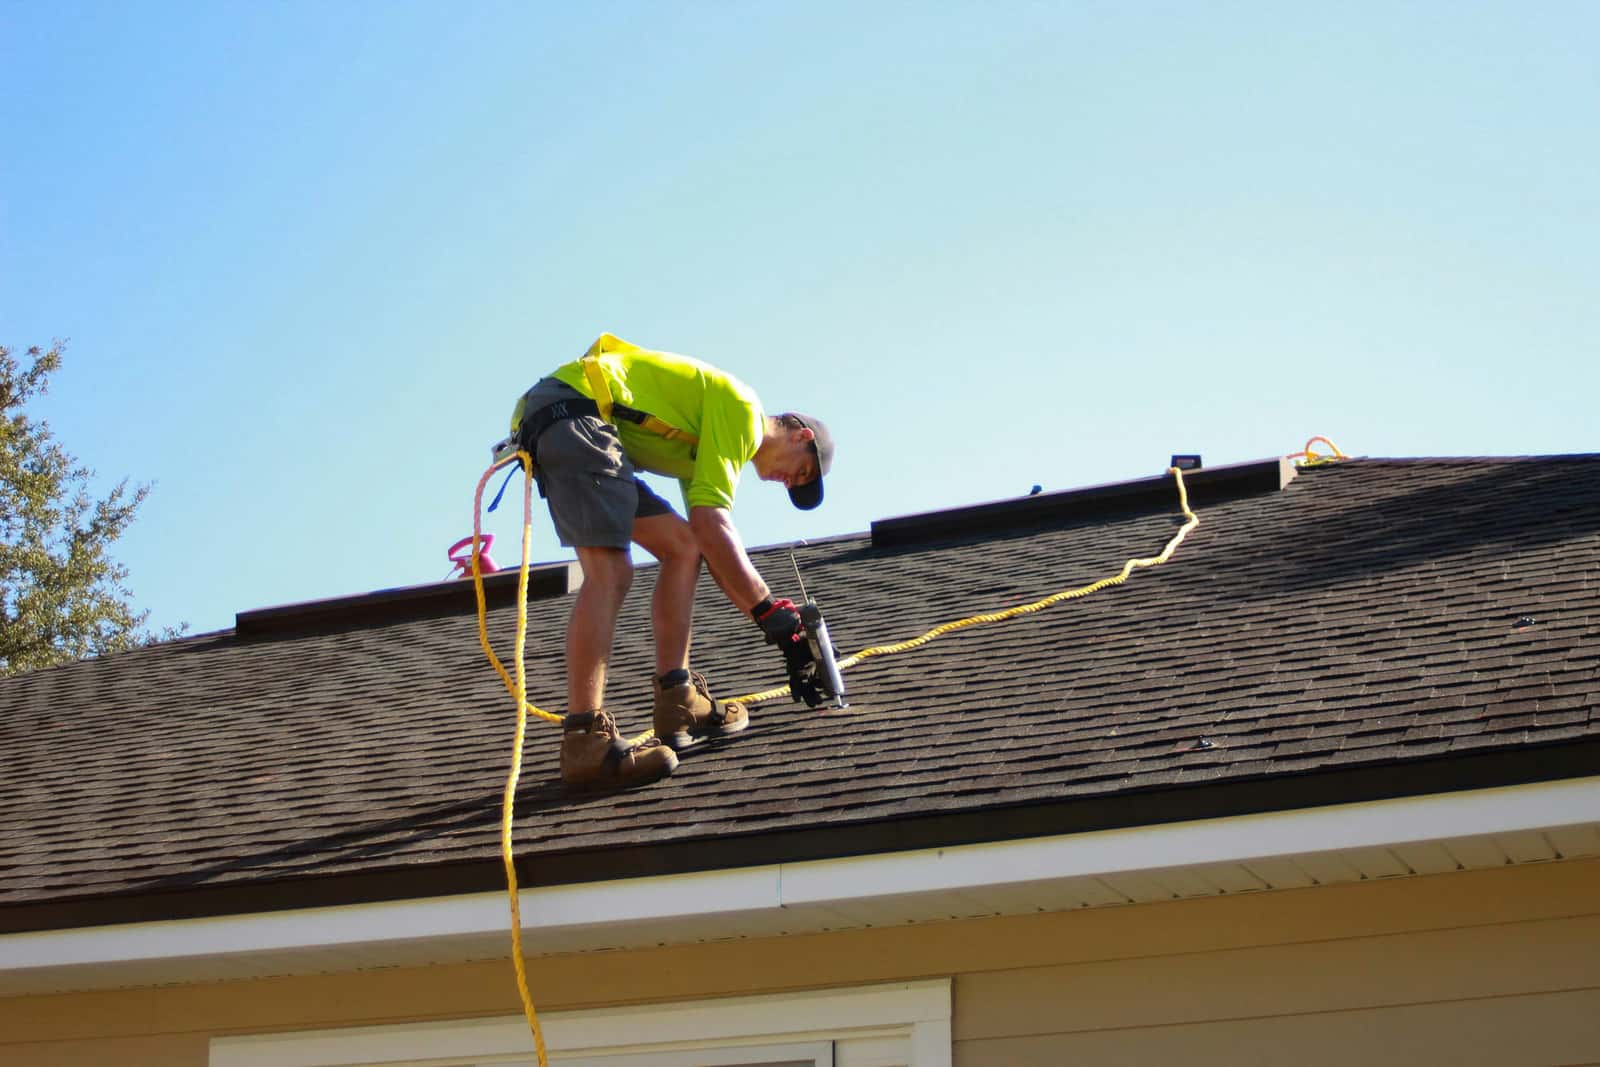
Wear soft-soled shoes and a full-body harness clipped to a roof anchor screwed into a rafter near the ridge. A roof anchor kit from a home-improvement store costs less than one ER visit. If the roof is steep, two stories up, or you’re not comfortable, stop here and hire it out.
Step 4: Find a rafter and mark its center
The mount must screw into a rafter or truss, not just the plywood deck (the drawing below shows why). Find one from the attic and measure from a vent pipe or the gable wall, or tap and probe with a thin bit, then seal the probe hole. US rafters are usually 16 or 24 in apart. Snap a chalk line along its center.
Step 5: Place the base a little below the ridge
Set the mount on a flat run of shingle, not over a shingle edge, a ridge cap or a vent. A spot one or two shingle courses below the ridge usually sees the most sky without the ridge itself in the way. Leave room for the dish to turn: Starlink’s wall-mount guide makes the same point about clearance. Mark the holes on the rafter line.
Step 6: Drill pilot holes and fill them with sealant
Drill the pilot holes the mount’s guide calls for, straight into the rafter. Blow out the dust, then fill each hole with roofing sealant made for asphalt shingles and put a bead or pad under the base. Sealant goes in the hole, not just on top.
Step 7: Fasten the mount and set the mast plumb
Drive the mount’s screws until the base is snug and the sealant squeezes out evenly. Don’t crush the shingle. Fit the mast and check it with a level on two sides: a mast that leans makes the dish harder to aim.
Step 8: Attach the dish and connect the cable
Seat the Starlink cable fully into the dish before it’s exposed to the weather; Starlink says that’s what gives the connection its rated water resistance. Clip the cable down the roof along the shingle courses, with a drip loop before it turns into the wall. Getting the cable inside.
Step 9: Power up, align in the app, then tighten
Today’s Standard and V5 dishes are aimed by hand: open the app’s alignment tool, turn the dish until it says you’re aligned, then lock every adjustment. Check the obstruction view once more before you climb down.
Step 10: Check the attic after the first hard rain
Look at the underside of the deck around the mount with a flashlight. A dry deck after a storm means the seal is good. Look again once a year.
Stop if any of these are true
- The roof is wet, icy, frosty or mossy, or the wind is picking up.
- A power line runs over the roof or near where the ladder goes.
- You’re working alone, or it’s a steep or two-story roof and you’ve never tied off before.
Starlink’s terms put it plainly: if you can’t install the kit safely, don’t, and get professional help.
How roof mounts leak, and how to stop it
Roofers see the same four mistakes. Each one is easy to avoid on the day and hard to fix later.
- The screw missed the rafter. It holds at first, then works loose as the mast rocks in the wind, and water follows the gap. Find the rafter before you drill.
- Sealant only on top. A bead around the base cracks in sun and frost. Fill the holes first, then seal under the base.
- The base sits on a shingle edge. It rocks and lifts the shingle above it. Move it to a flat run.
- The cable makes a gutter. A cable clipped straight down the slope can steer water under a shingle. Clip it along the courses and leave a drip loop.
For a belt-and-braces job, roofers slide a metal flashing plate under the shingle course above the mount so water sheds over the base. That’s general roofing practice, not a Starlink requirement. Starlink’s professional installs list a “basic sealed penetration”.
Will a roof mount void your roof warranty?
It might, and Starlink won’t cover it. Its terms say a permanent roof mount carries risks you accept, including to any warranty on your roof. They also say Starlink won’t pay to restore your property after an install, and isn’t liable for damage from installing or removing the kit.
- Find your roof warranty (or your roofer’s workmanship warranty) and look for “penetrations” or “rooftop equipment”.
- If it’s unclear, email the roofer or manufacturer and keep the reply.
- On a new roof, consider a spot with no roof holes: the wall or eave, a pole, or a weighted ridge mount.
Tile, slate, metal and flat roofs
- Metal. Never fasten in the flat pan where water runs. Standing seam takes a clamp with no holes. Metal roof guide.
- Clay or concrete tile. Tiles crack when you walk on them, and Starlink says its Ridgeline isn’t recommended for clay tile. Tile mounts replace a tile with a flashed metal one; that’s a job for a tile roofer.
- Slate and wood shake. Same story: fragile underfoot and hard to seal. A wall, pole or roofer is the safer route.
- Flat or low-slope (membrane). Every hole goes through the waterproof layer, and Starlink’s terms name “penetration of the membrane” as a risk you accept. A weighted, non-penetrating frame on a protection pad avoids holes. The V5 Home Mount is also made for flat surfaces.
When to hire it out
Hire it out for a steep roof (if you can’t walk it upright, don’t), a two-story roof, tile or slate, or no attic access to find rafters. Where Starlink offers professional installation, its list of standard placements includes the roof with standard mounts and a basic sealed penetration, and Starlink says a standard install takes about 90 minutes. A local roofer is the other route, and the one to call for tile. What a pro install includes.
Don’t order yet if…
- the roof doesn’t scan clearer than the ground or a wall, so you’d drill for nothing
- your roof is under a warranty that bans new penetrations and no other spot scans clear
- the only spot that clears is on a steep, tile or two-story roof and you have no one to install it safely
- you don’t yet know which dish you’ll get (Standard 4 / 4 X or V5), so you can’t buy the right mount
Questions this page answers
Can I install a Starlink roof mount myself?
Yes, if you can work safely on your roof. Starlink says all of its mounts are designed for self-install, and to ask a roofing or installation professional if you aren’t sure. Its terms say that if you can’t install safely, don’t, and get professional help.
Do I have to screw the mount into a rafter?
Yes. Roof decking is thin plywood or OSB; a screw in the deck alone can work loose in wind and leak. Starlink’s wall-mount guide asks for the holes to go over a structural beam, and the same rule applies on a roof.
Will a Starlink roof mount leak?
Not if the screws hit a rafter, every hole is filled with sealant, and the base sits on a flat run of shingle. Most leaks come from screws that missed the rafter or sealant spread only on top. Check the attic after the first heavy rain.
Will drilling into the roof void my roof warranty?
It can. Starlink’s terms say a permanent roof mount carries risks you accept, including to your roof warranty. Read your warranty and ask your roofer before you drill, or choose a spot that needs no roof holes. No-drill options.
Where on the roof should the dish go?
Usually a little below the ridge, where the roof itself doesn’t block the view. Starlink doesn’t name a compass direction that matters more for today’s home dishes, so pick the roof face that scans clearest in the app.
Which roof mount fits my Starlink?
On a shingle roof, Starlink’s Pivot Mount is made for Standard 4 and 4 X dishes, and its Home Mount is for the V5. Starlink says its Standard mounts don’t fit other kits, so wait until you know which dish you’re getting.
Can I put Starlink on a tile roof?
Starlink sells no tile mount and says its Ridgeline Mount isn’t recommended for clay tile. Tiles crack underfoot, so a wall or pole mount, or a roofer who works on tile, is usually the safer route.
What we checked this page against
- Standard 4 X setup guide (support article) · seen Nov 3, 2026
- Where to install (support article) · seen Nov 3, 2026
- Standard 4 X setup guide, PDF · seen Nov 3, 2026
- V5 home mount setup (support article) · seen Nov 3, 2026
- Aligning the dish (support article) · seen Nov 3, 2026
- Starlink shop, public accessory prices · seen Nov 3, 2026
- Whether you need a mount (support article) · seen Nov 3, 2026
- Standard wall mount install guide, PDF · seen Nov 3, 2026
- Items missing from the shop (support article) · seen Nov 3, 2026
- Water resistance (support article) · seen Nov 3, 2026
- Starlink installers (support article) · seen Nov 3, 2026
- US terms of service · seen Nov 3, 2026
- Standard 4 X spec sheet, PDF · seen Nov 3, 2026
- V5 spec sheet with Router Mini, PDF · seen Nov 3, 2026
- Snow, rain, wind, lightning and temperature (support article) · seen Nov 3, 2026
Each number on this page traces back to one of these entries; our fact rules explain how. If a reading has drifted, the corrections log shows how it gets fixed.