Professional install
Starlink professional installation: who does it and what to expect
Starlink can send someone to mount the dish and run the cable for you, in some places, on some plans. Here is who comes, what they do in about an hour and a half, what they won’t do, and how to make the visit go right.
$100First Starlink? The pre-order checklist and our referral linkYes, in select US areas: Starlink offers professional installation by trained third-party installers, for Residential plans, booked from your starlink.com account.
Starlink says a standard install typically takes around 90 minutes and includes a standard mount, basic sealed penetration and the cable run to the nearest entry point. It does not include pole mounts. Whether it costs you anything depends on your plan and address: Starlink’s front page advertises no-charge professional installation on two plans, and its order list also shows paid options (dated prices).
Who actually installs it
Not Starlink staff. Starlink says it offers third-party installers in select markets, for Residential plans only; they have completed Starlink training. Starlink’s installer list names OnTech for the United States; OnTech can’t schedule by phone.
- No “installers near me” search. Starlink offers no public installer finder or ZIP lookup for the US (our reading of its help article). You find out whether installation is offered at your address when you order.
- Rural Alaska: Starlink says certain areas in Alaska are outside the installation service areas; additional fees may apply.
- Residential plans only. Roam and travel setups aren’t covered.
Is professional installation free?
On some plans. Starlink’s front page advertises professional home installation at no charge for Residential customers on the Max or 200 Mbps tier. Its order list (read without an address on Nov 3, 2026) also shows installation options at $0, $99, $199 and $349, including a rental bundle and a bought kit with installation. Your address and plan decide which one appears, and starlink.com shows it when you order. We compare every option, with dates, on the installation cost page.
One thing to know before you pick a date: your first bill is dated by the earliest of three events: power-on and connection, day 7 after delivery, or day 30 after shipping, whatever day the installer comes. A late appointment doesn’t delay your bill.
What a standard Starlink install includes
Starlink lists five things, in its own words:
- Site Assessment: The installer will provide a site assessment and select the optimal dish location on the day of installation.
- Dish Mounting: The dish is mounted (standard home mount included). Secure placement will be on roof, wall, fascia, gutter, or elevated position with standard mounts (e.g., wall/pivot mount, pipe adapter, kickstand). Includes basic sealed penetration.
- Cable Routing: The cable is routed from the dish to the home's nearest entry point.
- Router Setup: The router is connected and powered at the entry point. This includes indoor connection, Wi-Fi configuration (SSID/password) and account login.
- System Testing and Education: The Starlink is activated, performance is tested, and a Starlink app walkthrough is provided. Testing includes checking dish alignment, signal/connectivity verification, speed tests, and obstruction checks.
Read item 4 twice
The router is set up “at the entry point”, which is wherever the cable comes into the house. If that’s a garage corner, the Wi-Fi will be strongest in the garage. Tell the installer up front where you want the router, or plan to move it yourself afterward. Where the router should go.
What it doesn’t include
| Not included | What Starlink says |
|---|---|
| Pole mounts | Pole-mount installations are not included and installers can’t do them. |
| Extra accessories | A standard install includes a standard mount and cable; other accessories cost extra. |
| Hard jobs | Professional installs can add fees for travel, home type, long cables or trenching. Starlink doesn’t publish the amounts. |
| Taking it down later | Starlink doesn’t support deinstallation services. |
| Damage | Starlink isn’t responsible for damage or liability from third-party installations. |
| Your roof warranty | Starlink’s Terms say a permanent roof mount carries risks you accept, including to your roof warranty. |
And the permission is yours to get: Starlink’s Terms make you responsible for building codes, zoning, HOA rules, lease terms and landlord approvals. Sort that out before the installer drills. Which rules apply to you.
How to book and prepare: 5 steps
Step 1: Check you can get it
When you order on starlink.com, look for the installation option on your plan. The order page describes it as for people who need help with permanent mounting or cabling, scheduled by a third party after your order ships. Already ordered? Starlink says US customers who already ordered Starlink can add an installation order from their account.
Step 2: Book the date in your account
Starlink’s booking steps:
- Log into your account on starlink.com
- Select the service line you ordered an install for.
- Schedule your installation.
OnTech can’t schedule by phone, so use the account, not the phone.
Step 3: Scan your sky before the visit
The installer picks the dish spot on the day, but you know your trees. You can use Starlink before the installation appointment, so set the dish on its kickstand in the open and run the app’s sky scan from the spots you’d accept. Screenshot them. Rule out spots you don’t want (the front of the house, a roof under warranty) before the visit, not during it. How to run the app check.
Step 4: Prepare the house
- Your installer may contact you before the appointment.
- Please secure all pets before the installer arrives.
- Starlink says someone 18 or older must be present for the install.
- Clear a path to the wall where the cable should come in, and decide where the router goes.
Step 5: Check the work before the installer leaves
- Look at the mount: screwed into solid structure, every hole sealed.
- Look at the cable: clipped, with a dip below the entry hole, and sealed where it enters. What a good entry looks like.
- Open the app with the installer there: connected, aligned, and no obstruction warnings.
- Take dated photos of the mount, the roof and the entry hole.
If something goes wrong
- A leak or a loose mount: Starlink’s order flow lists a 30-day warranty covering a professional install. Check the work after the first heavy rain inside that window, and report any problem while the warranty still runs. Starlink doesn’t publish how to make a claim, so ask when you book.
- A slow or missed appointment: you’re not stuck offline. Use the dish on its kickstand meanwhile; the kit’s detachable kickstand can be used for quick setup or a permanent install.
- The spot doesn’t work after all: trees leaf out, roofs shed snow. Moving the dish later is your job, since Starlink doesn’t support deinstallation.
Hiring a local installer instead
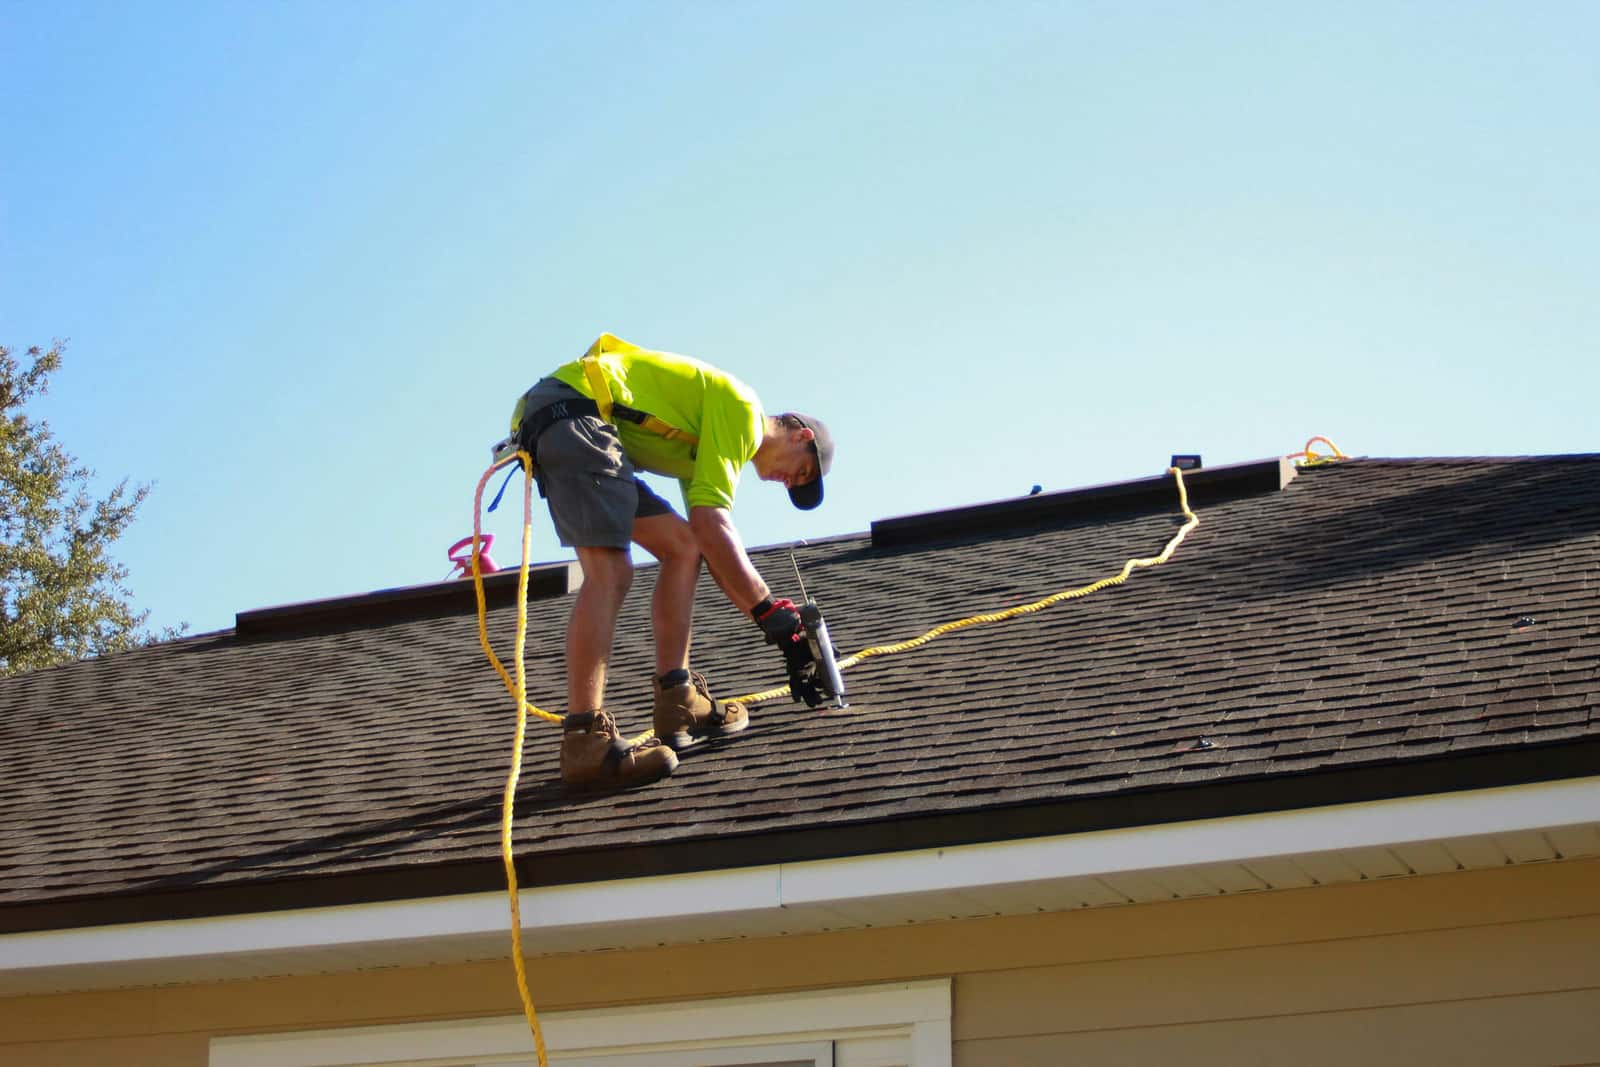
You’ll need one if you want a pole, if installation isn’t offered at your address, or if the job is beyond a standard install (a long trench, a steep metal roof, a chimney). Local satellite and antenna installers, electricians and handymen do this work. They are independent of Starlink: for paid third-party installs you contract with the installer directly, and Starlink takes no responsibility for their pricing, work or damage. And Starlink says it refunds only installations bought on starlink.com, so a local fee is between you and the installer.
Ask before you hire
- Can you show a certificate of liability insurance, and will you put the full price in writing, travel and extras included?
- Have you installed Starlink before? Can I see photos of two jobs?
- Will you check the sky with the Starlink app at the exact mount height before drilling?
- On my roof: do you screw into rafters, and how do you seal each hole?
- Where will the cable come in, and how do you seal it?
- If it leaks, who comes back to fix it, and for how long?
- Do I need a permit, and who pulls it? For grounding questions on a roof or pole, do you work with a licensed electrician?
A good answer to every one is a better sign than any badge. Be wary of anyone who claims a special status with Starlink: beyond the one installer its help article names, Starlink publishes no US list.
Or do it yourself
Starlink says all mounts are designed for self-install; ask a roofing or installation professional if unsure. Ground, wall and low-roof installs are well within reach for most people; a steep or two-story roof is where a pro earns the fee. Our step-by-step install guide covers the whole job.
Don’t order yet if…
- the only clear spot needs a pole: Starlink’s installers can’t do pole mounts, so line up a local installer first
- your HOA, landlord or condo board hasn’t agreed where the dish can go
- you haven’t run the app’s sky scan from the spots you’d accept, at mount height
- the house needs a connection for a few months or one visit, not year-round
Questions this page answers
Does Starlink install it for you?
In select US areas, yes. Starlink says it offers third-party installers in select markets, for Residential plans only, who have completed Starlink training. You add installation when you order, or later from your account, and book the date at starlink.com.
Is Starlink professional installation free?
Sometimes. Starlink’s front page advertises professional installation at no charge for Residential customers on the Max or 200 Mbps tier, while its order list also shows paid installation options. The option for your address shows on starlink.com when you order. Details and dated prices: installation cost.
How long does a professional Starlink install take?
Starlink says a standard installation typically takes around 90 minutes, including standard setup accessories and mounts.
Will the installer put my dish on a pole?
No. Starlink says pole-mount installations are not included and its installers can’t do them. For a pole, hire a local installer or do it yourself: pole and mast guide.
Who installs Starlink in the US?
Starlink’s installer help article names OnTech for the United States, and says OnTech can’t schedule by phone. Starlink offers no public installer finder or ZIP lookup (our reading of the article); installs are booked from your starlink.com account after you order.
Can I use Starlink before the installer comes?
Yes. Starlink says you can use Starlink before the installation appointment. Set the dish on its kickstand in an open spot. Billing doesn’t wait for the install either.
What if the install leaks or something breaks?
Starlink’s order flow lists a 30-day warranty covering a professional install, so check the work right away and photograph it. For installers you hire yourself, Starlink takes no responsibility: the warranty is whatever your contract says.
What we checked this page against
- Starlink installers (support article) · seen Nov 3, 2026
- Residential order list data, no address · seen Nov 3, 2026
- starlink.com front page, US, no address · seen Nov 3, 2026
- US terms of service · seen Nov 3, 2026
- Whether you need a mount (support article) · seen Nov 3, 2026
Each number on this page traces back to one of these entries; our fact rules explain how. If a reading has drifted, the corrections log shows how it gets fixed.