Weather · Snow
Starlink in snow: Snow Melt, roof slides and where to mount
Falling snow is rarely the problem. Snow that slides off the roof onto the dish, drifts over it, or piles up while it’s switched off is. How Snow Melt works, what it costs in power, and how to pick a spot winter can’t bury.
Yes. The dish melts falling snow itself, up to 1.5 in/hour on Starlink’s Standard 4 X spec sheet. What knocks it out is snow piling on top, from a roof slide, a drift or a blizzard, so where you mount it matters more than any setting.
Starlink says the dish melts snow, and to install it where snow buildup and other obstructions don’t block the field of view. It also says the dish should melt snow over time except in extreme blizzards. Keep Snow Melt on Automatic, keep the dish uncovered, and mount it where you can reach it from the ground.
How Snow Melt works
The dish warms its own face to melt snow as it lands. You choose how, in the Starlink app (Open the Starlink app. Go to Settings → Starlink → Snow Melt. Select your preferred mode):
- Off: Snow Melt is disabled and will not use extra power.
- Automatic (recommended): Starlink detects snowy conditions and heats only when needed.
- Pre-heat: Keeps the dish warm to better resist snow buildup. This option may increase power consumption.
Two catches. During a sleep schedule Starlink gives no internet and doesn’t melt snow, so a sleep schedule that runs overnight can let a storm pile up. And Starlink’s own snow-melt rates don’t agree with each other:
| Dish | Snow melt rate | Where Starlink says it |
|---|---|---|
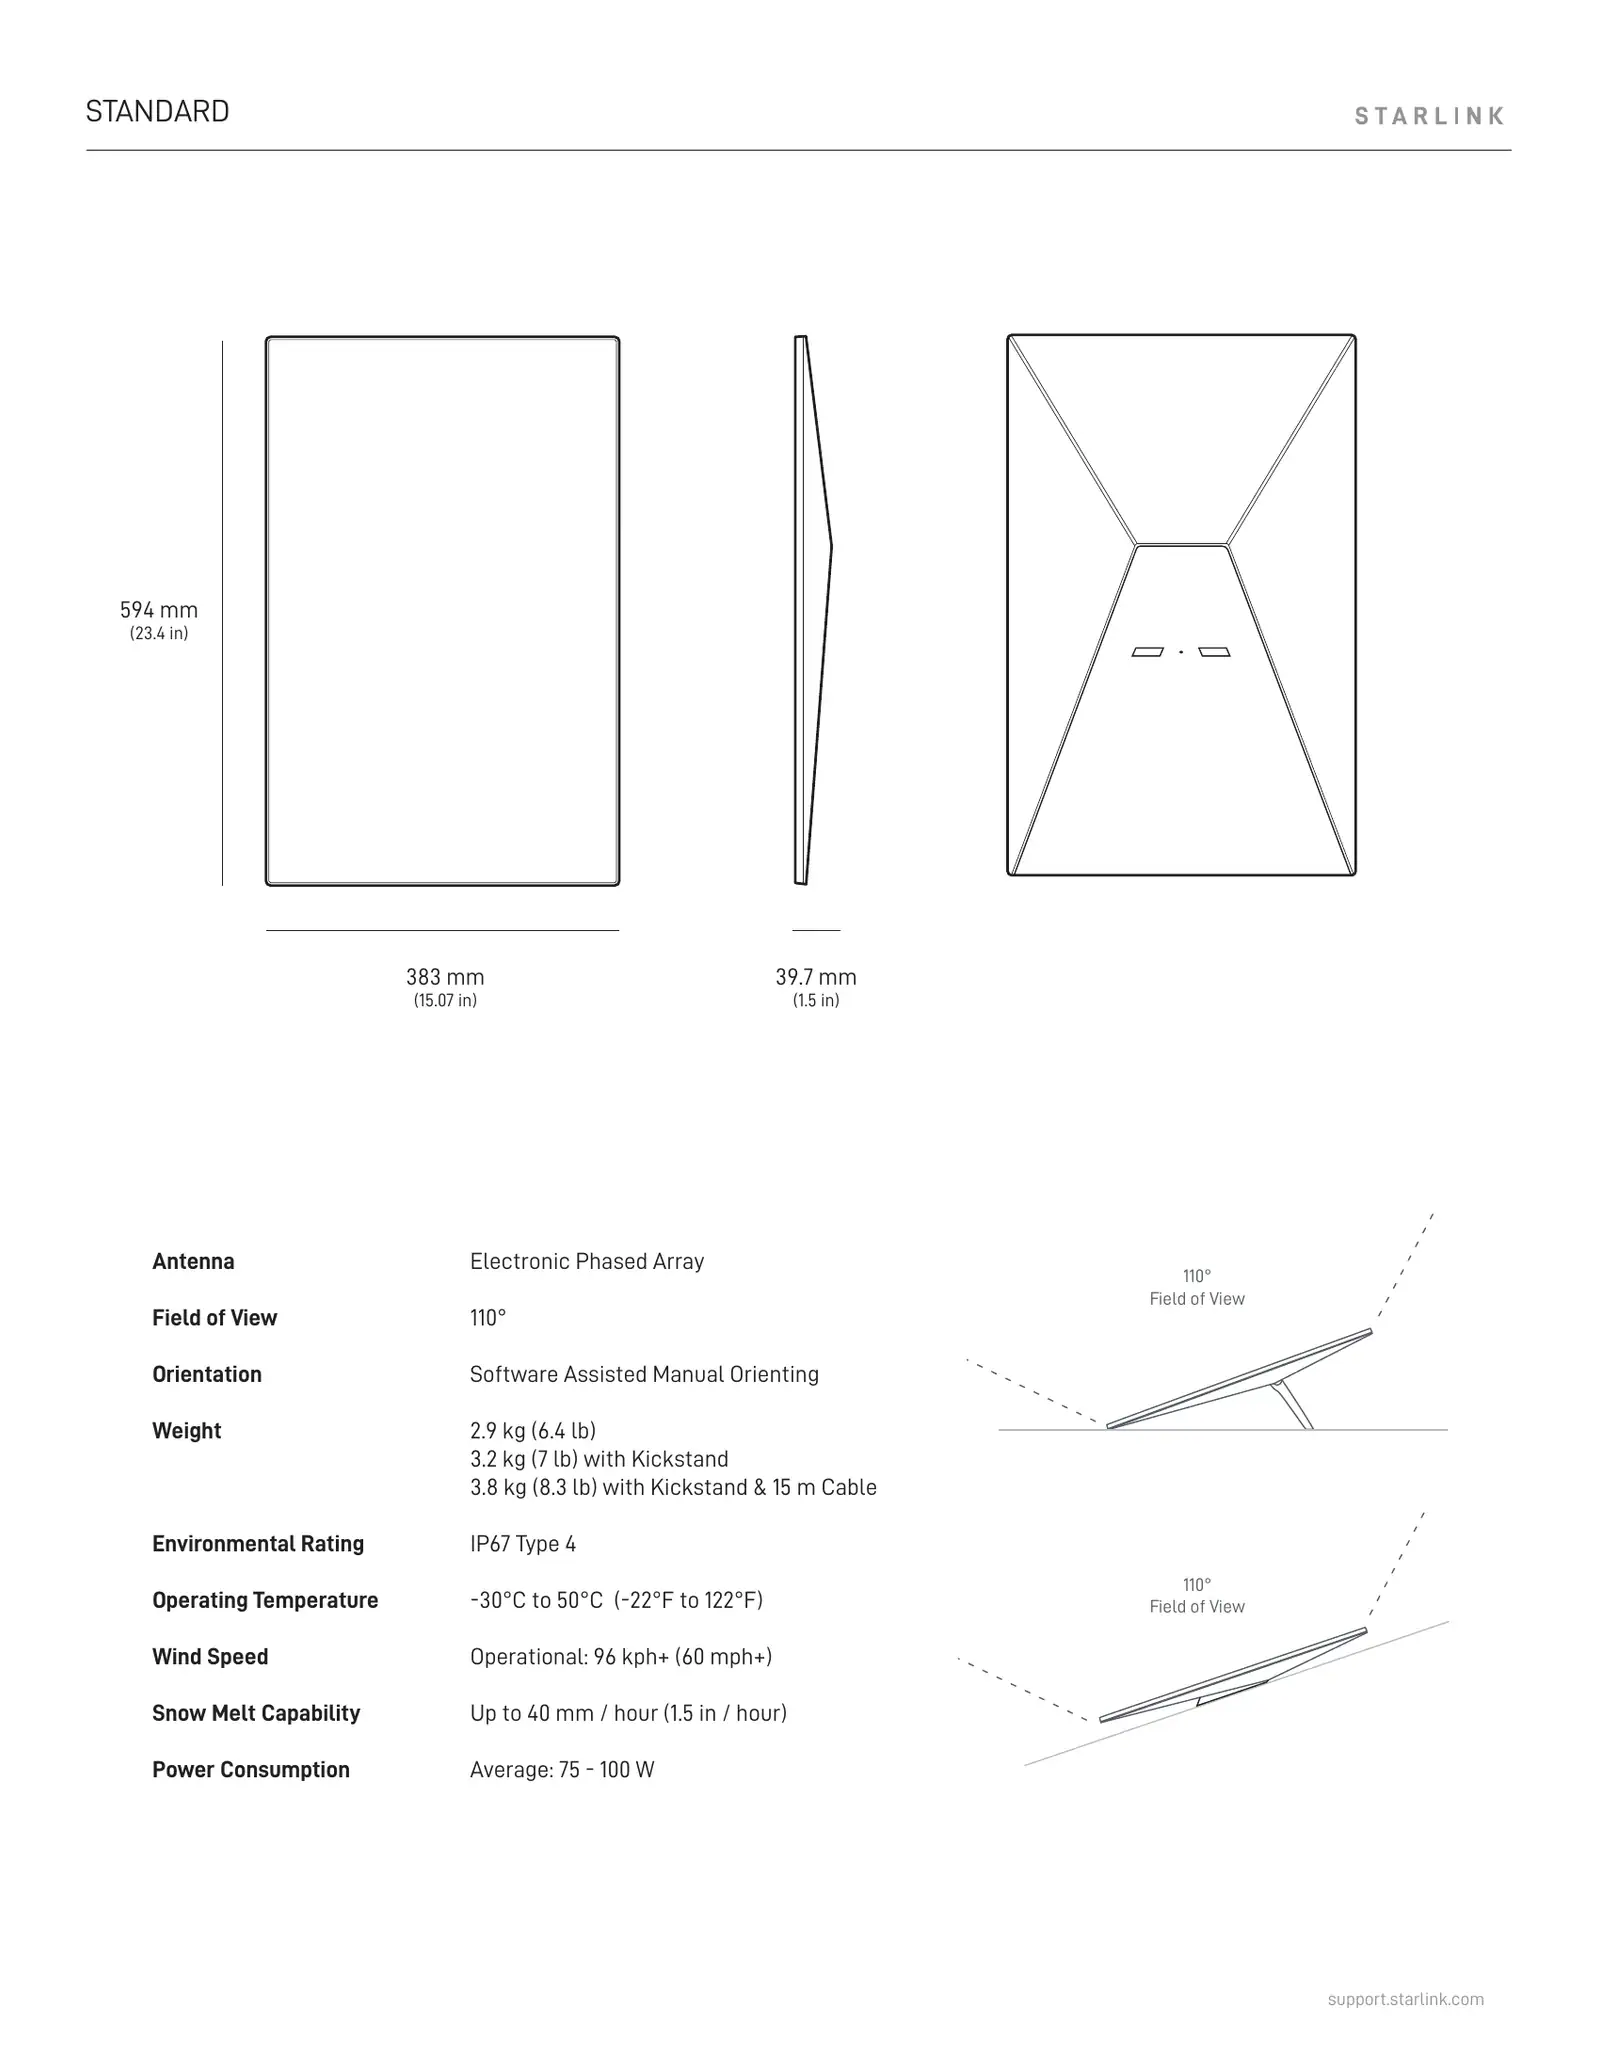
| Standard 4 X | up to 1.5 in/hour (40 mm/hour) | Spec sheet |
| Standard 4 X | 1.94 in/hour (rates vary with the installation) | Help article comparing dishes |
| V5 | up to 1.6 in/hour (40 mm/hour) | Spec sheet |
We lead with the spec sheet’s “up to” figure. Either way, a heavy lake-effect band can drop snow faster than that, which is why placement matters more than the heater.
How much power Snow Melt uses
Starlink doesn’t publish a separate number for Snow Melt. What it does publish:
- Standard 4 X kit: average 75–100 W, idle 20 W (dish, router, power supply and cables, AC input). V5: average 35–50 W.
- Power figures are AC-input averages for the whole kit and vary with temperature, location and use.
- Pre-heat “may increase power consumption”; Off “will not use extra power”, in Starlink’s mode descriptions above.
On grid power, leave it on Automatic and forget it. On solar or a generator, budget for the top of the average range on stormy days, and switch to Pre-heat only when a big storm is coming (our reading). Turning Snow Melt off to save power is a trade: the watts you save can come back as a dish under snow.
Where to mount Starlink in snow country
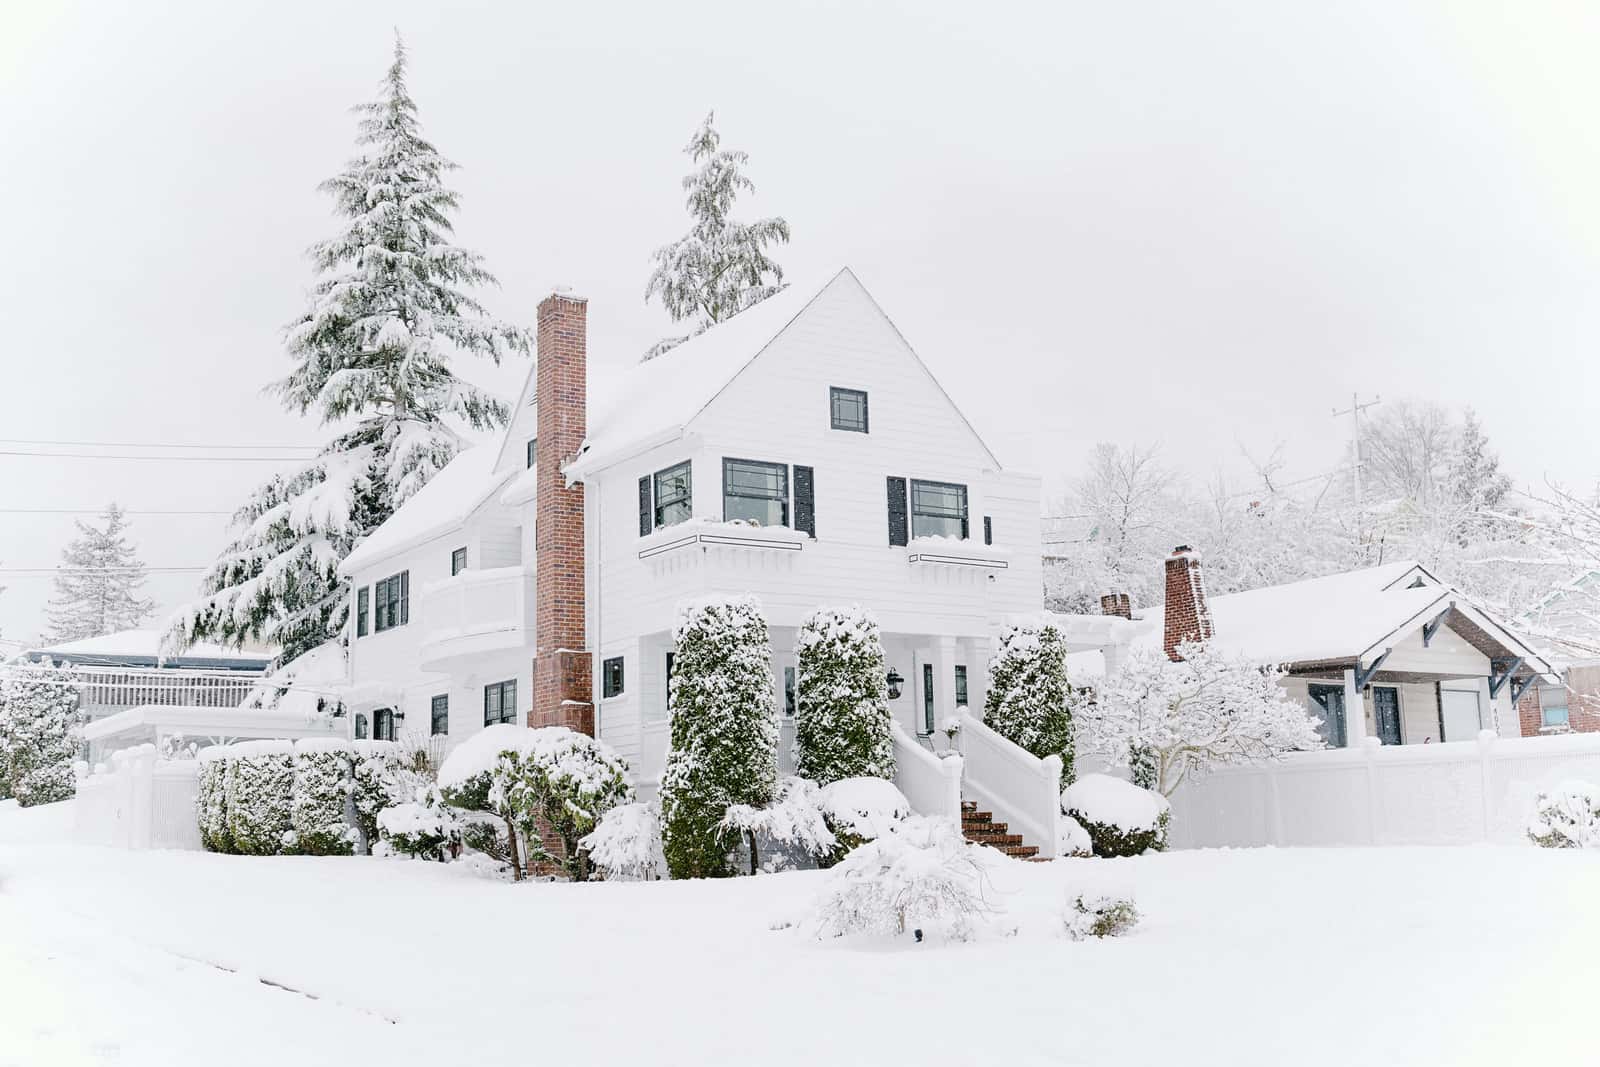
Starlink says heavy snow fully covering the dish may cause intermittent or temporary loss of service, and recommends a spot where it is unlikely to get buried or see significant buildup. Snow doesn’t just fall on a house; it slides and drifts:
| Spot | In snow | Why |
|---|---|---|
| Roof peak or ridge | Good | Snow slides away from it, not onto it. Starlink’s Ridgeline Mount: no drilling, sits on a gable ridge with ballast. |
| Pole above drift depth | Good | Clear of slides and drifts, and reachable with a brush. |
| Gable-end wall, high up | Good | No roof face above it to shed snow. |
| Wall under an eave | Avoid | Right in the path of snow sliding off the roof. |
| Low edge of a metal roof | Avoid | Metal sheds snow fast and all at once. |
| On the ground | Maybe | Only where snow stays light: drifts, plow and shovel piles bury it. |
Snow-proof the spot before winter: 6 steps
Step 1: Look at where snow went last winter
Walk around the house and find the slide zones under each roof face, the corners where wind drops drifts, and where the driveway snow gets thrown. Old photos help. Those are your no-go zones.
Step 2: Keep the dish out of the slide path
Snow slides off the lower edge of each roof face. A dish on the wall beneath it, or near the bottom of a metal roof, gets buried in one go. Gable ends, where no roof face sheds above, are much safer.
Step 3: Raise it above the drifts
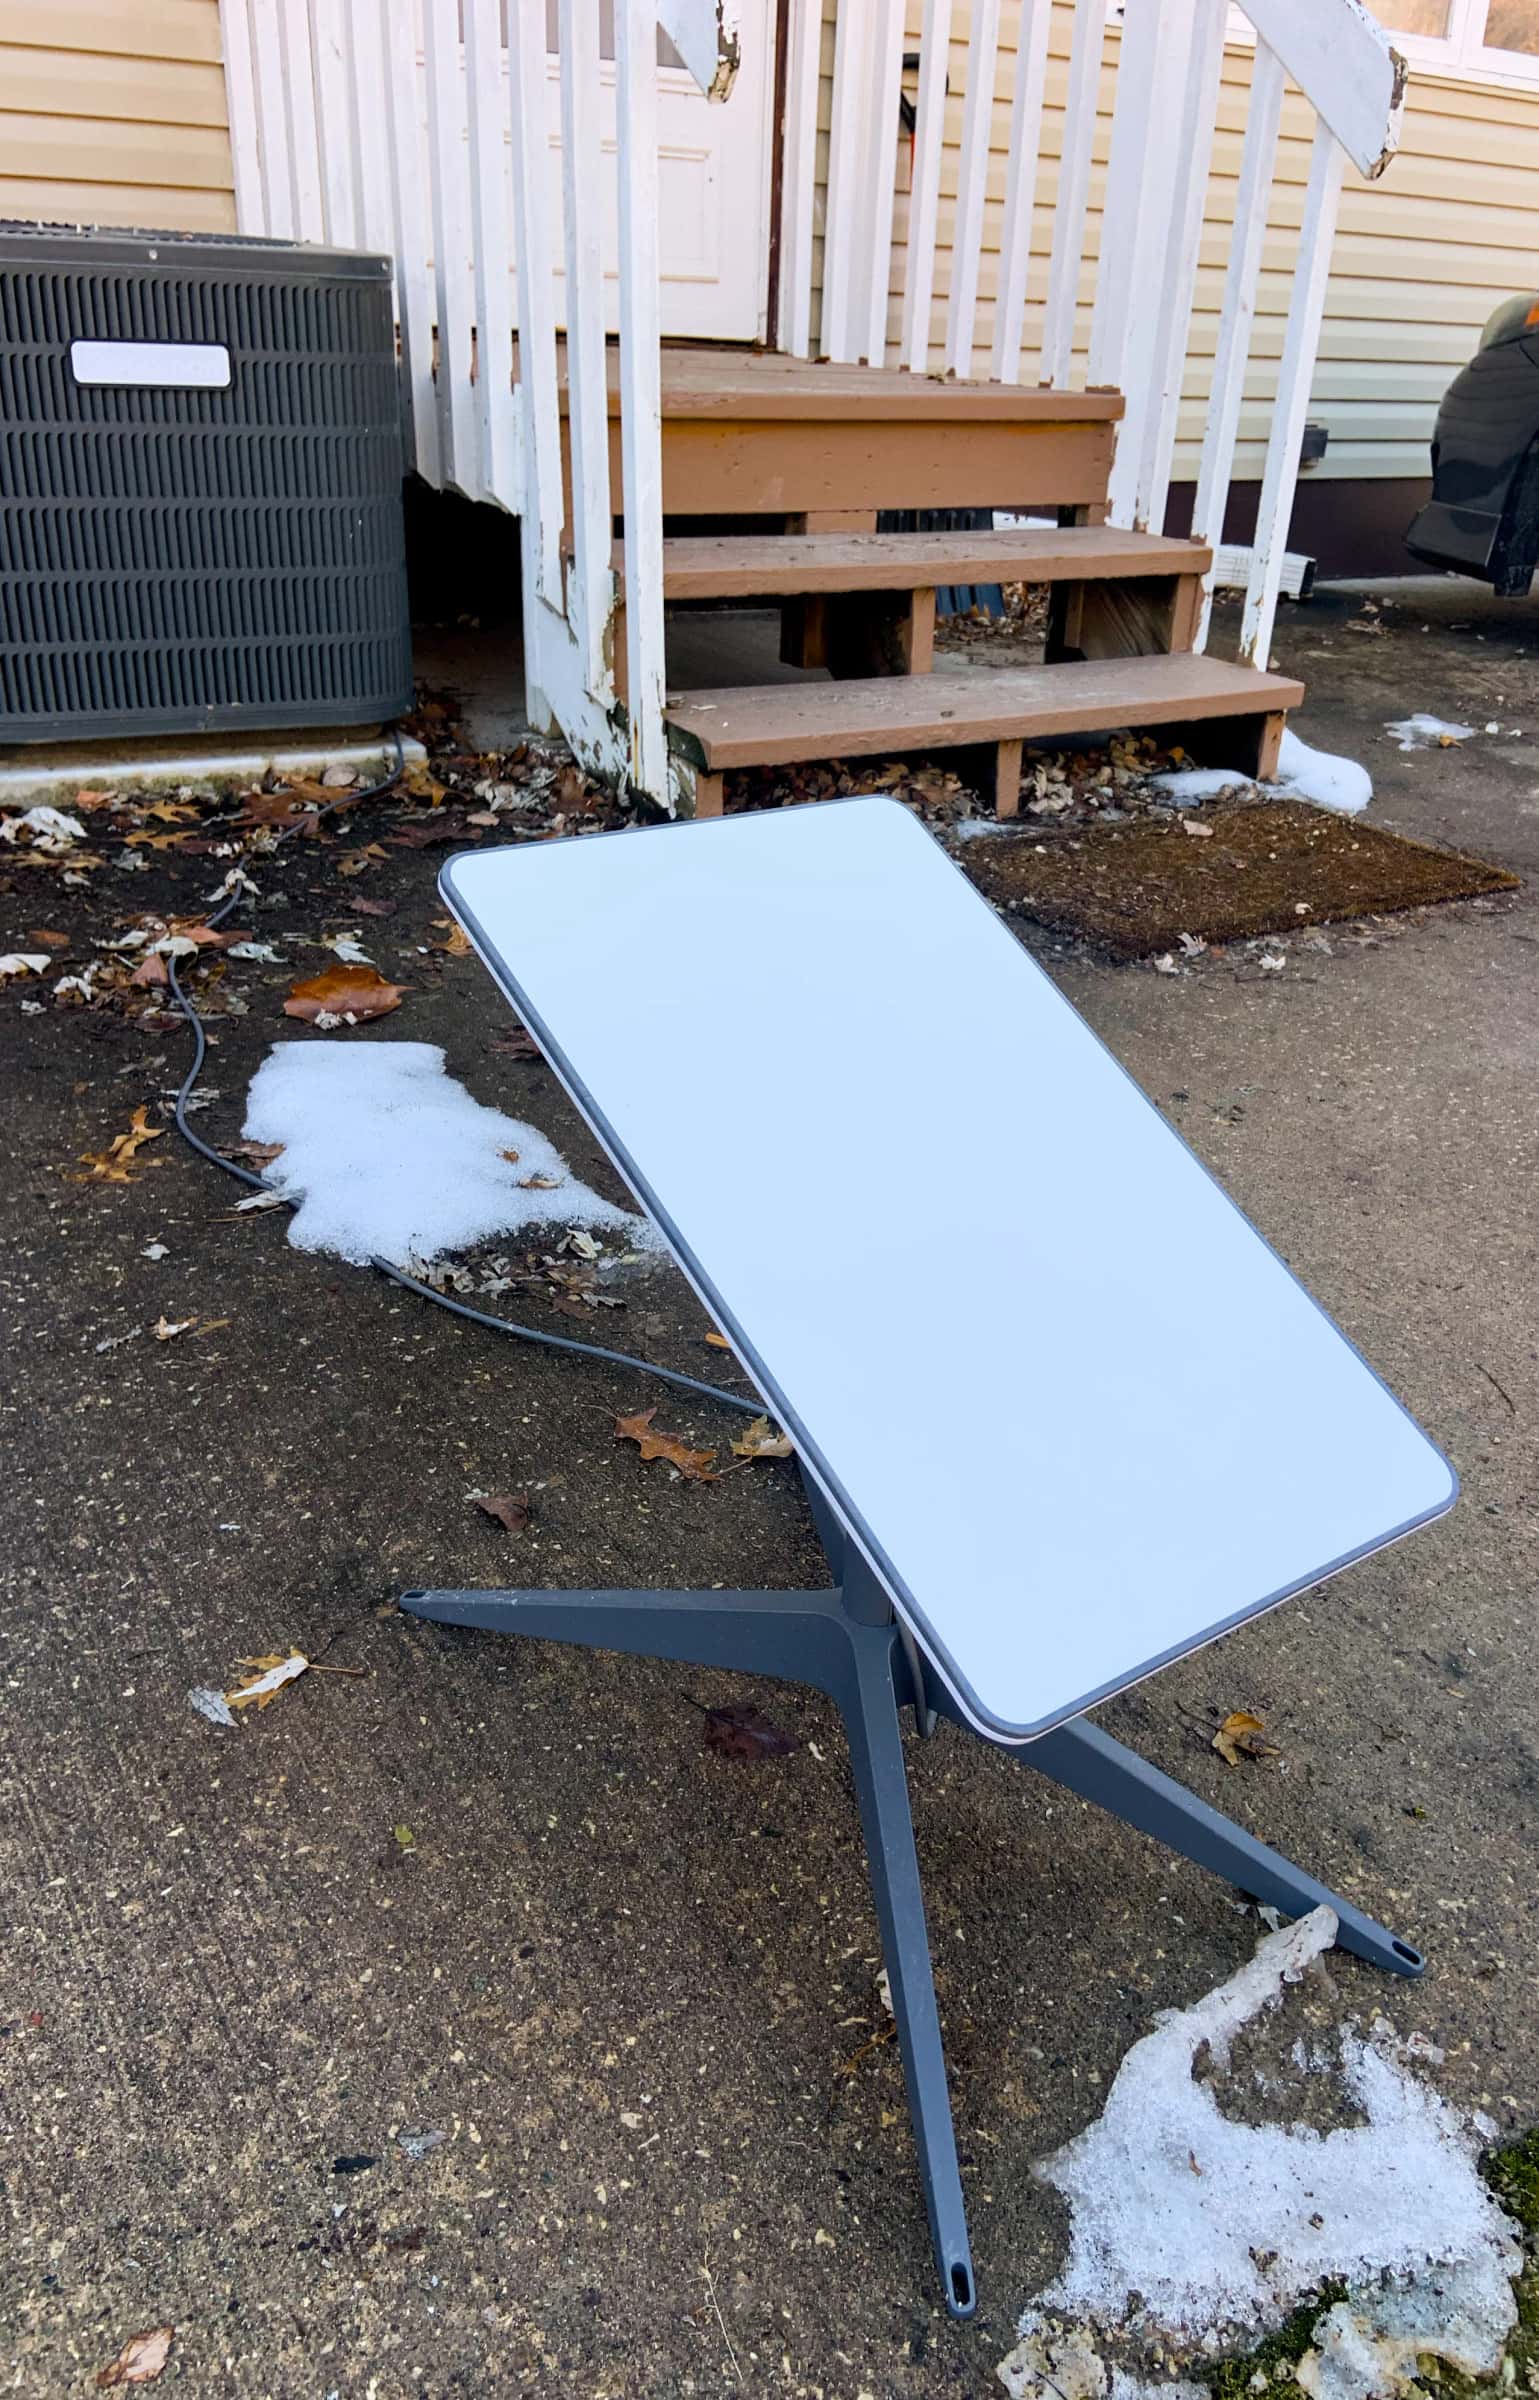
In light-snow areas the kickstand on the ground can work. In the snow belts, put the dish higher than your usual snowpack plus drifts (rule of thumb). Starlink says many customers find a permanent mount high up (roof or pole) works best; a wall mount is fine if the dish sits above the wall with a clear view. Pole mounts · ground installs.
Step 4: Keep it reachable from the ground
Choose a spot you can reach with a soft brush on an extension pole from the ground or a low, dry step. If clearing it would mean climbing an icy roof, pick another spot.
Step 5: Set Snow Melt to Automatic
- Open the Starlink app.
- Go to Settings → Starlink → Snow Melt.
- Select your preferred mode.
Choose Automatic. Check that no sleep schedule runs through storm nights.
Step 6: Leave the dish bare
Starlink says don’t add a protective cover: it degrades performance, including snow melting. It also says don’t paint the dish or cover it with cloth; Rain-X/NeverWet-type treatments are not recommended.
Clearing snow off the dish safely
Starlink says light ice or icicles generally don’t hurt performance; clear snow or ice gently, never with picks, chisels or scrapers. If Automatic can’t keep up:
- Brush it gently from the ground with a soft broom or snow brush on an extension pole.
- Before a big forecast storm, switch to Pre-heat, which Starlink says keeps the dish warm to better resist snow buildup.
- Clear the snow around a ground or low wall mount too, so the next slide or drift has somewhere else to go.
Don’t go on the roof
- Never climb onto a snowy or icy roof to clear the dish. Wait it out; the connection is not worth a fall.
- Ladders slide on ice and frozen ground. If you must use one, use it only on bare, level ground with someone holding it.
- Metal roof rakes and extension poles conduct electricity: keep them well away from overhead power lines.
US snow belts: what changes
- Lake-effect belts (Buffalo and Tug Hill in New York, Michigan’s Upper Peninsula, northern Ohio and Pennsylvania): snow can fall faster than any dish melts it. Mount high, and plan to brush it.
- Rockies and the Sierra: deep, heavy snowpack and big roof slides. Poles and gable-end walls beat eave mounts.
- New England and the Northeast: nor’easters bring wet snow and wind. Watch where drifts form on the lee side of the house.
- Alaska and the northern Plains: the cold itself matters. Starlink’s outdoor range bottoms out at −22 °F, and the coldest nights there go below it.
Questions this page answers
Does Starlink work in snow?
Yes. Starlink says it is designed and tested for snow, and that the dish melts snow. The problem is snow piling on top faster than it melts, or sliding onto it from a roof: Starlink says heavy snow fully covering the dish may cause intermittent or temporary loss of service.
How fast does Starlink melt snow?
Starlink’s Standard 4 X spec sheet says up to 1.5 in/hour (40 mm/hour). One of its help articles gives 1.94 in/hour for the same dish and says rates vary with the installation. The V5 spec sheet says up to 1.6 in/hour.
How much power does Starlink Snow Melt use?
Starlink doesn’t publish a separate figure. It gives the Standard 4 X kit’s average draw as average 75–100 W, idle 20 W, says the figures vary with temperature, and says Pre-heat mode may increase power consumption, while Off uses no extra power.
Should I turn Snow Melt off?
Starlink recommends Automatic, which heats only when it detects snowy conditions. Off saves power but lets snow build up; on solar or a generator, Automatic is the usual compromise (our reading). A sleep schedule also stops snow melting, so don’t schedule sleep during a storm.
Will Starlink work if it’s covered in snow?
Not reliably. Starlink says heavy snow fully covering the dish may cause intermittent or temporary loss of service, and recommends a spot where it is unlikely to get buried. A thin dusting usually melts off on Automatic.
Can I put a snow cover or shield on the dish?
No. Starlink says not to add a protective cover because it degrades performance, including snow melting. It also says not to paint the dish, cover it with cloth or use water-repellent treatments.
How do I get snow off my Starlink dish?
Gently, from the ground if you can. Starlink says to clear snow or ice gently, never with picks, chisels or scrapers. A soft brush on an extension pole works; climbing an icy roof doesn’t.
What we checked this page against
- Snow, rain, wind, lightning and temperature (support article) · seen Nov 3, 2026
- Snow and ice performance (support article) · seen Nov 3, 2026
- Maintenance and troubleshooting (support article) · seen Nov 3, 2026
- Sleep schedule (support article) · seen Nov 3, 2026
- Standard 4 X spec sheet, PDF · seen Nov 3, 2026
- Performance Gen 2 vs Standard 4 X (support article) · seen Nov 3, 2026
- V5 spec sheet with Router Mini, PDF · seen Nov 3, 2026
- Power draw (support article) · seen Nov 3, 2026
- Cleaning the dish (support article) · seen Nov 3, 2026
- Where to install (support article) · seen Nov 3, 2026
- Starlink shop, public accessory prices · seen Nov 3, 2026
Each number on this page traces back to one of these entries; our fact rules explain how. If a reading has drifted, the corrections log shows how it gets fixed.