Pole & mast
Starlink pole mount: how tall, how deep, how to keep it up
When the trees are taller than the house, a pole is the way over them. Here’s how to size it, set it and keep it steady, in plain steps.
$100First Starlink? The pre-order checklist and our referral linkUse a pole when trees rise above anything on the house: a metal pipe that fits the pipe adapter, set plumb in concrete below your local frost line, with a call to 811 before you dig.
Starlink doesn’t publish a minimum height, so work it out from your trees with the calculator. Anything taller than you can reach from a stepladder needs guy wires or a bracket to the house. Starlink’s installers don’t do poles, so it’s a DIY or local-contractor job.
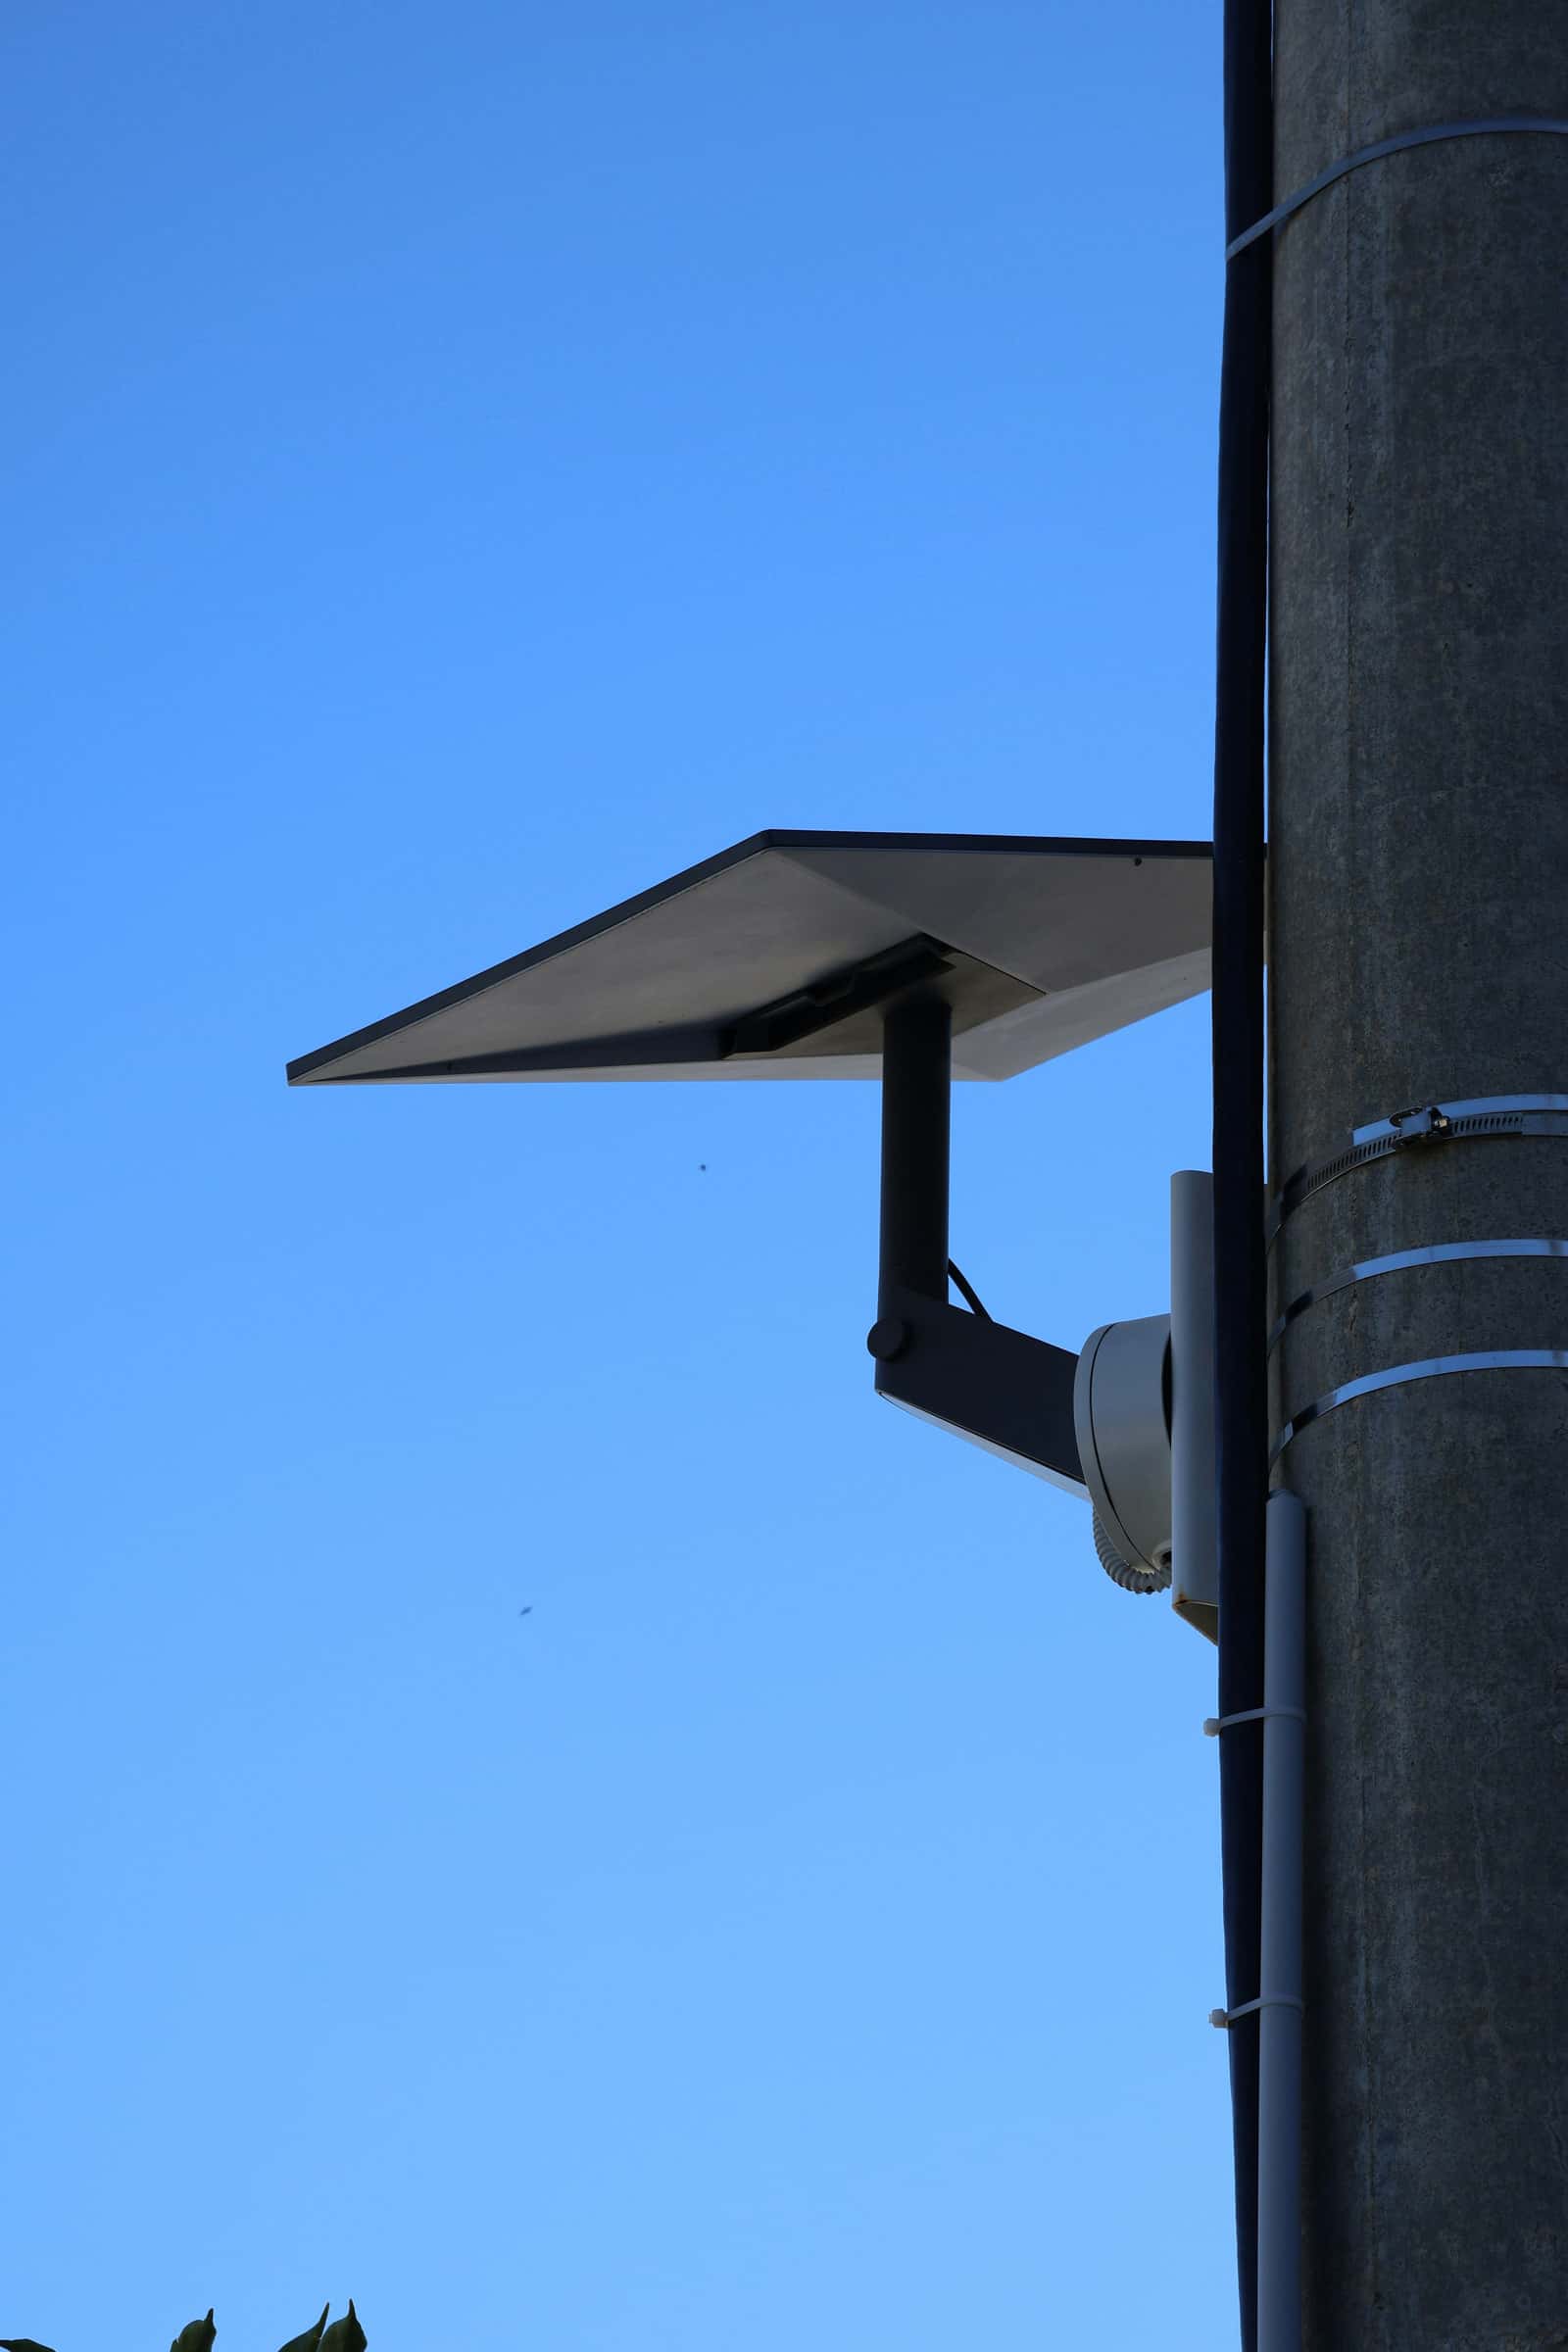
When a pole is the answer
Starlink’s setup guide says to use an elevated spot such as a roof, pole or wall when the ground doesn’t see clear sky, and its placement article says many customers find a roof or pole mount works best. A pole beats the roof in three cases:
- The trees are taller than the house. Common under Pacific Northwest firs, Southeast pines and Northeast hardwoods. Only a pole gets the dish higher than the ridge.
- The best patch of sky is out in the yard, in a clearing away from the house.
- The roof is off limits: tile, a new roof under warranty, or a roof you can’t safely walk.
The trade-offs: digging, a cable run across the yard, a footing that has to survive frost, and a structure that has to survive wind.
How tall should the pole be?
What matters is how high the treetops sit in the dish’s sky, not the dish’s height on its own. Every foot you go up lowers that angle. Our site uses two lines: under 20° matches the clear-sky line in Starlink’s business install guides, and above 35° (our reading of the dish’s 110° field of view) the treetop sits inside the dish’s view.
That example shows the usual trade-off. Clearing a tree completely can take a very tall mast, so a slightly shorter pole in a spot farther from the trees often does better. Starlink also says part of the sky is often enough. Plan the height, then confirm with the Starlink app before you pour concrete.
Which pipe fits the Starlink pipe adapter
Starlink’s Pipe Adapter for Standard 4 and 4 X costs $38 on its shop (Nov 3, 2026, shipping included) and clamps onto metal pipe 1.25–2.5 in across. The V5 box already includes a pipe adapter, sized for 1.2–2.0 in pipe. Pipe is sold by a “nominal” size that isn’t its real width, so measure the outside diameter or use this table:
| Steel pipe or fence part | Outside | Std 4 / 4 X | V5 |
|---|---|---|---|
| 3/4 in pipe | 1.05 in | No | No |
| 1 in pipe | 1.315 in | Fits | Fits |
| 1-3/8 in top rail | 1.375 in | Fits | Fits |
| 1-1/4 in pipe | 1.66 in | Fits | Fits |
| 1-7/8 in post | 1.875 in | Fits | Fits |
| 1-1/2 in pipe | 1.9 in | Fits | Fits |
| 2 in pipe, 2-3/8 in post | 2.375 in | Fits | No |
| 2-1/2 in pipe | 2.875 in | No | No |
Outside widths are standard US trade sizes (steel pipe and chain-link fence posts), checked against Starlink’s adapter ranges. Thin-wall electrical conduit and fence top rail are too flimsy for a tall mast. Starlink says metal pipe only, not PVC or plastic.
How to set a Starlink pole: 10 steps
Step 1: Call 811 a few working days before you dig
Call 811 or file online with your state’s one-call center. It costs nothing, and the utilities come out and flag gas, power, water and cable lines in your yard. The wait before you may dig varies by state, usually a few working days. Dig well clear of every flag.
Step 2: Pick the spot and measure the cable run
Scan that exact spot in the Starlink app, held as high as you can (a ladder helps), then measure the path from the top of the pole, down, across the yard and inside to the router. Every current kit comes with a 15 m (49.2 ft) cable. Starlink sells a 45 m (147 ft) cable for longer runs and advises against splicing or extending its cable.
Step 3: Work out the height you need
Measure the tallest trees around the spot and how far away they are, and put the numbers into our sky angle calculator. Add a few feet for growth if the trees are young.
Step 4: Buy a metal pipe that fits your adapter
Starlink’s Pipe Adapter for Standard 4 and 4 X clamps onto metal pipe 1.25–2.5 in across; the adapter in the V5 box fits 1.2–2.0 in. Starlink says metal only, not PVC or plastic. Galvanized steel is the usual choice. Check the table below.
Step 5: Dig the hole below the frost line
Dig straight down with a post-hole digger or auger to below your local frost line, plus a few inches for gravel. A hole three or four times the pipe’s width is a common fence-post rule of thumb. For poles over about 10 ft, follow the pole maker’s footing chart.
Step 6: Set the pipe plumb on gravel
Put a few inches of gravel in the bottom for drainage, stand the pipe on it and check it with a level on two faces, a quarter turn apart. Brace it with two scrap boards so it can’t lean while the concrete sets.
Step 7: Fill with concrete and crown the top
Fill the hole with concrete, check plumb again, and slope the top away from the pipe so rain runs off. Let it cure as long as the bag says before you hang any weight on it.
Step 8: Run the cable in conduit to the house
Starlink says its cable isn’t rated to be buried or to sit in water, and it publishes no conduit guidance. If it has to cross the lawn underground, our rule of thumb is sealed outdoor-rated conduit with no low spot where water can pool, and remember the 811 flags. Getting the cable inside.
Step 9: Mount the dish, align it, then lock it
Fit the pipe adapter, attach the dish and connect the cable. Power up, use the alignment tool in the Starlink app, then tighten every screw. Starlink says that once the dish is clear and aligned you don’t need to adjust it again.
Step 10: Guy, tether and ground a tall pole
Anything taller than you can comfortably reach from a stepladder gets guy wires or a wall bracket. Tie a backup tether from the dish’s mast to the pole (our rule of thumb, cheap insurance in a storm). Ask a licensed electrician about bonding a metal mast to your home’s grounding system.
Footing and frost line
Wet soil expands when it freezes. A footing that stops above the frost line gets pushed up a little each winter, and the pole starts to lean. A lean of a few degrees matters: the Starlink app flags the dish as misaligned once it’s 5° or more off, and a leaning pole tilts the dish with it (our reading).
- Find your depth. Your county or city building department publishes the frost depth for fences and decks. It ranges from a few inches along the Gulf Coast to several feet in Minnesota, northern New England and Alaska.
- Go wider for taller. A taller pole catches more wind and pries harder on its footing. Past about 10 ft, use the pole maker’s footing chart or a contractor.
- Mind the soil. Sand and wet clay hold less. Rocky ground may need a rented auger or a surface-mounted base bolted to a pad.
Wind, guying and tethers
Starlink rates the Standard 4 X dish as working in winds of 60 mph+ and the mounted V5 at 165 mph. Those are dish ratings. Your pole, footing and brackets are what hold it, and Starlink says the kit isn’t designed for hurricanes or tornadoes.
- Guy tall poles. Three guy wires spaced evenly around the pole, with turnbuckles and ground anchors, stop sway. A bracket to the house wall does the same for a mast beside the house.
- Tether the dish. A short steel cable from the mast to the pole keeps a loose dish from flying. That’s our rule of thumb; Starlink doesn’t publish a tether spec on the pages we cite.
- Plan for storms. Starlink says that if hurricane-force winds are coming and it’s safe, bring the dish and cables indoors. A pole you can reach from a stepladder makes that possible.
Power lines and poles
General US antenna safety advice, not a Starlink rule: set the pole at least twice its full height (mast plus dish) away from any overhead line, including the service line to your house, so it can’t reach the line if it falls while you raise it or later. Never raise a tall mast near a power line, and never on a windy day.
HOA, permits and grounding
General information, not legal advice
The FCC’s OTARD rule (47 CFR 1.4000) limits HOA and similar restrictions on covered antennas on property you own or control, and says a mast supporting a covered antenna is covered too. Rules with a clearly defined safety purpose can still apply. Starlink’s terms make you responsible for building codes, zoning, HOA rules and permits, and for any permit fees. Starlink and HOAs.
On grounding, Starlink says the kit meets US National Electrical Code grounding requirements, and that in lightning areas an external lightning protection system (a lightning rod, a ground rod or a surge protector) may reduce the risk. A freestanding metal pole in an open yard is the tallest thing around, so this is a call for a licensed electrician, not a guess.
Don’t order yet if…
- the height you need is more than you can safely set, guy and maintain, and no contractor near you will do it
- your HOA or local rules raise a safety objection to a tall mast and you haven’t settled it
- the only spot that clears is farther away than the cable can reach without a splice
- the app scan from the top of a test pole (or a ladder) still shows big blocked areas
Questions this page answers
How tall should a Starlink pole be?
Tall enough that the treetops drop low in the dish’s sky. Starlink doesn’t publish a height. In our geometry, a 45 ft tree 40 ft away needs a dish at about 17 ft to put the treetop under 35°, and about 31 ft to get it under 20°. Run your own numbers.
How deep should a Starlink pole be set?
Below your local frost line, so frost heave can’t lift and tilt it. That depth ranges from a few inches in the Deep South to several feet in the northern states; your county building department publishes it. Taller poles need deeper, wider footings: follow the pole maker’s chart.
What size pipe fits the Starlink pipe adapter?
Starlink’s Pipe Adapter for Standard 4 and 4 X fits metal pipe 1.25–2.5 in across, and the V5’s included adapter fits 1.2–2.0 in. Measure the outside of the pipe: common 1-1/4 in and 1-1/2 in steel pipe fit both.
Can I use a PVC pipe for my Starlink pole?
No. Starlink says its pipe adapter is only for metal pipes, not PVC or plastic. PVC also flexes in wind, which can knock the dish out of alignment.
Do I need to call 811 before setting a Starlink pole?
Yes. Any digging for a footing or a cable trench should start with a call to 811 so buried gas, power and water lines get marked first. It costs nothing, and state law generally requires it before you dig.
Will a Starlink installer put up a pole for me?
No. Starlink says pole-mount installations aren’t included in its professional installs and its installers can’t do them. A fence, antenna or general contractor can set the pole; you or they then fit the dish.
Does a Starlink pole need to be grounded?
Starlink says the kit meets US National Electrical Code grounding requirements, and that in lightning-prone areas an external lightning protection system may help. A metal mast is usually bonded to the home’s grounding system; ask a licensed electrician.
Can my HOA stop me from putting up a Starlink pole?
Often not outright. Under the FCC’s OTARD rule, a mast that supports a covered antenna is covered too, but rules with a real safety purpose can still apply. General information, not legal advice. Starlink and HOAs.
What we checked this page against
- Standard 4 X spec sheet, PDF · seen Nov 3, 2026
- Business install: choosing a location (support article) · seen Nov 3, 2026
- Aligning the dish (support article) · seen Nov 3, 2026
- Standard 4 X setup guide (support article) · seen Nov 3, 2026
- Where to install (support article) · seen Nov 3, 2026
- Standard 4 X setup guide, PDF · seen Nov 3, 2026
- Standard accessories guide, PDF · seen Nov 3, 2026
- Starlink shop, public accessory prices · seen Nov 3, 2026
- V5 setup guide (support article) · seen Nov 3, 2026
- Third-party mounts (support article) · seen Nov 3, 2026
- Cable length and indoor routing (support article) · seen Nov 3, 2026
- Starlink installers (support article) · seen Nov 3, 2026
- V5 spec sheet with Router Mini, PDF · seen Nov 3, 2026
- Snow, rain, wind, lightning and temperature (support article) · seen Nov 3, 2026
- Weather and service quality (support article) · seen Nov 3, 2026
- Mini vs Standard 4 X (support article) · seen Nov 3, 2026
- 47 CFR §1.4000, the OTARD rule text (eCFR) · seen Nov 3, 2026
- US terms of service · seen Nov 3, 2026
Each number on this page traces back to one of these entries; our fact rules explain how. If a reading has drifted, the corrections log shows how it gets fixed.